Order Online
- Straight to your door!
Straight to your door


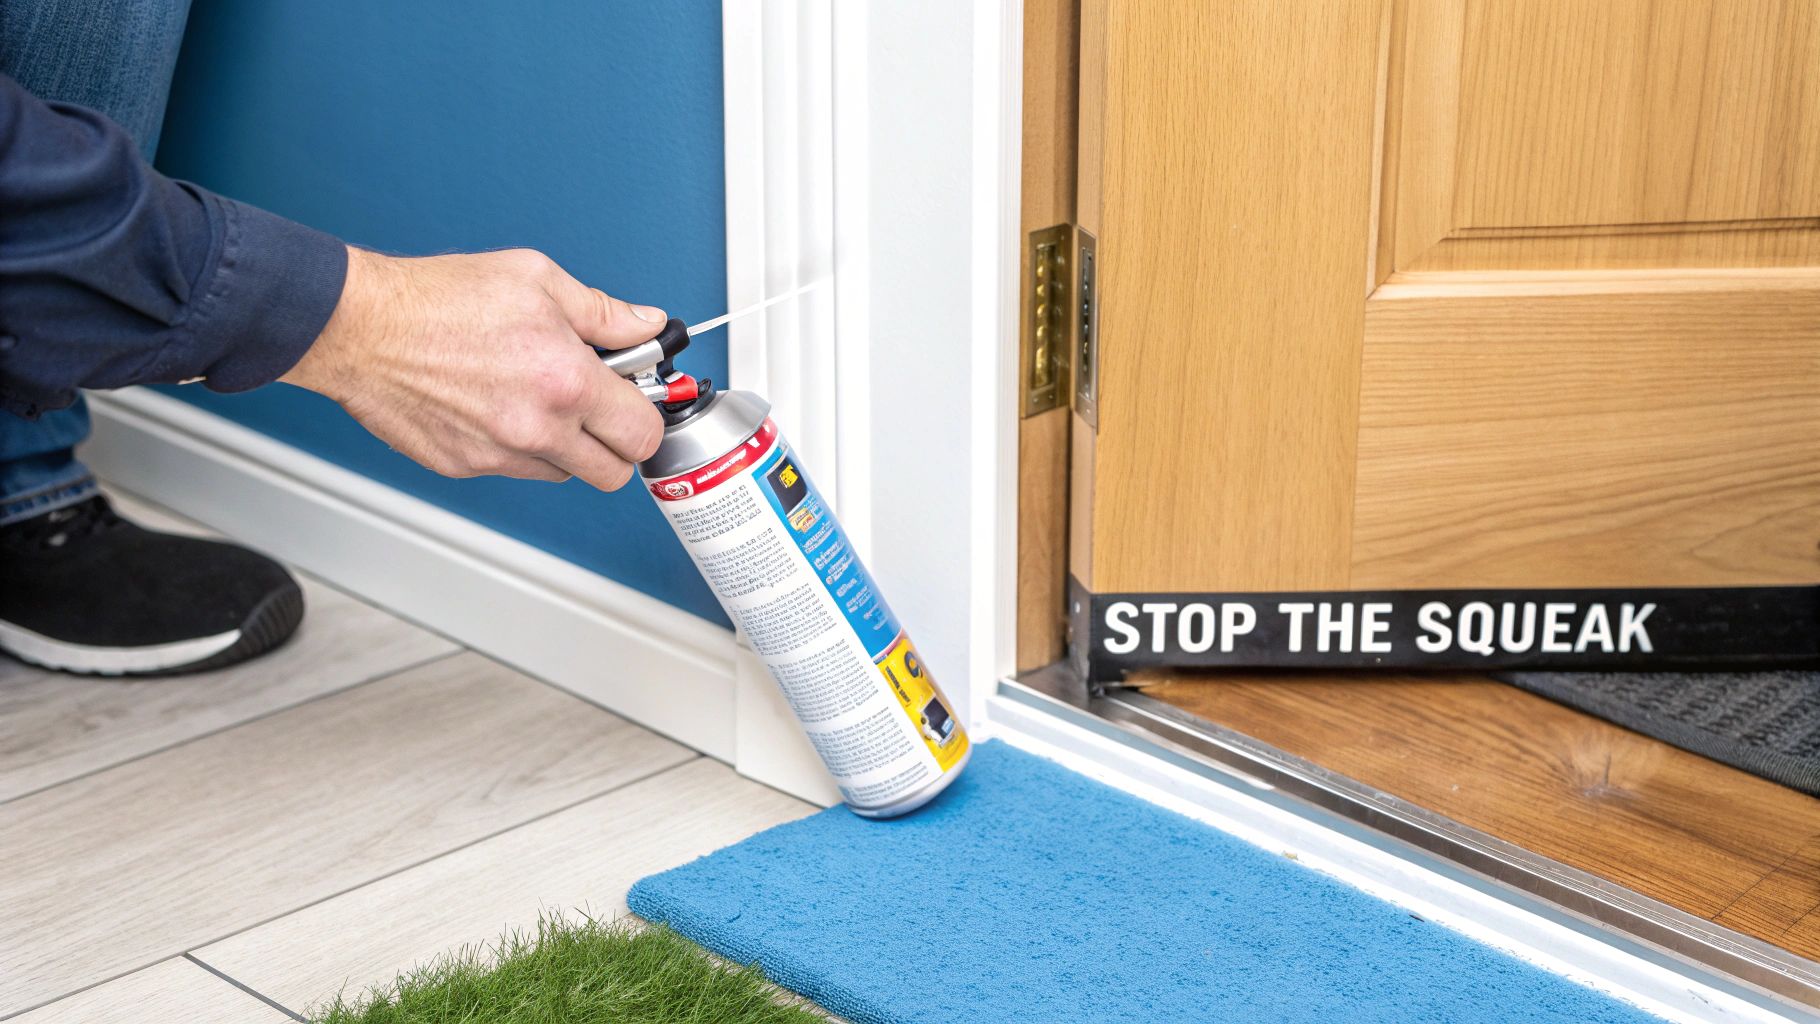
We’ve all been there—opening a door only to be greeted by that tell-tale squeal. A quick spritz of WD-40 or a silicone spray straight into the hinge barrel usually does the trick. Wiggle the door gently to work the lubricant in, and you’ll notice the noise vanish almost instantly.
If you want something a bit more lasting, grab a cotton bud and dab on petroleum jelly or white lithium grease. It’s a small step that can keep hinges singing quietly for weeks rather than days.
That persistent squeak is more than an annoyance—it’s metal grinding on metal. Usually, it’s down to friction caused by:
A squeaky hinge is essentially a cry for help. Ignoring it can lead to premature wear, making the hinge difficult to operate and eventually requiring a full replacement. A few moments of maintenance can extend its life significantly.
Before you dive in with tools or new parts, take a minute to diagnose the root cause. Pinpointing the issue first means you’ll apply the right solution and avoid chasing the same problem later.
For a deeper look at routine upkeep, check out understanding the importance of regular property maintenance. And if you’re not sure what hinge style you’re dealing with, review the different types of hinges before you start.
Despite being a small chore, noisy hinges are surprisingly common—there are over 743 businesses in the Lock & Hinge Manufacturing industry across the UK. You can explore more on the UK's growing door hardware market on ibisworld.com.
Here’s a handy overview of popular lubricants you can reach for when a hinge starts complaining. Use this chart to decide which product fits your situation best.
| Lubricant Type | Best For | Pros | Cons |
|---|---|---|---|
| WD-40 | Immediate squeaks | - Fast-acting - Easy to spray into tight spots |
- Attracts dust - Short-lived |
| Silicone Spray | Outdoor hinges | - Water-resistant - Doesn’t gum up |
- Can stain surfaces - Messy |
| Petroleum Jelly | Indoor doors | - Readily available - Inexpensive |
- Can drip - Needs frequent reapplication |
| White Lithium Grease | Heavy-use hinges | - Long-lasting - Excellent metal protection |
- Sticky residue - Harder to clean |
This comparison should help you choose the right quick-fix. Remember, the most effective solution is the one tailored to your hinge’s environment and usage.
Whether you opt for a quick spray or a dab of grease, keeping hinges well-lubricated is one of the easiest—and most cost-effective—ways to maintain your doors. A few moments of care can save you the hassle of noisy hinges and extend their working life significantly.
Picking the right product is the difference between a five-minute fix and a permanent solution. What works perfectly on a low-traffic bedroom door will fail spectacularly on a garden gate getting battered by British weather. Knowing the difference will help you silence those squeaky hinges for good.
Lots of people instinctively reach for a can of penetrating oil like WD-40. It’s fantastic for a quick blast, especially when you’re trying to loosen up a rusted part. The problem is, it's a thin, solvent-based fluid that evaporates fairly quickly. Worse, it can attract dust and grime, making the squeak even worse down the line. For a fix that lasts, you need something that stays put.
The most important factor here is the door’s environment. Is it a bathroom door constantly exposed to steam and humidity? Or is it the entrance to a busy pub that swings open a thousand times a week? Each scenario demands a different approach.
Here are a few popular, more permanent options:
Key Takeaway: For a lasting fix, choose a lubricant designed to stay in place. A penetrating oil is a cleaner and temporary solution, while a grease or silicone spray offers more durable, long-term silence.
The biggest mistake is simply using the wrong product for the job. Spraying a thin oil on a heavy-duty exterior hinge is just asking for the squeak to come back after the first downpour. On the flip side, slathering thick grease on a delicate interior hinge is overkill and just creates a mess that attracts dust.
Over-application is another common error. You really don't need much; a little goes a long way. Piling on grease just creates a sticky magnet for dust and dirt, which eventually turns into a gritty paste that can cause more wear and tear on the hinge.
If you’re wrestling with a really stubborn or rusted hinge, a specialised product like a rust-loosening aerosol spray can make it much easier to get the pin out for a proper clean before you lubricate. It's also interesting to see how different parts of a door system need different solutions; for example, you can learn more about how to lubricate garage door rollers to see that principle in action. Taking a moment to pick the right product means your hard work will pay off with smooth, silent doors.
When a quick spray doesn’t silence the squeak, it’s a clear sign that deeper grime is the culprit. Removing the hinge pin for a thorough clean is the definitive solution to get rid of years of built-up gunk and rust. This process is surprisingly straightforward, but taking a few precautions first will prevent any accidental damage to your door or frame.
Before you even think about touching the hinge, you have to secure the door. A door is much heavier than it looks and can easily fall or shift, damaging the floor or itself. The simplest way to do this is by wedging a couple of doorstops or even a stack of books firmly underneath the far edge of the door. This support takes the weight off the hinges, making the pin much easier to remove.
With the door properly supported, you're ready to tackle the pin. I usually start with the top hinge, as this one often bears the most load. You'll need a hammer and a nail set (or a large, sturdy nail will do in a pinch).
Place the pointed end of the nail set against the bottom of the hinge pin and give it a few firm but gentle taps with the hammer. You should see the pin start to move upwards.
If the pin is stubborn, resist the urge to whack it harder. A bit of brute force can bend the pin or damage the surrounding woodwork. Instead, spray a little penetrating oil around the top and bottom of the pin, let it soak in for ten minutes, and then try tapping again. The oil will help break down any rust or hardened grease holding it in place.
Pro Tip: Before removing the second or third hinge pin, use a pencil to lightly mark the orientation of each hinge plate on the door and frame. This simple step makes reassembly much easier and ensures everything lines up perfectly later on.
Once you have the pin out, give it a good inspection. You'll likely see a combination of old, sticky lubricant, dust, and possibly even some rust. This is the gunk that's been causing all the friction and noise.
Now for the satisfying part: getting everything spotless. You don’t need fancy chemicals; a bit of steel wool or a wire brush will work wonders.
Here’s a simple cleaning process I always follow:
This process ensures that when you apply fresh lubricant, it adheres directly to clean metal, providing a much smoother and longer-lasting fix. Regular lubrication is one of the most vital aspects of door maintenance. A typical UK hinge can last 10-15 years, but with proper care, some can function perfectly for double that time.
Understanding the anatomy of different hinge types, such as butt hinges, can also be beneficial for maintenance. You can read more about how butt hinges make all the difference in joinery projects in our related guide.
This infographic shows a quick process flow for choosing the right type of lubricant based on your door's needs.
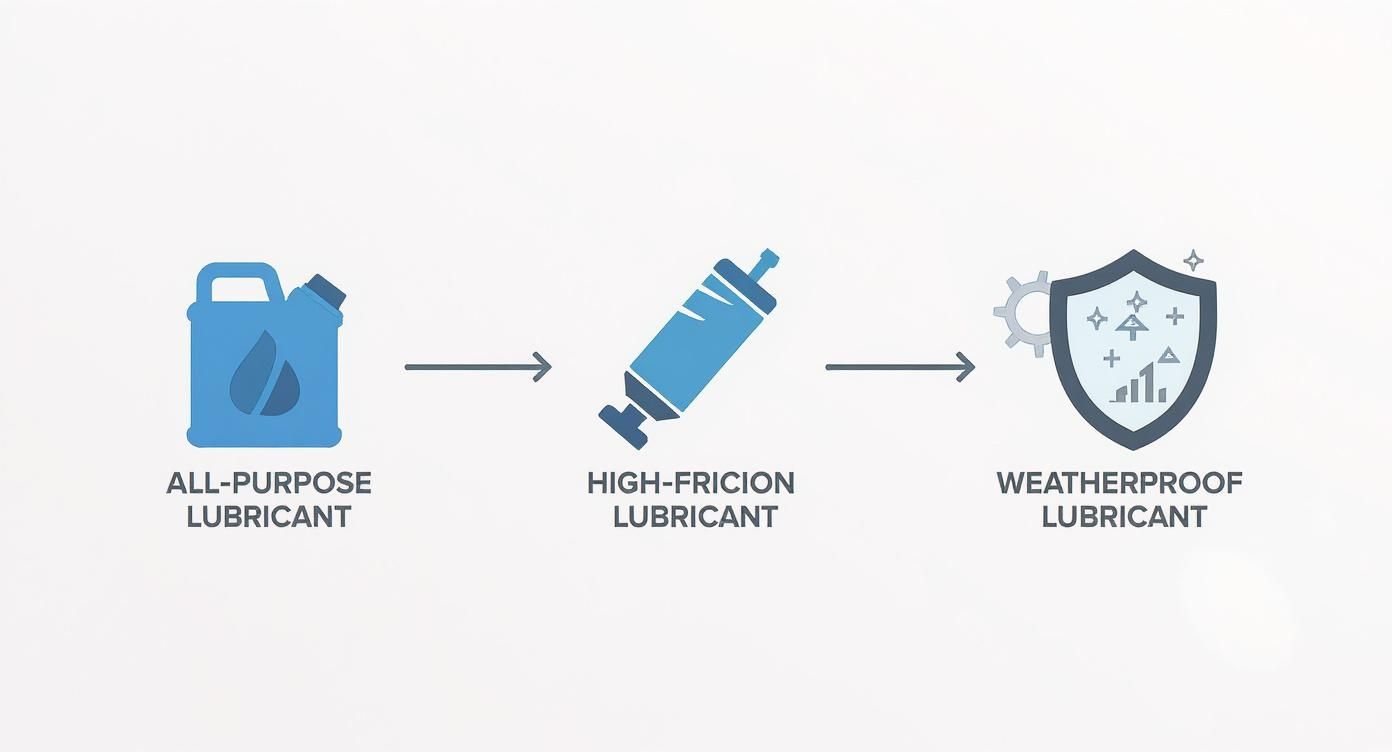
The visualisation clearly distinguishes between general-purpose oils for light use, heavy-duty greases for high-friction areas, and weatherproof options for exterior applications.
Right, with a spotless hinge pin and a clean barrel, you’ve made it to the most important part of the job. This is where you banish that squeak for good. Getting the lubrication right is a bit of an art form. Too little and you won't solve the problem, but go overboard and you'll create a sticky mess that just attracts more dust and grime, bringing the squeak right back. The aim here is a thin, even coat that lets the metal parts glide over each other.
If you're using a spray lubricant like silicone, hold the nozzle right up close to the pin and give it a light, consistent spray from top to bottom. For thicker stuff like white lithium grease or even petroleum jelly, just put a small dab on your fingertip or a cotton bud and spread it evenly across the pin. You’re looking for a translucent film, not a thick, gloopy paste.
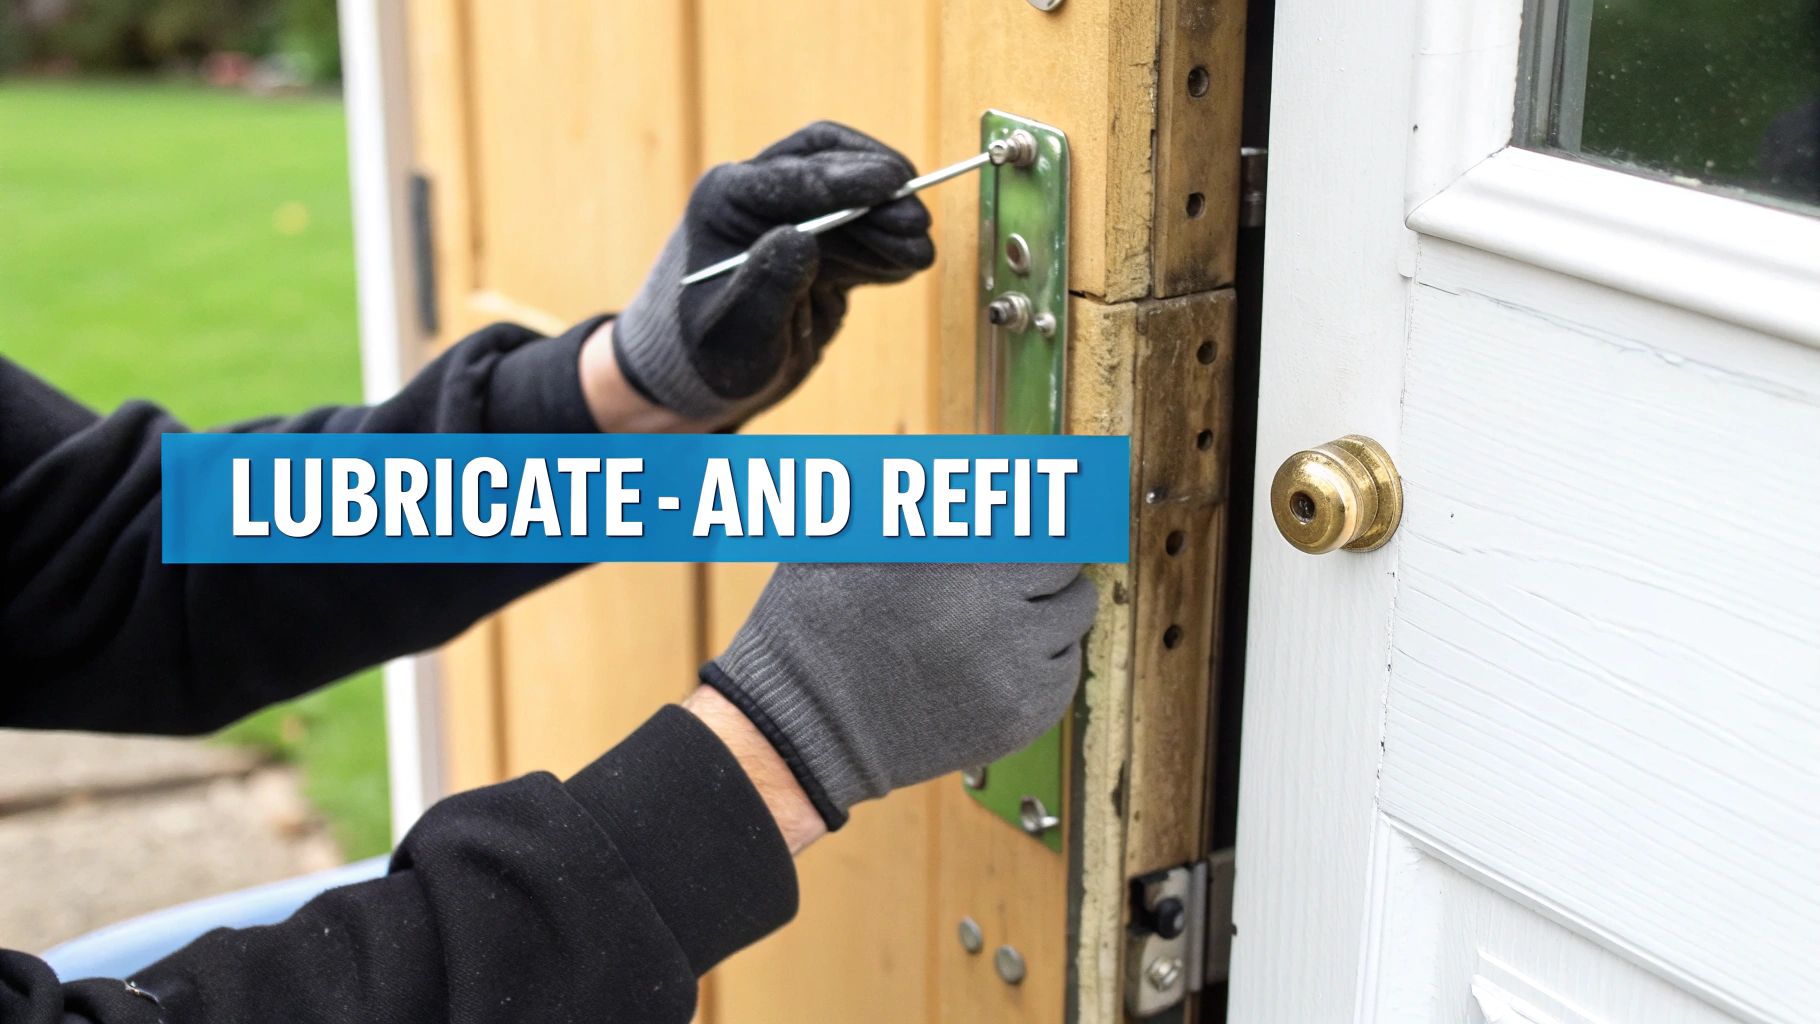
Once the pin is lubricated, putting it all back together is pretty straightforward, but it does need a gentle touch. Start by lining up the hinge plates again—the knuckles on the door should slot neatly between the knuckles on the frame. If you thought to mark their orientation earlier, this bit will be a doddle.
Slide the lubricated pin back into the top of the hinge barrel. It should go in smoothly for the most part, but you might need a little persuasion to get it fully seated.
If the pin gets stuck partway down, it’s usually because things are slightly out of alignment.
With the pin all the way in, you can take out the wedges or supports from under the door.
A Quick Tip: Before you call it a day, grab a paper towel and wipe away any excess lubricant that might have squeezed out from the top or bottom of the hinge. This little bit of housekeeping stops greasy drips on your floor and prevents dust from building up.
Now for the best part—testing your handiwork. Swing the door slowly back and forth a few times, covering its full range of motion. Listen carefully. That irritating squeak should be completely gone, replaced by a satisfying, near-silent glide.
The movement should feel smooth and controlled, with no grinding or resistance. If it feels a bit stiff, just open and close the door a few more times to help spread the lubricant evenly throughout the hinge. A well-lubricated hinge doesn't just stop the noise; it also cuts down on wear and tear, which will make your door's hardware last much longer. You’ve now successfully fixed your squeaky door hinge.
While a good clean and the right lubricant can solve most squeaks, some hinges are simply past their prime. Continuing to force a worn-out hinge is a false economy; it can lead to bigger problems like a misaligned door, a damaged frame, or even a door that won’t latch securely. Knowing when to stop fixing and start replacing is a key part of the job.
Sometimes the signs are impossible to miss. If you see advanced corrosion or rust that has eaten away at the metal, no amount of lubricant will restore its strength. This is especially common on exterior doors exposed to the British weather. Look closely at the hinge plates and knuckles—if they’re flaking or crumbling, it’s definitely time for a new set.
Beyond obvious rust, there are several other tell-tale signs that a hinge is on its last legs. You need to inspect it for more subtle forms of damage that indicate structural failure.
Pay close attention to these issues:
If you've tightened the screws and the door still feels loose or wobbly, the problem probably isn't the screws—it's the hinge itself. This kind of wear is a clear signal that a replacement is needed to restore proper alignment and security.
Once you’ve decided to replace a hinge, selecting the correct one is crucial for a lasting fix. It’s not just about matching the size and screw pattern. You also need to consider the material, weight rating, and intended use to ensure the new hinge is up to the task.
For standard interior doors, a basic brass or steel hinge is usually fine. However, for heavier doors or those in high-traffic areas, you’ll need something more robust. In the UK, hinges are often graded by their durability. For heavy-duty applications like public buildings or busy commercial environments, hinges of grade 11 or higher are recommended to ensure they can withstand frequent use. You can discover more insights about hinge ratings and features on assaabloy.com.
For external doors or those in damp environments like bathrooms, always opt for a corrosion-resistant material like stainless steel or a specially coated finish. This simple choice will prevent rust from becoming an issue again, saving you from having to repeat the job in a few years. Sourcing a quality, correctly graded hinge ensures your next fix will stand the test of time.
Even with the best guide in hand, there are always a few tricky questions that pop up mid-job. Let's tackle some of the most common queries about fixing squeaky hinges so you can get the job done without any hitches.
It might be tempting to reach for the nearest bottle of olive or vegetable oil for a quick fix, but trust me, it’s a bad move for the long haul.
While it’ll silence the squeak temporarily, cooking oils get gummy and sticky as they age. This tacky gunk then attracts dust and dirt, creating a grinding paste that brings the noise back, often worse than before.
Stick to a proper lubricant designed for metal parts. A silicone spray, white lithium grease, or even a dab of petroleum jelly will give you a clean, durable solution that won’t cause more headaches down the line.
A hinge pin that’s been painted into place can be a real pain. The goal here is to break the paint's seal without gouging the hinge or the surrounding woodwork.
Start by taking a utility knife and carefully scoring the paint around the top and bottom of the pin. This simple step often does the trick.
If it’s still stuck fast, place a nail set on the bottom of the pin and give it a few firm but controlled taps upwards with a hammer. For the really stubborn ones, apply some penetrating oil, let it soak for 15-20 minutes, and try again. Patience is your best friend here.
For most indoor doors around a typical UK home, a bit of preventative care goes a long way. Lubricating the hinges just once a year is usually all it takes to keep them moving quietly and smoothly.
Of course, some doors need a little more attention:
For all your hardware needs, from heavy-duty hinges to the right lubricants for the job, Neasden Hardware has you covered. Explore our extensive range of ironmongery and get expert advice for your next project at https://neasdenhardware.co.uk.