Order Online
- Straight to your door!
Straight to your door


Getting your cabinet hinges right is a game of precision. It all comes down to picking the right type for your doors, marking everything out meticulously, drilling clean pilot holes, and finally mounting the hardware. If you're going for that clean, modern look, you'll likely be using concealed hinges, which need a larger hole cut with a special Forstner bit. For a more traditional feel, butt hinges are simpler but demand perfect alignment right from the start.
Before you even think about picking up a drill, let's talk hinges. Getting this first step right is more than half the battle won, and it'll save you a frustrating return trip to the DIY shop. The world of cabinet hardware can seem a bit much at first, but a few key differences will make all the sense once you know what to look for. Your choice here doesn't just affect the final look; it dictates the entire installation process.
The biggest decision you'll face is whether to go with modern concealed hinges or something more traditional that's mounted on the surface.
Concealed hinges, which you'll often hear called European hinges, are brilliant because they're completely invisible when the cabinet door is shut. This gives you that sleek, seamless finish that's so popular in contemporary kitchens. They work by fitting into a round recess drilled into the back of the door. The installation is a bit more involved, but the pay-off is fantastic adjustability down the line.
On the other hand, you've got traditional options like butt hinges. These are visible on the outside of the cabinet, which can be a great look for certain styles. They're generally simpler to install as they don't need a big recess, but they offer very little wiggle room for adjustment once they're on. You really have to get their placement spot-on from the get-go.
For most modern kitchen renovations or new builds, concealed hinges are pretty much the standard. Their three-way adjustability (up/down, left/right, and in/out) makes achieving that perfect, uniform alignment across all your doors far easier than with fixed traditional hinges.
How your door sits on the cabinet frame is the next piece of the puzzle. This determines the exact type of hinge you need to buy. There are three main styles you'll come across:
Each of these styles requires a specific hinge designed to position the door correctly. To get a better feel for what’s out there, it’s worth taking a moment to explore the different cabinet door hinge types available.
To help you decide, here’s a quick comparison of the most common options you’ll encounter.
A comparison of the most popular hinge types to help you select the best option for your cabinet doors, based on appearance and installation style.
| Hinge Type | Appearance | Door Position | Best For |
|---|---|---|---|
| Concealed (European) | Invisible when closed | Full overlay, half overlay, or inset | Modern, minimalist kitchens with seamless lines. |
| Butt Hinge | Visible barrel on the outside | Typically inset or partial overlay | Traditional, farmhouse, or period-style cabinetry. |
| Surface Mount Hinge | Fully visible on the cabinet face | Overlay | Decorative and rustic styles, like country kitchens. |
| Semi-Concealed Hinge | Only the barrel is visible | Overlay | A budget-friendly middle ground between concealed and fully visible hinges. |
Choosing the right hinge is not just about looks; it's about getting the right function and fit for your specific project.
This growing demand for customised and functional cabinetry is really driving the hardware market forward. The European cabinet hinge market alone, valued at around £4 billion in 2025, is projected to grow by 6% annually until 2033, largely fuelled by home renovation trends. Here in the UK, homeowners are increasingly looking for durable, high-quality hinges that can stand up to the rigours of daily use. For a deeper dive, check out the insights on this growing market at archivemarketresearch.com. To get it right, take a look at these great tips for choosing the perfect hardware for your specific needs.
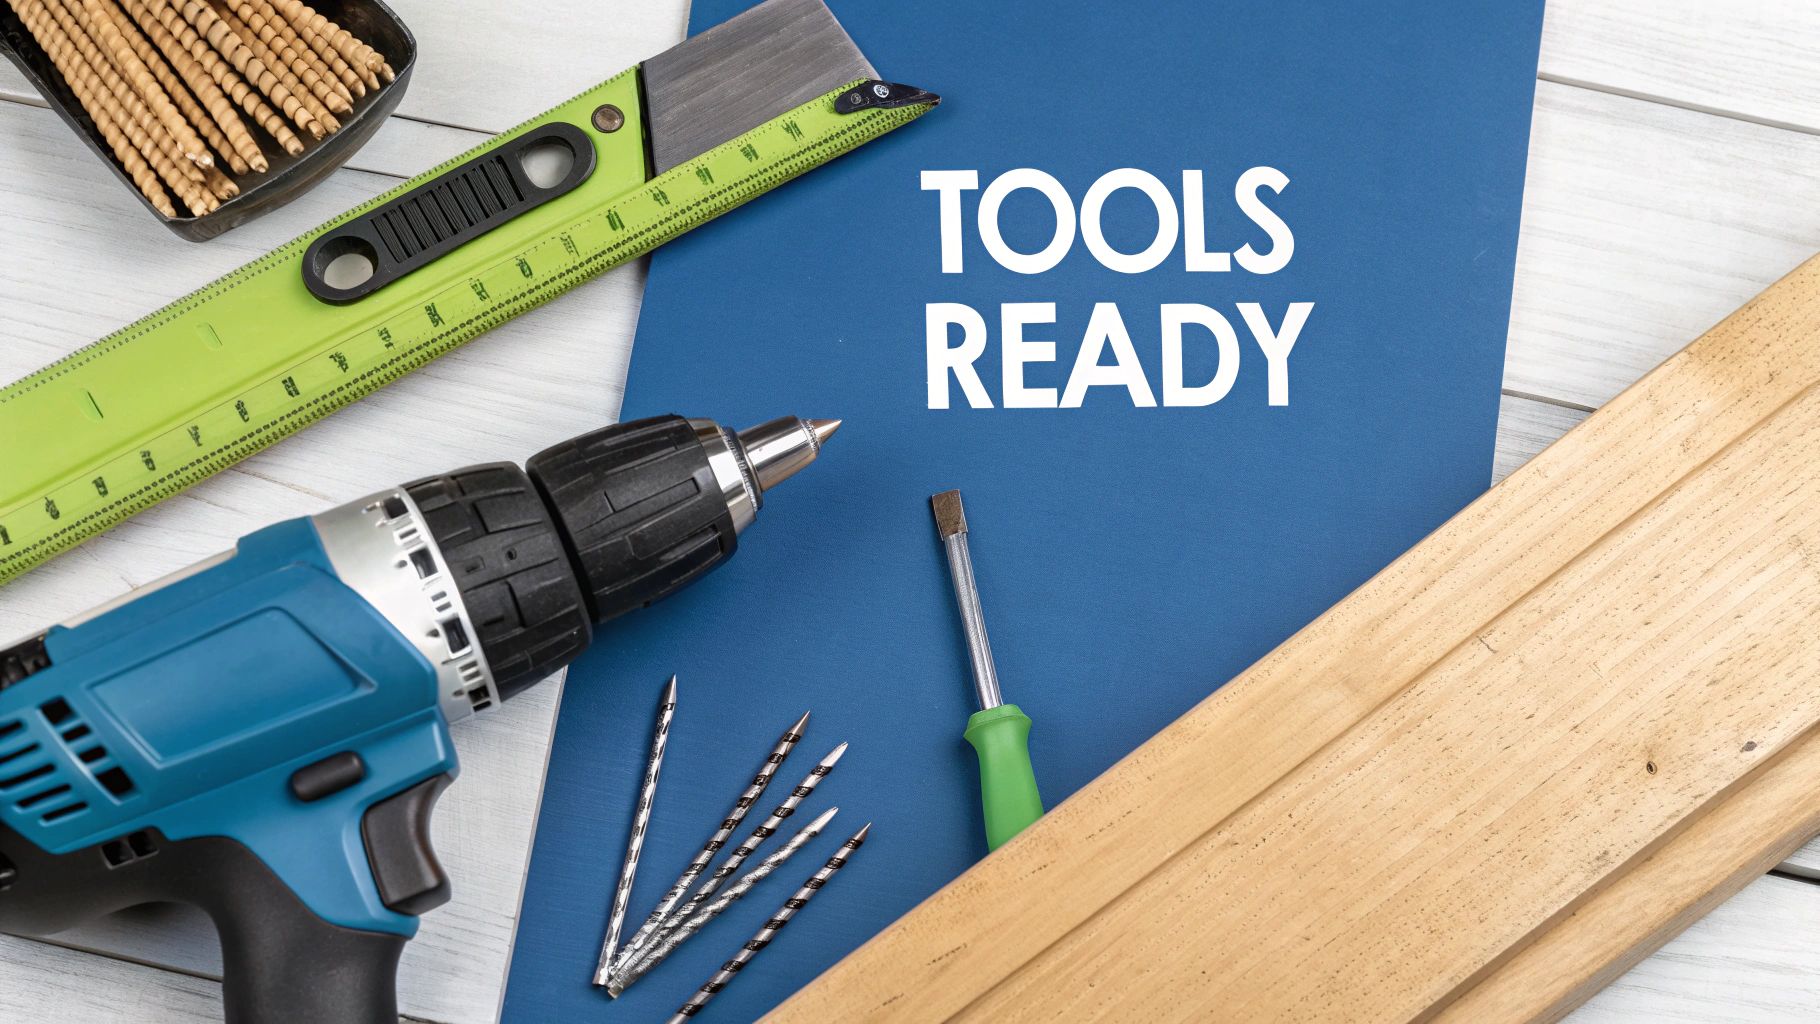
Getting a professional finish on your cabinet hinges isn't just about the final adjustments; it starts with having the right kit on hand. Before you even think about drilling, take a moment to gather your tools. Trust me, having everything you need laid out and ready will make the whole job quicker, easier, and far more accurate.
Think of it like being a chef with their mise en place. You wouldn't start cooking without prepping your ingredients, and the same logic applies here. Scrambling to find the right screwdriver or a sharp pencil halfway through is a sure-fire way to get frustrated and make a mistake you'll regret. Let’s avoid that.
While some specialist hinges might require a specific gadget, there’s a core set of tools that you'll need for pretty much any cabinet hinge project. These are the absolute essentials for getting the job done right.
Beyond the basics, a couple of small additions can make a huge difference. A bradawl or centre punch is fantastic for making a small dimple where you plan to drill. This tiny step prevents the drill bit from "wandering" off your mark, ensuring the hole is exactly where you want it.
Here's a tip I've sworn by for years: get yourself a self-centring drill bit, sometimes called a Vix bit. This clever little tool has a spring-loaded guide that guarantees your pilot hole is dead centre in the hinge's screw hole, every single time. It’s a cheap gadget that takes all the guesswork out of the equation.
The space you work in is just as critical as the tools you use. Spend five minutes setting up a proper area to protect your cabinet doors and make your life easier. Lay down a soft blanket, a big bit of cardboard, or an old rug to work on – anything to prevent scratches and dents.
Good lighting is also a must. If the room is a bit gloomy, bring in a portable work light. You need to be able to see your pencil marks clearly. Finally, keep your screws and hardware organised. A small container or a magnetic tray is perfect for stopping those tiny, essential screws from rolling away into oblivion. It’s a simple thing that can save you a world of pain later.
Alright, this is where the magic happens. The success of your cabinet hinge installation really does hinge—pardon the pun—on getting your measurements and drilling spot-on. This is the bit that separates a professional-looking job from one that’s just a little bit 'off', so it pays to slow down and get it perfect.
It doesn't matter if you're working with sleek, modern concealed hinges or something more traditional that mounts on the surface. The old adage of "measure twice, cut once" has never been more true. Even a single millimetre out can lead to wonky doors and uneven gaps—a real headache to fix later on.
The great thing about concealed hinges, often called European hinges, is that the process is incredibly standardised. This makes life much easier for the DIYer. Your main task is to drill a large, shallow hole, known as the 'cup', for the main body of the hinge to sit in. Honestly, trying to do this freehand is just asking for trouble. That’s why a hinge jig is worth its weight in gold.
A good jig is basically a foolproof template. It shows you precisely where to drill on the door, helps you set the correct distance from the edge (the 'backset'), and makes sure your drill bit goes in perfectly straight. If you're tackling more than a couple of doors, investing in something like the Trend Cabinet Hardware Drilling Jig will save you hours of guesswork and guarantee every hinge is in exactly the same spot.
To drill the cup hole itself, you'll need a specific tool: a 35mm Forstner bit. These bits are designed to create a perfectly clean, flat-bottomed hole, which is crucial for getting the hinge to sit flush.
A crucial tip: When you’re using a Forstner bit, always set a depth stop on your drill. Hinge cups are usually between 11-13mm deep. Go too far, and you’ll burst through the front of your cabinet door. That’s a mistake you can't really hide.
If you've opted for traditional butt hinges or other surface-mounted styles, the process is a bit more manual, but precision is still key. Here, your best friends will be a good combination square and a very sharp pencil.
This hands-on method gives you total control over placement, which is perfect for bespoke cabinetry or restoring period-style doors where modern jigs just won't cut it.
You’ve probably noticed the growing popularity of soft-close mechanisms, and this has definitely influenced how we install hinges today. Industry analysis shows steady growth in this market, with a projected CAGR of around 4.61% from 2024 to 2032. Here in the UK, we clearly value a quiet, controlled door closure. But be warned: these soft-close hinges are quite fussy and demand very precise drilling to work properly, making accurate measurements more important than ever.
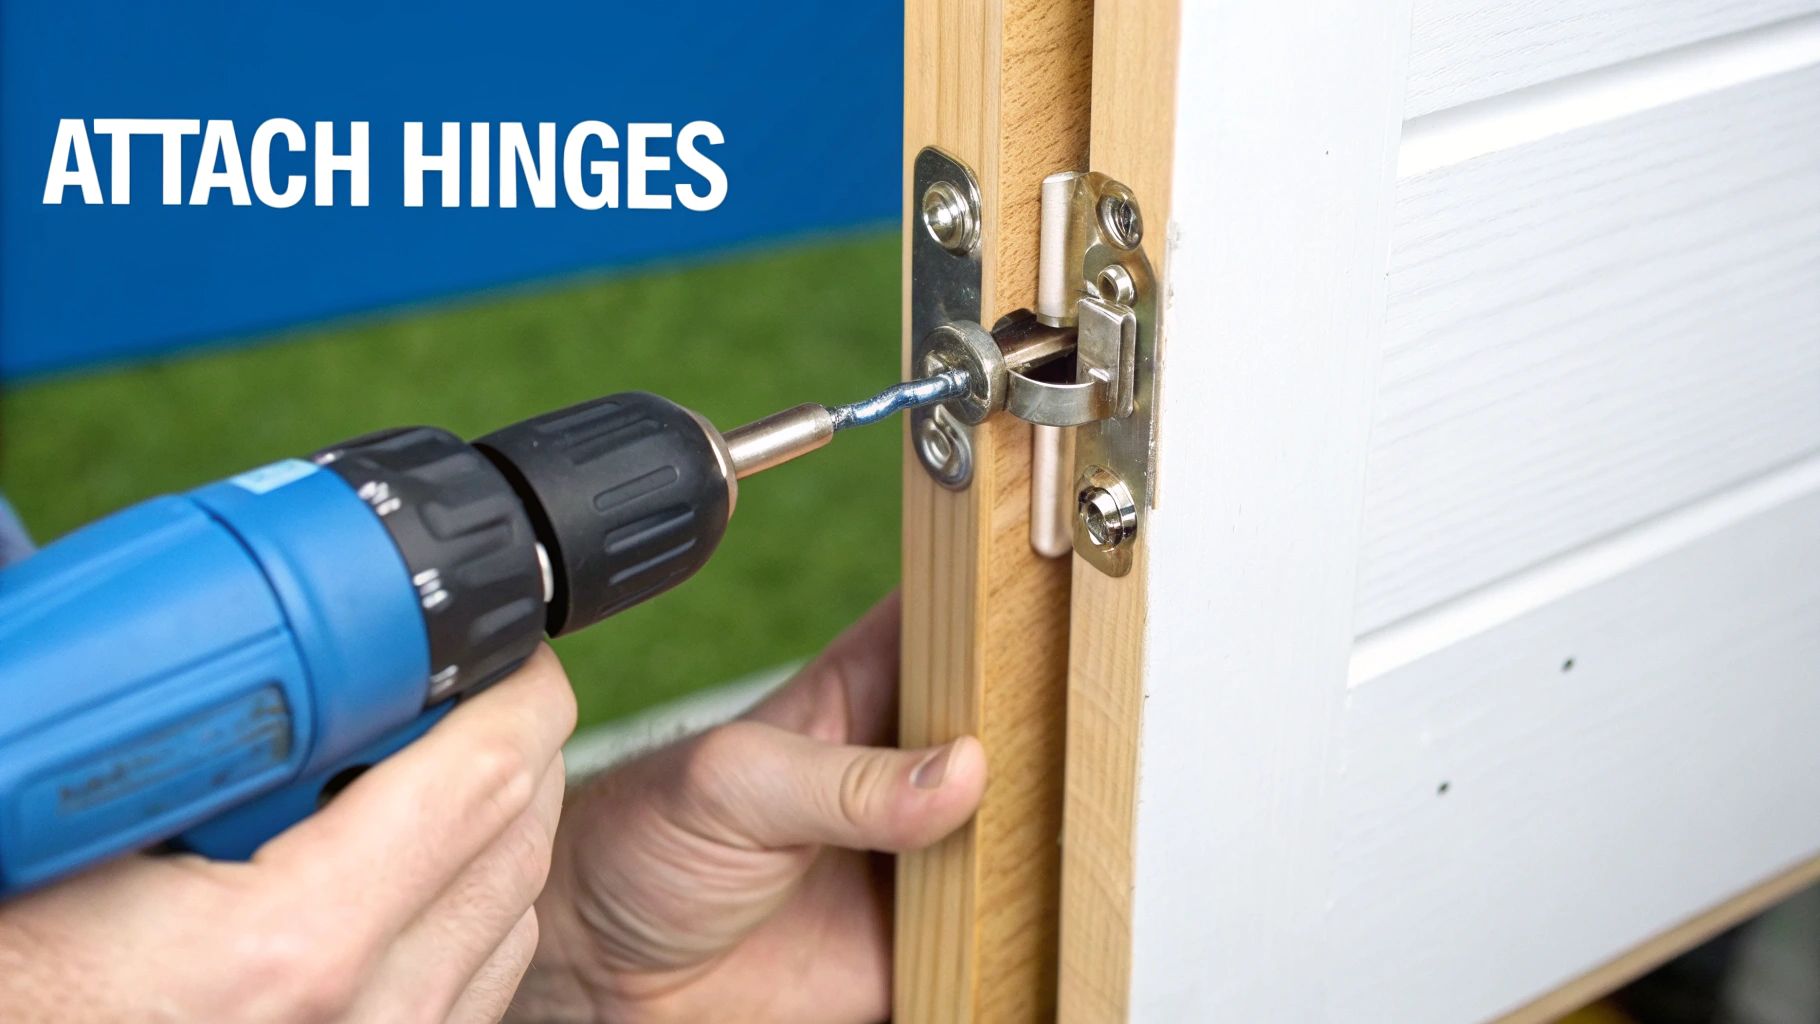
Alright, with all the careful marking and drilling out of the way, we get to the satisfying part—actually fitting the hardware. This is where your prep work really shines, and you start to see your cabinets finally take shape. The exact steps will change a bit depending on your hinge choice, but the fundamentals are the same.
First things first, always attach the hinges to the doors before you go anywhere near the cabinet frame. Trust me, trying to juggle a door against the frame while fiddling with tiny screws is a recipe for disaster and a lot of swearing. Lay your door face down on a blanket or a soft towel to prevent any scratches.
If you're using concealed hinges, this bit is nice and simple. Just press the hinge cup into that 35mm hole you drilled. You're looking for it to sit completely flush and snug inside the recess. Once it’s properly seated, pop in the two small screws with your drill or screwdriver. A little tip from experience: always start screws by hand for a few turns to make sure they're not cross-threaded before you drive them home.
For traditional butt hinges, you’ll line up the hinge leaf with the pencil marks you made on the edge of the door. Get the screws in, again starting them by hand. This is where a self-centring drill bit for your pilot holes really proves its worth; it guarantees the screws go in dead straight, pulling the hinge perfectly into place without any wobble.
The image below shows that initial, critical step of marking out where your hinges will sit on the door—the foundation for a perfect fit.

It’s a great reminder of why using a ruler and a sharp pencil for crisp, accurate lines is so important. Get this right, and everything that follows becomes so much easier.
Now it’s time to hang the doors, and this is where an extra pair of hands is worth its weight in gold. Trying to hold a heavy door steady with one hand while lining up screws with the other is incredibly awkward and a prime opportunity to damage your freshly finished door or frame.
Here’s a crucial tip: Get someone to help you. One person holds the door perfectly in position against the cabinet frame, and the other drives in the screws. It genuinely makes the process 90% easier and a whole lot safer.
For European-style hinges, the design is even cleverer. You'll first attach the separate mounting plates to the inside of the cabinet, using the marks you transferred earlier. Then, you just offer the door up to the cabinet, and the hinges will click satisfyingly onto the plates. It’s a brilliant system that makes hanging a whole kitchen's worth of doors a much faster job.
No matter which hinge you're using, don't fully tighten the screws that fix to the cabinet frame just yet. Leave them just snug enough to hold the door’s weight, but with a tiny bit of play. This wiggle room is essential for the fine-tuning adjustments we'll cover next, which is how you achieve those perfect, professional-looking gaps.
It’s easy to overlook hinges, but the UK's Lock & Hinge Manufacturing industry, valued at around £975.1 million in 2025, shows just how vital this hardware is. This sector has seen consistent growth, which tells you there’s always a demand for quality fittings. If you’re interested in the economics behind the hardware in your home, you can discover more insights about the UK hinge manufacturing sector.
Getting the cabinet doors hung is a great feeling, but the job isn't quite done. The final tweaks are what really separate a decent DIY job from a professional-looking installation. This is where you’ll methodically adjust the screws on your concealed hinges to get those perfectly even gaps, making sure every door sits beautifully flush with the cabinet frame.
Resist the urge to just start turning screws at random. Trust me, there’s a system to it, and knowing what each screw does is the secret to getting this done without any frustration. Most modern concealed hinges have three little screws, and each one controls a different direction of movement.
The genius of modern European-style hinges is the precise control they give you over the door’s final position. It's a bit like tuning a guitar; small, deliberate changes are what bring the whole look together.
A small turn goes a long way. I always recommend making just a quarter-turn on a screw, then closing the door to check the result. This methodical approach stops you from over-correcting and getting lost. Step back often to see how things look from a distance.
My advice is to focus on one door at a time. Get it sitting perfectly before you even think about the next one. I always work in the same order: adjust the height first, then sort out the lateral gaps, and finish by setting the depth. Working this way stops you from messing up the adjustments you've just made.
This process is especially important for soft-close hinges, as the fine-tuning ensures the soft-close mechanism works as it should. If you want a more detailed look at this, our guide on how to adjust soft-close hinges has some extra tips.
If you hit a snag and a door just won’t sit right, this quick troubleshooting table should help you figure out what’s going on and which screw to turn.
| Problem | Likely Cause | Adjustment Screw to Use |
|---|---|---|
| Door is too high or low | Vertical alignment is off. | Loosen the mounting plate screws and slide the door up or down. |
| Uneven gap between doors | Lateral position needs tweaking. | Use the side-to-side screw on the hinge arm to close or widen the gap. |
| Door isn't flush with the cabinet | The depth is incorrect. | Turn the depth screw at the back of the hinge to move the door in or out. |
Once you’re completely happy with how all your doors are aligned, the very last thing to do is go back and give every single screw a final, firm tighten. This locks in your hard work and makes sure your perfectly hung doors stay that way for years.
Let's face it, even with a solid guide, questions are bound to pop up when you're in the middle of a project. Installing cabinet hinges is no exception. We’ve been asked just about everything over the years, so I've put together some straight-talking answers to the most common queries.
Getting these little details right can be the difference between a frustrating afternoon and a job you can be proud of.
Ah, the dream scenario! It's a question we get all the time. The short answer is, probably not. You can only reuse existing holes if your new hinges have the exact same dimensions and screw pattern as the old ones. This really only happens if you're replacing a broken hinge with an identical model.
If you're moving from an old-school hinge to a modern concealed one, new holes are a certainty. You'll need to drill the large cup hole for the hinge itself, plus new pilot holes for the mounting screws. For a truly professional job, take the time to fill the old screw holes with a good quality wood filler. Sand it smooth, touch it up with paint, and then mark out for your new hardware. It’s an extra step, but it stops old holes from ruining your clean new look.
Without a doubt, the number one culprit for wonky cabinet doors is inaccurate measurement. I've seen it countless times. Being off by just a couple of millimetres is all it takes to throw everything out of whack, leaving you with crooked doors, uneven gaps, or a door that scrapes against the frame.
This is exactly why the right tools are so important. A hinge jig is your best friend when installing concealed hinges, and a good combination square is non-negotiable for marking out any hinge type accurately. The old carpenter’s saying, 'measure twice, cut once', has stuck around for a reason. It's the golden rule.
A few extra minutes spent checking your marks before you even think about drilling will save you a world of pain later. Rushing the measuring stage is the fastest way to get a rubbish result.
This one isn't about what you prefer the look of; it's determined entirely by how your cabinets are built. You've got to match the hinge to the door style. It’s that simple.
You absolutely cannot mix and match here. Trying to fit an inset hinge to an overlay door (or vice versa) just won't work without some serious, and often complicated, woodwork. Before you buy anything, open your cabinet door and see how it sits in relation to the frame. That will tell you everything you need to know.
Once your hinges are perfectly installed, you might start thinking about keeping the contents of your cabinets secure, especially with little ones around. This guide on how baby-proofing cabinets can prevent accidents is a great read.