Order Online
- Straight to your door!
Straight to your door


To get concealed hinges fitted successfully, you need more than just guesswork. It's a job that demands the right tools and a bit of precision. The whole process boils down to marking your cabinet door correctly, drilling a clean hole for the hinge cup with a special bit, mounting everything, and then making those final tweaks for a perfect fit.
Before you even dream of drilling, let's talk about preparation. Getting your tools in order isn't just about making the job easier; it's the difference between a door that hangs wonky and a professional-looking finish that will last for years.
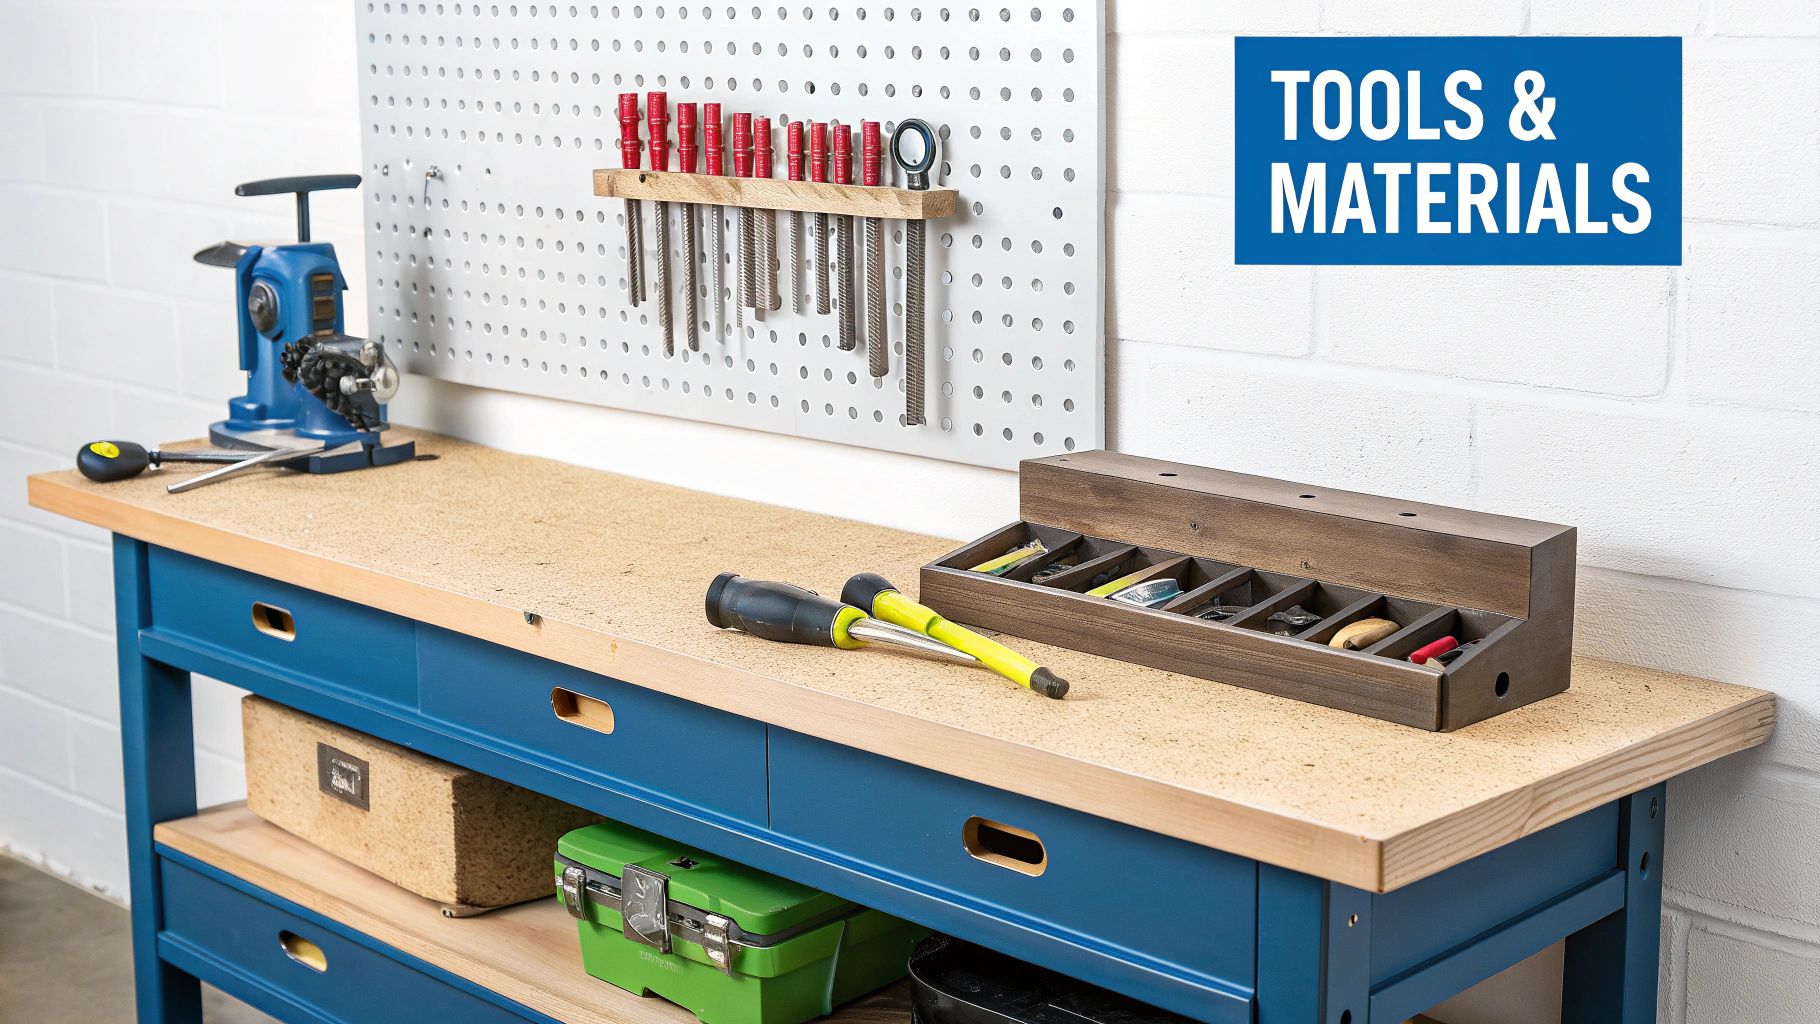
Of course, a cordless drill, a sharp pencil, and a good tape measure are your starting line-up. But a few specialist items will really lift your game. Think of them as your secret weapons for getting that factory-finish precision.
Beyond the absolute basics, a few items are non-negotiable if you want a clean, professional installation.
Trust me, the number one mistake I see DIYers make is trying to get away with using a standard spade bit. It just chews up the wood and never creates a flat base, which means the hinge will never sit right. Investing in the correct bit is the single best thing you can do for the project.
One of the biggest fears is drilling straight through a brand-new cabinet door. This is where a depth stop on your drill becomes invaluable. By setting it to the right depth—usually around 12-13mm—you can drill with confidence, knowing you’ll stop at the perfect point every time.
A quality 35mm hinge hole cutter like this one https://neasdenhardware.co.uk/products/bosch-2609255283-35mm-hinge-hole-cutter is made for this exact job, often with a tungsten carbide tip for a sharper cut that lasts longer, whether you’re working with MDF or solid oak. Nailing this foundational stage turns a potentially tricky job into a smooth and satisfying project.
This is where your attention to detail really pays off. Getting the markings right is the secret sauce for doors that hang perfectly straight and swing without a hitch. A few minutes of careful measuring now will save you a world of headaches later on.
Success comes down to one crucial term: overlay. This is simply how much the door covers the cabinet frame when it's closed. This single measurement influences everything, from the type of hinge you need to where you'll drill the holes.
For most standard kitchen cabinets here in the UK, the centre of the big round hole for the hinge (the hinge cup) is marked 22.5mm in from the edge of the door. This has become the go-to standard for everything from laminate-faced MDF to solid oak doors, and for good reason—it just works.
Where you place them vertically is a bit more flexible. A good rule of thumb is to position the hinges about 100mm (or 4 inches) from the top and 100mm from the bottom of the door. If you're working with a taller door, like for a larder or wardrobe, pop a third hinge in the middle to stop it from warping over time.
One of the most common slip-ups is focusing all your energy on marking the door and forgetting the cabinet. You have to transfer those marks to the cabinet body with absolute precision. A combination square is your best friend here for drawing a faint, perfectly level line inside the cabinet.
It’s no surprise these fittings are so common. The concealed hinge market is a big deal in the UK's architectural hardware scene. Britain is a major player in the European market, which, along with North America, accounts for nearly 60% of the global market share. It just goes to show how widely adopted these hinges are in new builds and renovations all over the country. You can find more detail on concealed hinge market trends on verifiedmarketreports.com.
Once the door is marked up, you need to get those lines onto the cabinet carcass. This part is critical. Hold the door against the cabinet exactly where it will hang—sticking a few wedges underneath can help hold it steady. Then, use a sharp pencil to transfer the centre lines for each hinge from the door onto the cabinet frame.
This ensures the mounting plate on the cabinet will line up perfectly with the hinge cup on the door. Don't rush this. Being off by even a single millimetre can leave you with a noticeably wonky door. Double-check everything before you even think about picking up a drill.
With your markings sorted, it’s time to get drilling. This is where precision really counts, but with the right approach, it’s a straightforward process. You’re essentially doing two things here: creating the large 35mm cup hole in the back of the door and drilling the much smaller pilot holes for the mounting screws.
For the main cup, a Forstner bit is your best friend. It’s designed to drill a clean, flat-bottomed hole, which is exactly what you need for the hinge to sit flush. I always recommend setting a depth stop on your drill to about 12mm. This gives you plenty of depth for the hinge cup without the nightmare scenario of accidentally drilling straight through the front of your cabinet door.
Drilling these holes properly is a critical part of the installation, as the guide below shows.
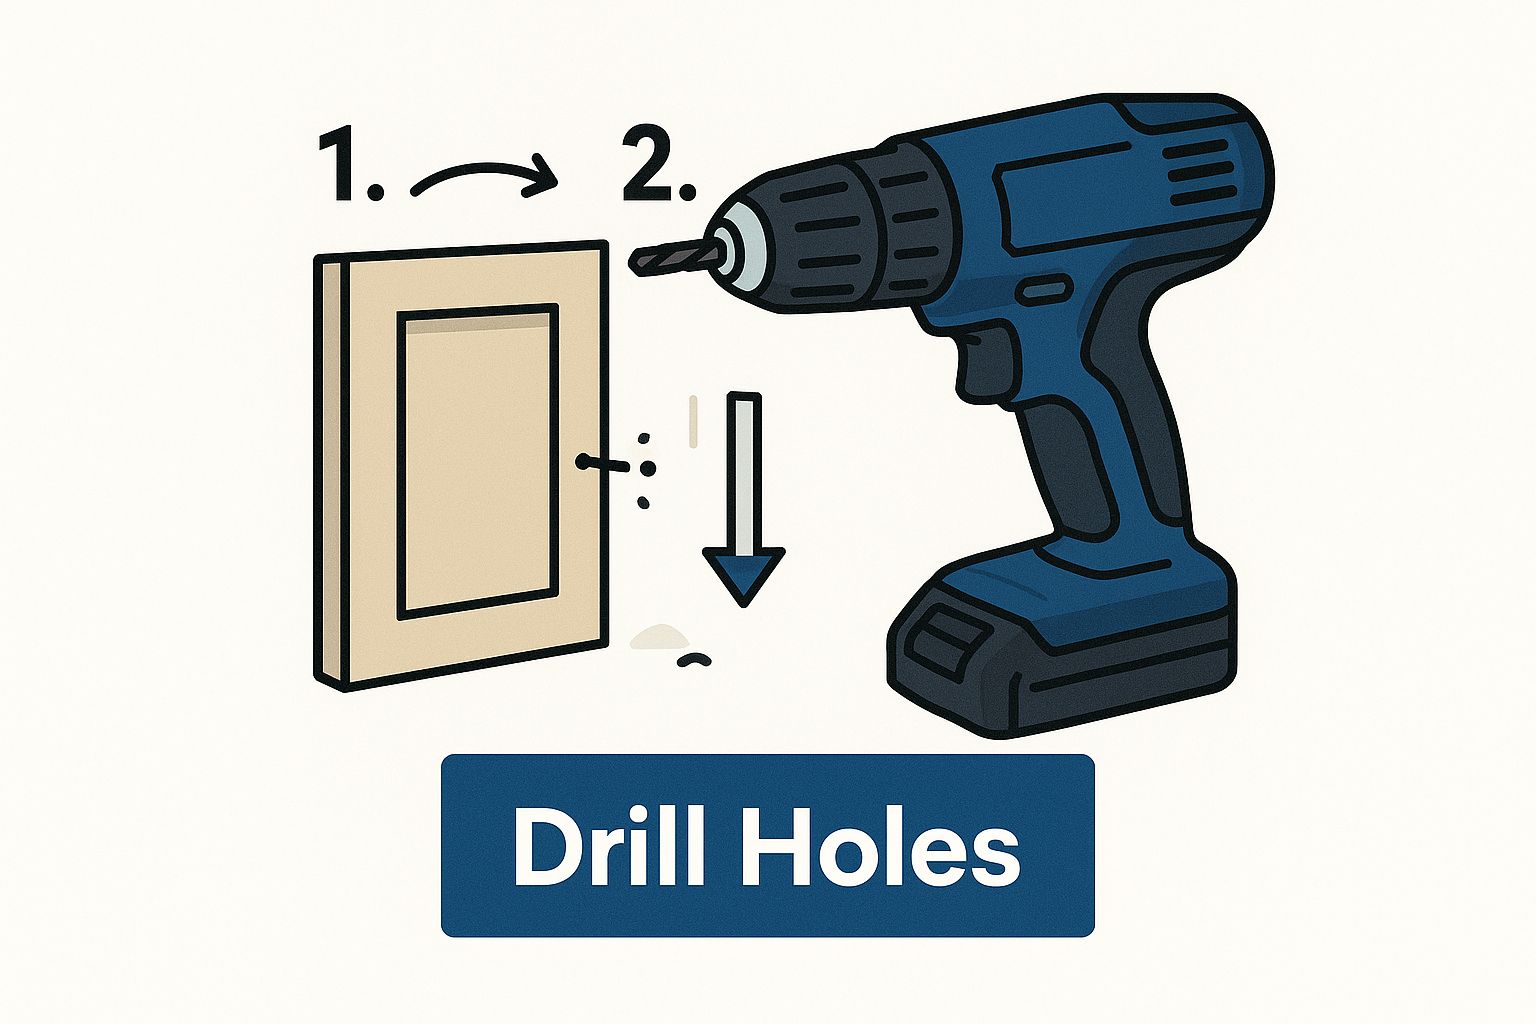
As you can see, accuracy at this stage is what makes or breaks the final fit and finish.
Next up are the pilot holes—both for the screws holding the hinge to the door and for the mounting plate on the cabinet frame. Don't be tempted to skip this. It's not just about making it easier to drive the screws; it's vital for preventing the wood from splitting, especially with materials like MDF or pine that are prone to damage.
Here's a little tip I’ve picked up over the years: stick a small piece of masking tape over your pencil mark before drilling. The tape stops the drill bit from wandering as it starts and gives you a much cleaner edge around the hole with less "tear-out."
Drilling pilot holes might feel like an extra step, but it’s what separates amateur work from a professional job. It ensures your screws go in straight and protects the wood, leading to a secure, long-lasting fit.
For a quick overview, here's a handy table with the key measurements and tools you'll need.
This table is a great little guide to keep on hand, summarising the standard measurements and tools needed for drilling both the hinge cups and the pilot holes accurately.
| Component | Standard Measurement or Tool | Pro Tip |
|---|---|---|
| Hinge Cup Hole | 35mm Forstner Bit | Use a depth stop set to 12mm to prevent drilling through the door. |
| Hinge Cup Depth | 12mm | Measure your specific hinge, but 12mm is a safe and common depth. |
| Pilot Holes (Screws) | Small drill bit (e.g., 2mm) | Place masking tape over the mark to prevent the bit from slipping and reduce tear-out. |
| Alignment Jig | 35mm Concealed Hinge Jig | A jig guarantees perfect alignment and spacing every time, especially for multiple doors. |
Following these guidelines will help you get it right the first time, every time.
If you’re fitting more than a couple of doors, I can’t recommend a dedicated jig enough. A good 35mm concealed hinge jig takes all the guesswork out of the equation, ensuring your alignment is spot-on every time. Nailing this stage sets you up for a flawless result.
Alright, this is where all your careful measuring and drilling pays off. It's time to get the hinges mounted and the door hung, turning those flat panels into a proper, functional cabinet.
First up, grab a hinge and press it firmly into the 35mm cup hole you drilled in the door. You want it sitting completely flush. Once it's snug, use your cordless drill to drive in the two small screws that hold it in place. These should go straight into the pilot holes you made earlier, which stops any chance of the wood splitting.
Now, let's turn to the cabinet carcass. Take the separate mounting plates and line them up with the marks you transferred to the inside of the cabinet frame. It’s absolutely crucial that these are perfectly level. Get your spirit level out to double-check before drilling the pilot holes and screwing the plates securely into position.
Most modern hinges use clip-on style plates, which are a lifesaver. This design makes installation dead simple – you just offer the door up to the cabinet and click the hinge arms onto the plates. You’ll hear a solid click as they lock in. If you're working with older slide-on types, you'll need to hook the hinge arm onto the plate and then tighten a securing screw. Both work, but clip-on systems, like this Blum CLIP-ON standard mounting plate, make removing the door later on much, much easier.
A bit of hard-won advice: if you’re hanging a large or heavy door for something like a wardrobe, get a friend to help. Trying to align a hefty door while holding it steady is a recipe for pure frustration and you could easily damage the door or cabinet. An extra pair of hands makes the whole job safer and far less stressful.
Getting this right is about more than just looks. In the UK's furniture manufacturing sector, which brings in around £13 billion a year, concealed hinges are used in about 70% of all cabinet products. Following professional standards can slash hinge failures and misalignments by up to 35%, a massive factor in commercial workshops. You can read more about the concealed hinges market on htfmarketinsights.com.
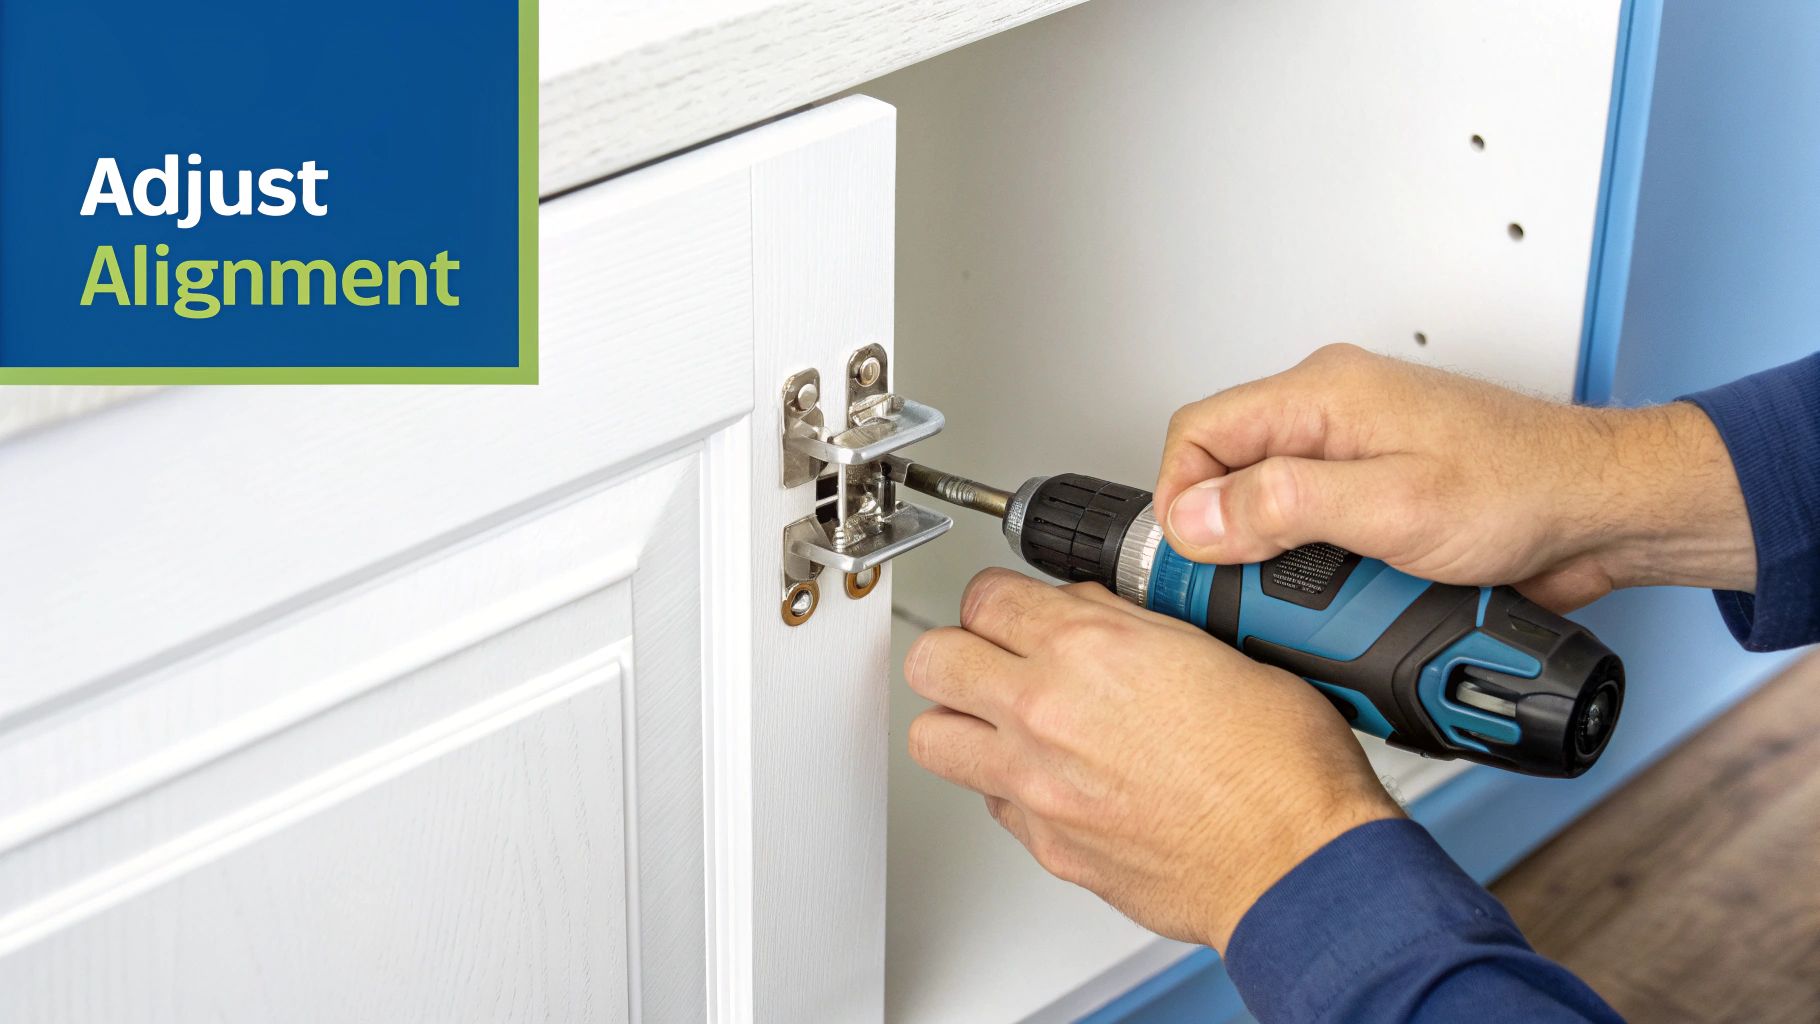
With the door now hanging in place, you're ready for the final, and most satisfying, step: making the final adjustments.
This final stage is what separates a good DIY job from a great one. It’s all about the fine-tuning that results in perfect, uniform gaps around your doors, giving them that professional, bespoke look.
Many people don't realise concealed hinges offer incredible three-way adjustability. A few simple turns of a screwdriver can completely transform how a door hangs and closes. This process is the secret to achieving that seamless, high-end finish that makes all the preparation worthwhile.
Once the door is hanging, you’ll notice three different screws on the hinge body. Each one controls a specific direction of movement. Let’s break down exactly what each one does.
Lateral Adjustment (Side-to-Side): This screw is usually the one closest to the door. Turning it moves the door left or right, allowing you to create an even, consistent gap between adjacent doors or between the door and the cabinet frame.
Vertical Adjustment (Up-and-Down): This is often achieved by slightly loosening the mounting plate screws and sliding the entire plate up or down. This is perfect for aligning the tops and bottoms of your doors, ensuring a clean, unbroken line across a row of cabinets.
Depth Adjustment (In-and-Out): The screw furthest back on the hinge body controls how close or far the door sits from the cabinet. A few turns will push the door in or pull it out, which is exactly what you need to make it sit perfectly flush.
Making small, quarter-turn adjustments is the key to success here. Work on one screw at a time, check the result, and then tweak it further if needed. It’s a process of small refinements, not drastic changes.
Start with the vertical alignment to get the tops and bottoms of your doors perfectly level. Next, use the lateral screw to even out the side gaps. Finally, use the depth screw to ensure every door sits beautifully flush with the cabinet.
This methodical approach ensures you're not fighting against your own adjustments. Taking a few extra minutes for this final fine-tuning will elevate your project from simply functional to truly flawless.
Even with the best preparation, a few questions can pop up during a concealed hinge installation. Let's tackle some of the most common queries we hear, helping you navigate any tricky spots you might run into.
Put simply, "overlay" is just the term for how much your cabinet door covers the cabinet's front frame when it's closed.
This measurement is absolutely critical because it dictates the specific type of hinge you need and where you have to position its mounting plate. Getting this right is the key to ensuring your doors hang correctly with neat, consistent gaps all around. Understanding the different cabinet door hinge types is fundamental before you buy anything.
Yes, you absolutely can, but it calls for meticulous measuring and marking. You’ll need a reliable combination square and a very sharp pencil to get the accuracy needed for a clean finish.
However, for beginners or anyone fitting more than a couple of doors, a concealed hinge jig is a seriously worthwhile investment. It takes all the guesswork out of the equation and guarantees perfect alignment every single time, saving you a huge amount of time and potential frustration.
A jig is often the difference between a good finish and a perfect one. It turns a task that demands intense focus into a simple, repeatable process.
This is a frequent problem and, thankfully, it's almost always solved with the depth adjustment screw. Take a look at the hinge body; you're looking for the screw that's furthest towards the back.
Turning this screw moves the door either closer to or further away from the cabinet frame. The trick is to make small, quarter-turn adjustments, checking after each one, until the door sits perfectly flush when it's closed.
For all your project needs, from specialist hinges to the right drill bits, Neasden Hardware has over thirty years of experience supplying both trade professionals and DIY enthusiasts. Find high-quality ironmongery delivered straight to your door. Visit us at https://neasdenhardware.co.uk.