Order Online
- Straight to your door!
Straight to your door


Getting drawer slides installed correctly really comes down to four things: picking the right type of slide, measuring properly, prepping the cabinet and drawer, and finally, mounting the hardware. Honestly, if you get that first part wrong, the rest of the project is going to be a struggle. The type of slide you choose sets the stage for every measurement and fitting that follows.
Before you even think about picking up a drill, the most important decision is selecting the right drawer slides. This choice impacts everything—how the drawer works, what it looks like, and the entire installation process. Your project's specific needs should be your guide here.
For instance, a heavy kitchen drawer packed with pots and pans needs a set of robust, high-capacity slides. On the other hand, if you're building a sleek, minimalist chest of drawers, you'll probably want concealed hardware that doesn't spoil the look. In the UK, you'll mainly come across side-mount, under-mount, and centre-mount slides.
Here's a quick rundown of what you'll find:
Side-Mount Slides: These are the real workhorses of the drawer world. They attach to the sides of the drawer box and the inside of the cabinet. They’re strong, reliable, and usually the most affordable option, which makes them perfect for utility drawers or anything in a high-traffic area.
Under-Mount Slides: If you're after a premium, clean aesthetic, under-mount slides are the way to go. They fit underneath the drawer, so they're completely invisible when it's open. This makes them ideal for bespoke cabinetry where you want the focus to be on the craftsmanship of the drawer itself. You can find out more about how different runners can help you maximise kitchen space in our dedicated guide.
Centre-Mount Slides: This is a more traditional style, using a single slide that runs under the centre of the drawer. While they're less common these days, they offer a simple solution for lightweight drawers or for restoring older furniture where you want to keep things authentic.
To help you decide at a glance, here's a quick comparison of the main types.
| Slide Type | Visibility | Load Capacity | Best For |
|---|---|---|---|
| Side-Mount | Visible when open | High | Everyday use, utility drawers, kitchens, and workshops. |
| Under-Mount | Completely hidden | Medium to High | High-end custom cabinetry, kitchen drawers, and minimalist furniture. |
| Centre-Mount | Visible underneath | Low | Lightweight drawers, antique furniture restoration, and small applications. |
This table should give you a good starting point for narrowing down your options based on the demands of your project.
Beyond how they mount, it's worth thinking about features like soft-close and push-to-open. Soft-close mechanisms are brilliant—they stop drawers from slamming shut, which adds a touch of quality and reduces wear and tear. Push-to-open slides are perfect for creating that clean, handleless look in modern kitchens.
While these features add to the cost, their impact on daily use is significant. A soft-close slide is a small luxury that makes a kitchen feel more refined and helps protect your cabinetry over time.
The UK furniture market has really embraced these advanced features. Recent reports show a 5.6% annual growth rate for cabinet drawer slides, and a lot of that is driven by people wanting smoother, quieter, and more durable hardware.
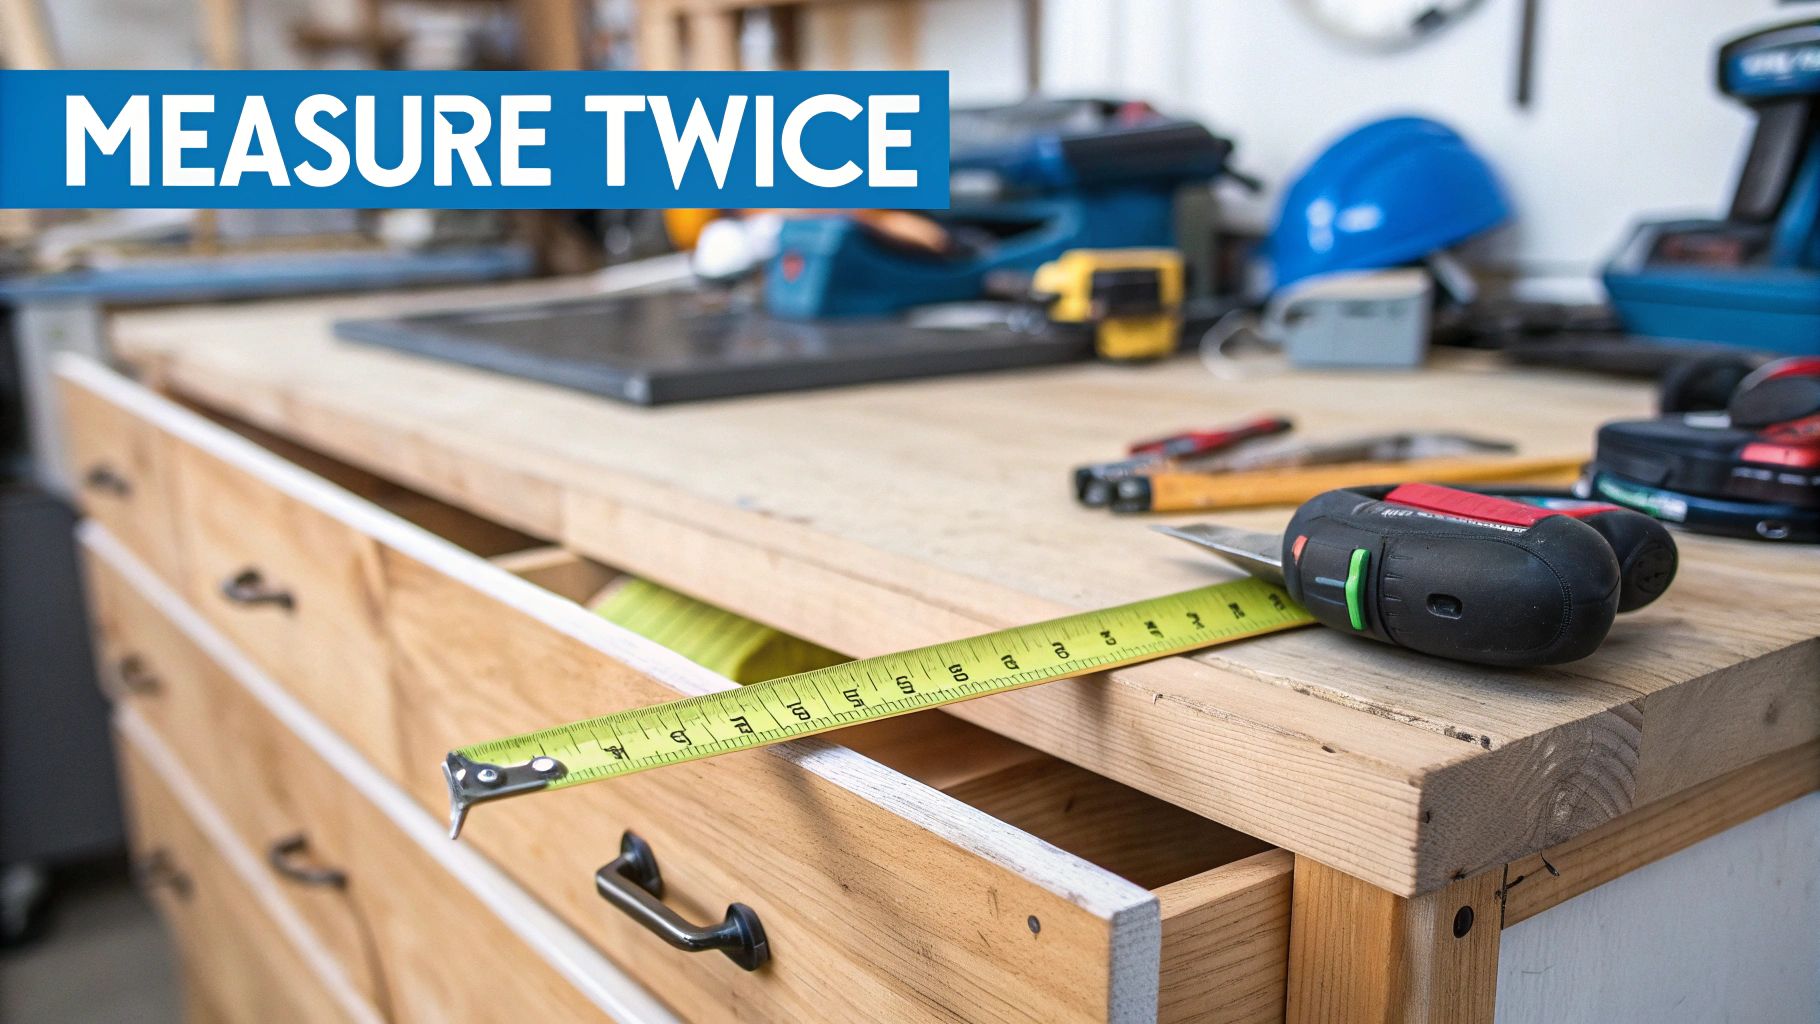
The difference between a wobbly drawer and a perfectly smooth one often comes down to just a few millimetres. Honestly, getting your measurements right from the start is the single most important step. Nail this, and you'll save yourself a world of frustration later on.
First things first, let's look at the cabinet opening. Grab a quality tape measure and jot down the width, height, and depth of the internal space where the drawer will live. Be methodical here—measure the width at the top, middle, and bottom, and do the same for the height. Cabinets, especially older ones, are rarely perfectly square, so always work from the smallest measurement you get. It’s the safest bet.
With your cabinet dimensions noted, the next thing to get your head around is clearance. This is the non-negotiable gap needed between the drawer box and the cabinet frame for the slides to actually work. The amount of space you need is dictated entirely by the type of slide you've chosen.
A classic mistake I see all the time is building or buying a drawer box that's the exact width of the cabinet opening. You have to remember that the slides themselves take up space. Forgetting this is a guaranteed recipe for a drawer that simply won't fit.
For example, most standard side-mount ball-bearing slides need a total clearance of about 25.4mm (1 inch). That means your finished drawer box must be exactly 25.4mm narrower than the cabinet opening—so, 12.7mm on each side. Under-mount slides are a different beast entirely; their requirements are usually based on the thickness of your drawer's side panels. The golden rule? Always, always check the manufacturer's specifications.
How you measure will also shift depending on your cabinet's style.
Finally, you need to sort out the correct slide length. Measure the distance from the inside front edge of the cabinet right to the inside back wall. Then, just choose a slide that's the closest size down from this measurement—never, ever longer. A 550mm deep cabinet, for instance, would typically need 500mm slides.
Proper prep work is the foundation of a flawless drawer slide installation. Honestly, taking the time to get your cabinet and drawer ready now will turn a potentially frustrating job into a satisfying one, making sure your drawers glide smoothly from day one. This stage is all about precision and setting yourself up for success.
Before you even think about touching a screw, give both the cabinet interior and the drawer box a thorough clean. You'll want to remove any dust or debris so your markings are accurate and your slides can sit perfectly flush against the surfaces. A clear workspace is a productive one, after all.
You don't need a professional workshop to get this done, just a few key tools to do it right. A good quality spirit level is non-negotiable for this task, as are a sharp pencil and a reliable tape measure. These basics will help you mark precise, level guidelines that guarantee perfect alignment later on.
To mark up your cabinet, draw a perfectly level line on the interior wall where the bottom of the slide will sit. You’ll do the same for the drawer, marking a level line on the side of the drawer box. Getting this right prevents a wonky, sticking drawer that'll annoy you every time you use it.
Here’s a simple trade secret for when you’re installing multiple drawers: use a homemade jig or a set of spacer blocks. A piece of scrap wood cut to the right height can be rested inside the cabinet, giving you a perfect ledge to place your slide on for marking and drilling every single time. This trick ensures every drawer is identically positioned.
Just as concealed hinges require careful alignment, so do drawer slides. If you're tackling other parts of a cabinet build, our guide on how to install concealed hinges might offer some useful parallel insights into precision woodworking.
Once your guidelines are marked, pre-drilling pilot holes for your screws is a crucial final step. This simple action prevents the wood from splitting when you drive the screws in, securing a strong and lasting fit for years to come.
Now that your guidelines are marked, this is where the project really starts to come together. I find it best to break the fitting process into two manageable parts: first, you secure the cabinet members, and then you attach the corresponding members to your drawer. Following this order makes the whole job much smoother.
The first thing you'll want to do is separate the two main parts of each slide. Most ball-bearing slides have a small release lever or tab; a quick press and the narrower drawer member will slide right out of the wider cabinet member. Once they're apart, you can focus on one piece at a time without wrestling with the full, awkward assembly.
Using the level guideline you drew inside the cabinet, go ahead and position the cabinet member. Here's a little tip from experience: align the bottom edge of the slide right on your pencil mark. For side-mount slides, you'll need to set it back from the front edge of the cabinet just a touch—usually about 2mm—to allow the drawer front to sit flush.
Start by driving screws only into the horizontally elongated or adjustable mounting holes. This is a game-changer because it gives you a bit of wiggle room for those tiny adjustments before you lock everything down. Once you've double-checked that the slide is perfectly level and positioned just right, you can drive in the rest of the screws into the round, fixed holes to secure it firmly in place.
Don’t be tempted to skip re-checking the level after that first screw goes in. A tiny shift as you fasten it can be enough to throw the whole alignment off, leaving you with a drawer that sticks or won't close properly. Precision at this stage really does pay off later.
The image below shows how that initial placement should look inside the cabinet. Getting this right is the foundation for a drawer that glides like it's on air.
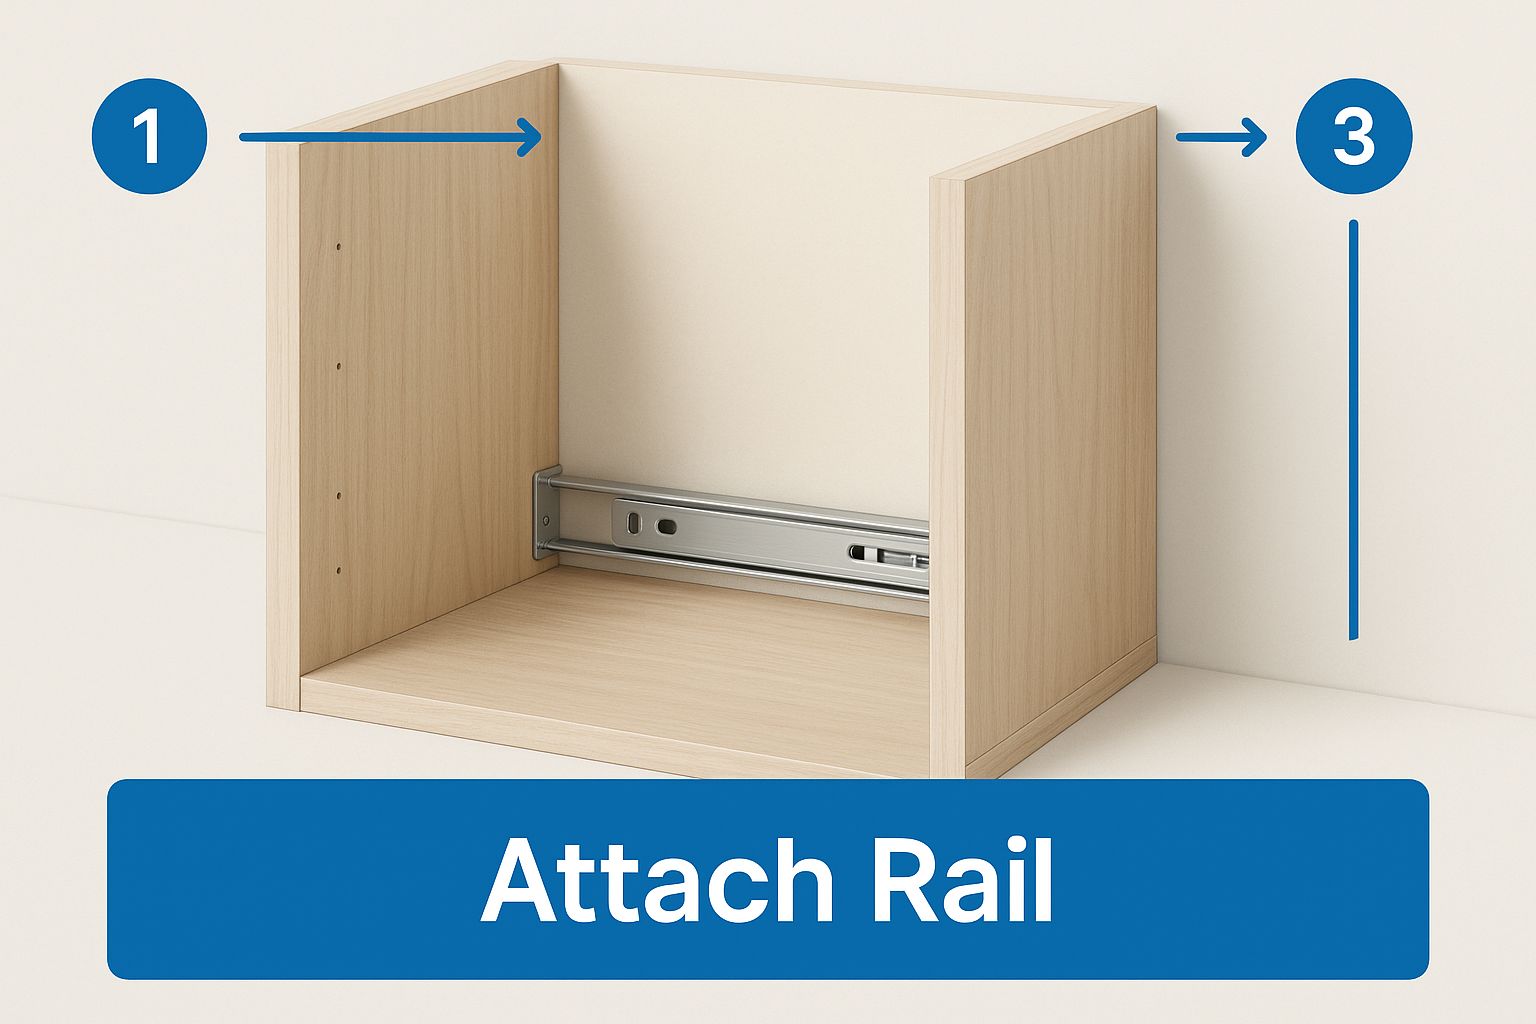
This visual is a great reminder of how the slide should align with your markings before any screws are fixed, setting you up for success.
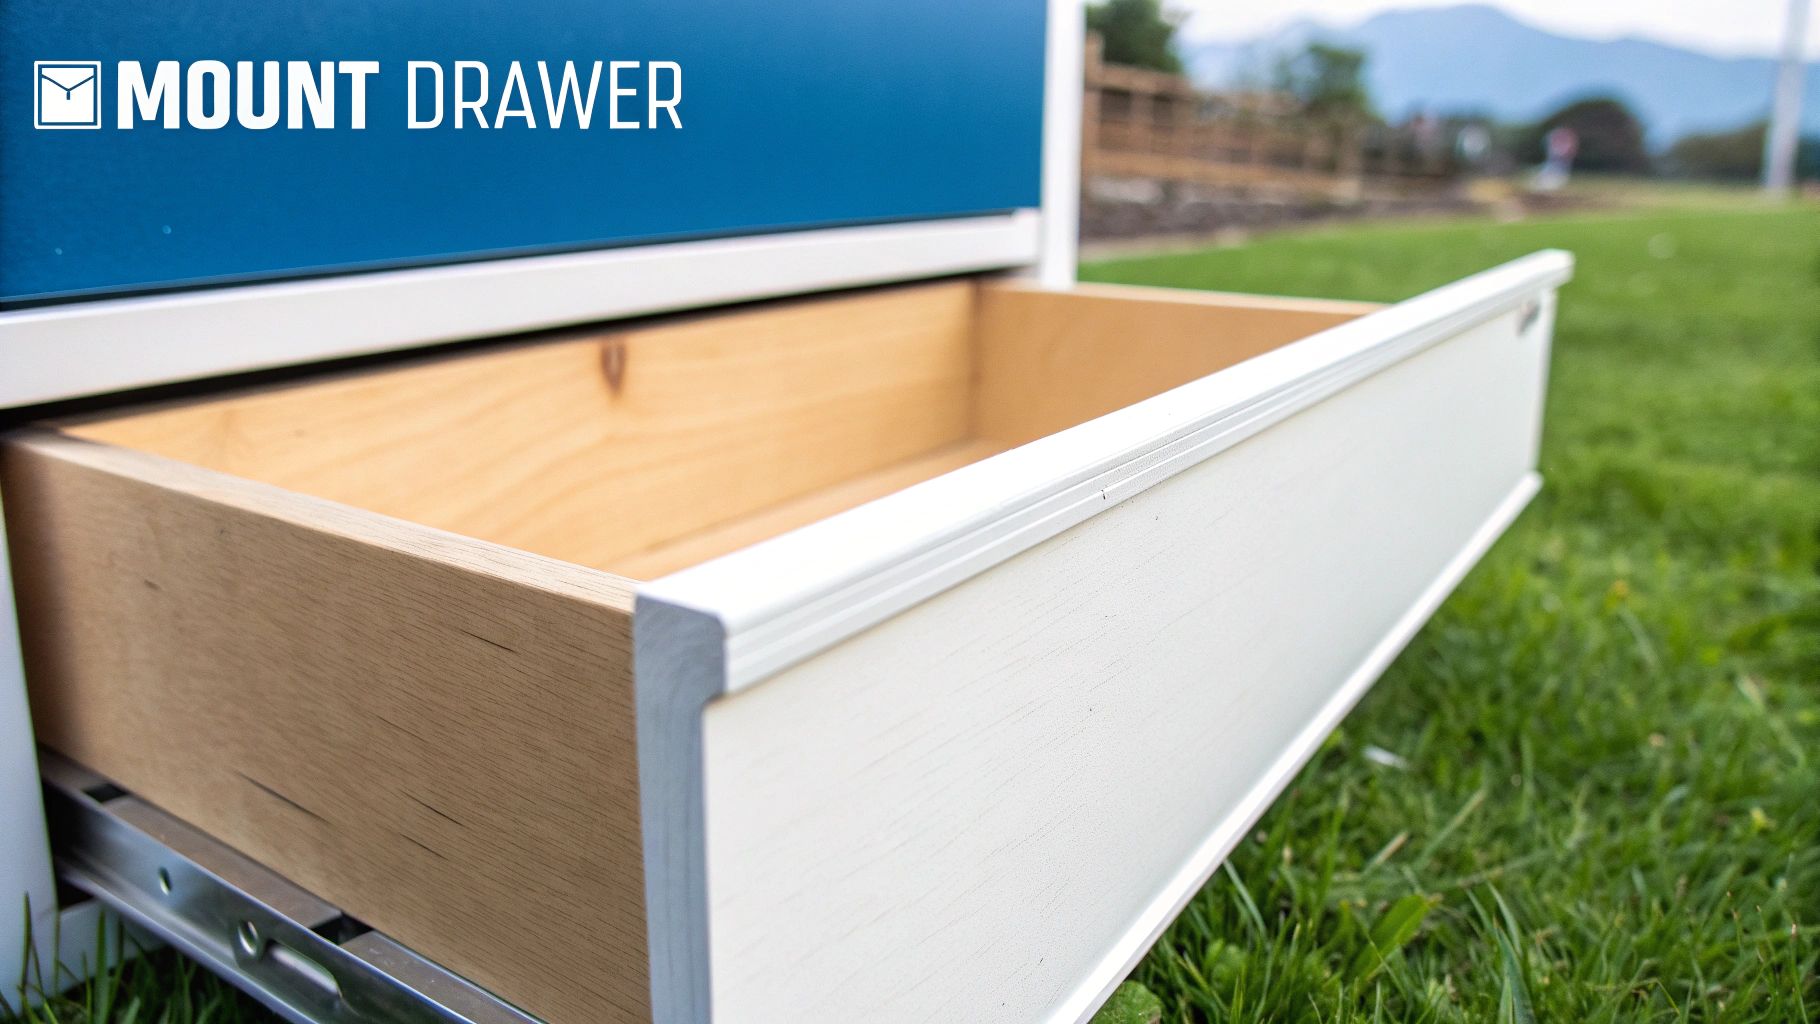
Now, let's turn to the drawer box itself. You'll follow the exact same principle here. Align the bottom edge of the drawer member with the guideline you marked on the drawer's side. Just like before, use the adjustable slots first, check that everything is spot-on, and then fix it permanently.
Repeat this whole process for the other side of the cabinet and drawer, making sure both sides are a perfect mirror image of each other. The demand for precise fitting has really grown in the UK; it's thought that over 60% of slides installed in homes are ball-bearing types that need this careful alignment. This shift towards higher quality is also reflected in the popularity of advanced systems like the Hettich Quadro V6 soft-close runners.
Once all four parts of the slides are securely attached, it’s time for the moment of truth. Gently guide the drawer into the cabinet, aligning the drawer members with the cabinet members until you hear and feel them click into place. Open and close the drawer a few times to test the action—it should feel smooth, steady, and secure.
Getting the drawer fitted is a huge milestone, but it's the final tweaks that create a truly professional, polished result. This is the art of adjustment, where you transform a functional drawer into a perfectly aligned part of your cabinetry.
Don't worry if the gaps around the drawer front aren't perfect on the first try—they rarely are. Modern slides, especially under-mount versions, are designed with this in mind. They often have built-in adjustment mechanisms, usually small cams or tabs, that let you shift the drawer front up, down, left, or right with the turn of a screwdriver. This is how you achieve those beautifully consistent gaps that are the hallmark of quality craftsmanship.
Even with careful preparation, you might run into a few snags. If a drawer feels stiff or sticks when you try to open it, the first thing I always check is whether the slides are perfectly parallel and level. Even a tiny discrepancy from front to back can cause binding.
Here are a few common problems and how to fix them:
A common mistake is overtightening the screws during the initial fit. I've learned to leave them slightly loose in their adjustment slots until I'm completely happy with the drawer's position. It gives you the flexibility to make these final, crucial tweaks without having to re-drill anything.
Mastering these small adjustments is key. Similar principles apply when you want to upgrade your cabinets with the right finishing touches, as it’s always the attention to detail that makes all the difference.
Even the most detailed guide can't cover every single scenario you might run into. Here are a few common questions that pop up during drawer slide installations, with some practical advice to get you through them.
Yes, you definitely can, but it's rarely a straightforward swap. Be prepared to make a few adjustments.
For instance, if you're upgrading from old, clunky side-mount runners to a sleek under-mount system, the clearance requirements will be completely different. This often means you'll need to build a new drawer box to match the new slide's specifications.
The path of least resistance is always to replace like-for-like. But if your heart is set on an upgrade, just do your homework. Check the specs for the new slides and measure your existing cabinet and drawer carefully before you commit to buying anything.
Face frame cabinets are common, but they add a little wrinkle to installation. The frame on the front of the cabinet sits proud of the cabinet sides, creating a recess where you need to mount your slides. The goal is to bring that mounting surface forward so it's flush with the inside edge of the frame.
You have two solid options for this:
Whichever method you choose, the aim is to create a perfectly vertical and parallel surface for the slide. Get this right, and your drawer will glide smoothly.
A wobbly or binding drawer in a face frame cabinet almost always comes down to the slides not being perfectly parallel. Taking that extra time to get your brackets or shims perfectly aligned is time well spent—trust me.
Here in the UK, especially in cities where every inch counts, there's a growing demand for smart, space-saving furniture. This has helped fuel the global drawer slides market, which is on track to hit around £4 billion by 2032. Features like soft-close are no longer a luxury; they're seen as essential for making life in smaller homes more convenient. You can dive deeper into these market trends in this detailed industry report.
For all your hardware needs, from the latest soft-close runners to the essential fixings, you can count on the experts at Neasden Hardware. With over thirty years in the business and fast, nationwide delivery, we've got everything you need to get the job done right. Check out our range at https://neasdenhardware.co.uk.