Order Online
- Straight to your door!
Straight to your door


Right, let's get straight to it. For a standard internal wooden door here in the UK, you're almost certainly going to need a No. 8 gauge, 32mm (1.25 inches) long screw. That’s the go-to for most jobs.
But hold on. Just grabbing the "standard" size isn't always the smart move. Depending on the door, the frame, and what you're trying to achieve, that standard screw might not be up to the task.
Choosing the right screw for your door hinges is far more than a tiny detail—it's what separates a professional job from a disaster waiting to happen. Think of it like putting the wrong tyres on a car. It might work for a bit, but you're asking for trouble down the line, from an annoying squeak every time you open the door to complete failure.
A screw that’s too short won't bite deep enough into the solid timber of the door frame. The result? A sagging door that scrapes the floor and never quite shuts properly. On the flip side, a screw that's too thin (a low gauge) just won't have the muscle to hold a heavy, solid-core door, leading to wobbly hinges and, eventually, a door that comes loose.
These aren't just cosmetic problems. A poorly secured door, especially an external one, is a serious security risk.
Getting the size right from the very beginning is the secret to a door that hangs true, swings smoothly, and stays put for years. Thankfully, things have become a bit more standardised over the years, with the No. 8 gauge screw now being the industry norm for around 70-80% of UK residential doors. You can discover more insights about fitting door hinges on decoranddecor.com.
A correctly chosen screw does more than just hold a hinge in place. It distributes the door's weight evenly through the frame, preventing stress on the wood and ensuring long-term structural integrity.
This guide goes beyond the simple "one-size-fits-all" answer. We're going to break down how different factors come together to give you that flawless, professional finish:
Master these elements, and you'll be hanging any door with confidence.
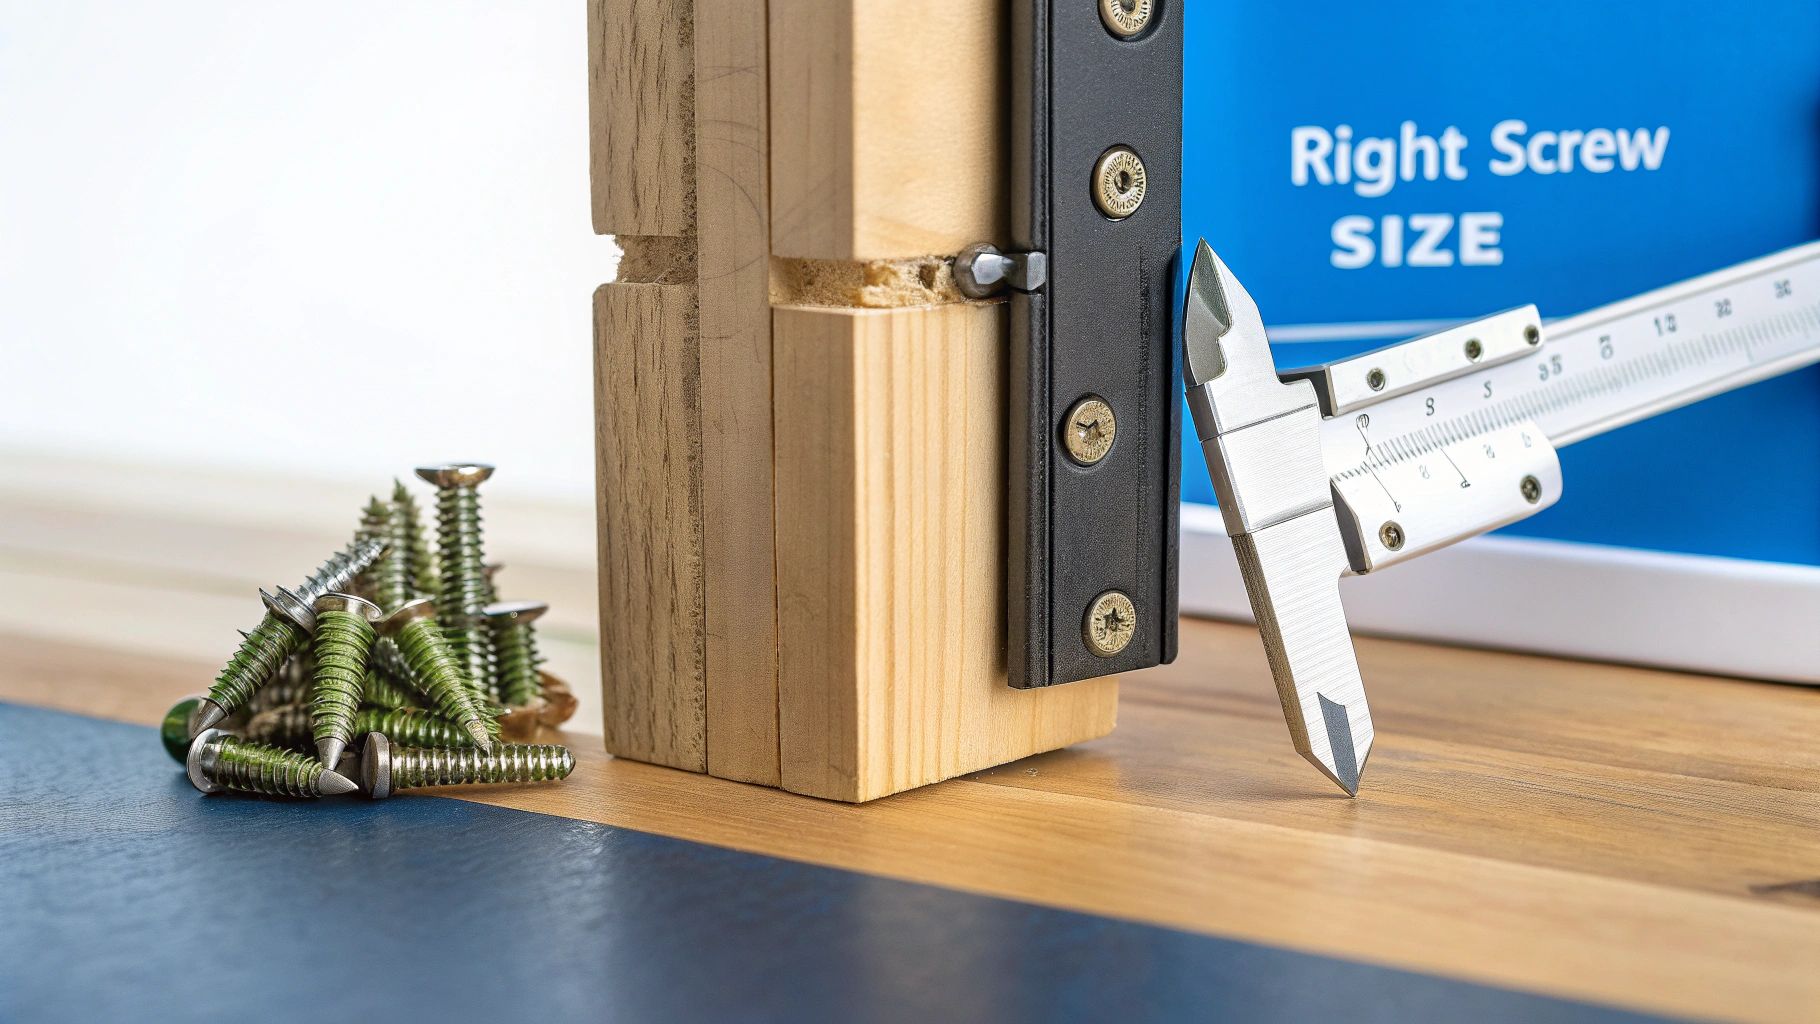
When you're staring at a wall of screws in a hardware shop, it can feel a bit like trying to read a secret code. But don't worry, it all boils down to two simple measurements that really matter for hanging door hinges: gauge and length. Getting these right is the difference between a door that hangs solid for years and one that starts to sag in a few months.
Think of the gauge as the screw's muscle—it’s just a measure of its diameter or thickness. In the UK, this is usually shown as a number, like No. 8 or No. 10. It's simple: a higher number means a thicker, stronger screw. It’s a bit like comparing a thin piece of string to a thick rope; you know instinctively which one can handle a heavier load.
A thicker screw has greater shear strength, which is just a technical way of saying it's much harder to bend or snap under the weight of the door.
For most standard, lightweight internal doors in UK homes, a No. 8 gauge screw (which is about 4.2mm thick) is the perfect choice. It has plenty of strength without being so chunky that it risks splitting the timber on the edge of a standard door.
But if you’re hanging a heavy, solid-core internal door or any external door, you need to step things up. This is where a No. 10 gauge screw (around 4.8mm thick) becomes essential. That bit of extra thickness gives you the holding power needed to support the serious weight and stop the hinges from pulling loose over time.
Choosing the right gauge isn't just about strength; it's also about fit. The screw head has to sit perfectly flush in the countersunk hole of the hinge. If the gauge is too big, the head will stick out and stop the door from closing properly.
Once you've sorted the gauge, the next crucial decision is length. A screw's length determines how securely it bites into the door frame, anchoring the whole setup. A classic DIY mistake is using screws that are too short, only gripping the thin door casing or architrave, which is often just flimsy MDF or softwood.
Imagine trying to secure a boat with an anchor that only digs into the shallow, loose sand at the water's edge. It won’t hold for long. Your hinge screws need to do the same thing—they must go deep, right through the casing and into the solid timber of the door jamb or the wall stud behind it. That's where the real strength is.
Here’s a quick guide to common lengths:
32mm (1.25 inches): This is the absolute minimum you should use for most internal doors. It’s just about long enough to get through the hinge and the casing and get a decent grip on the jamb.
40mm (1.5 inches): A much better option for heavier internal doors, or if you just want that extra peace of mind that the fixing is rock-solid.
65mm (2.5 inches) or longer: These are non-negotiable for external doors. The extra length provides a far stronger fixing, which is vital for security and for supporting a heavy door against the weather and constant use.
It’s tempting to think a screw is just a screw, but not all doors are made equal. The screw that works perfectly for a light, hollow internal door will be completely wrong for a solid oak front door. Taking a one-size-fits-all approach is a recipe for sagging hinges, poor security, and even a split door frame down the line. It really pays to match the screw to the specific door you're hanging.
For the vast majority of standard internal doors in UK homes—often hollow-core or lightweight timber—a No. 8 gauge, 32mm screw is your best bet. These doors don't carry much weight, so the screw’s main job is simply to hold the hinge firmly against the frame and door edge. A No. 8 gauge provides plenty of strength without being so chunky that it risks splitting the wood.
However, the moment you move to a heavier, solid-core internal door, perhaps made of oak or another dense hardwood, you need to step things up. In this scenario, a thicker No. 10 gauge screw is the right tool for the job. That extra diameter gives it superior grip and shear strength, stopping the sheer weight of the door from slowly working the screws loose over time.
This simple decision-making process helps you choose the right gauge for your door. This infographic shows the basic choice between internal and external door screw gauges.
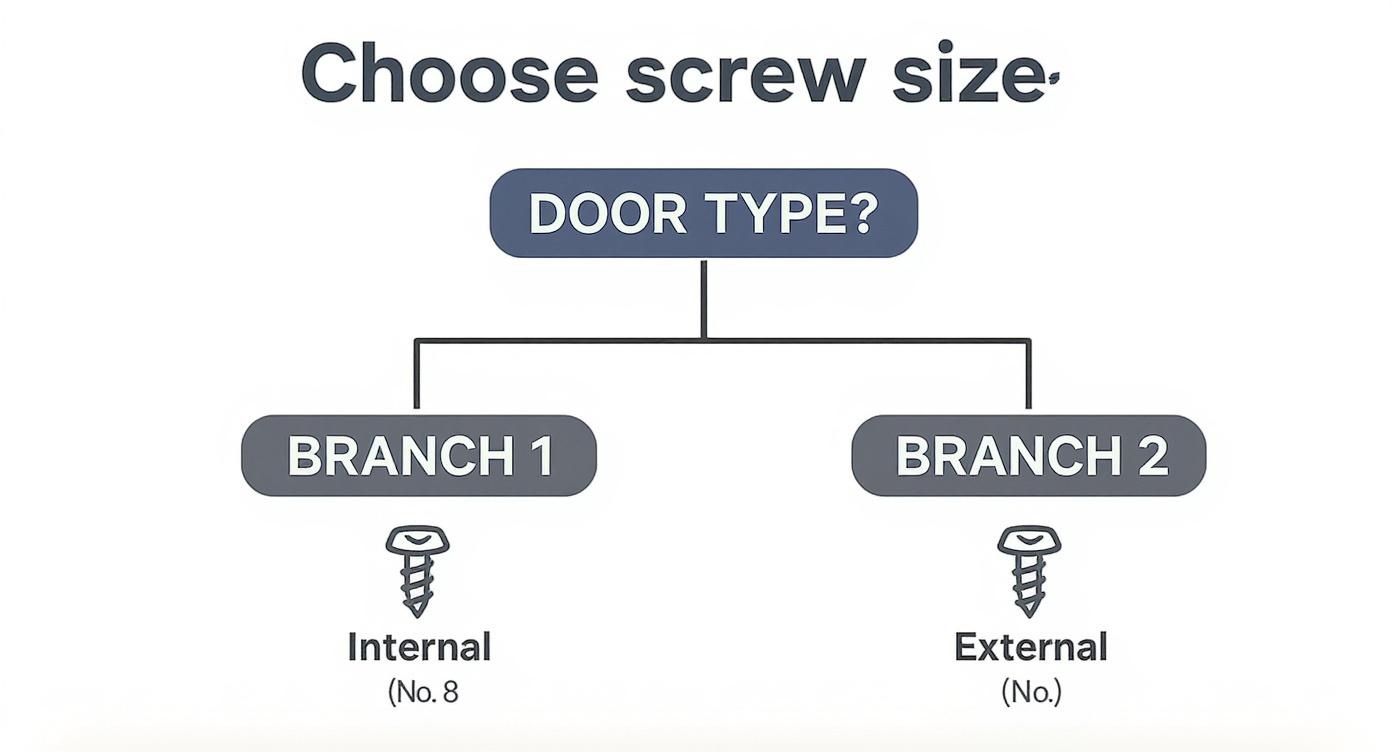
As you can see, the main thing to consider is the door's location and weight. Heavier external doors demand a much more robust fixing to keep them secure and swinging true.
When you're fitting an external door, security and durability suddenly become top priorities. These doors face the elements and are a key part of your home's defence against intruders. For this reason, you should always use robust No. 10 gauge screws that are at least 40mm to 65mm long. The extra length is crucial, ensuring the screw anchors deep into the structural studwork behind the frame, not just the flimsy frame itself.
Fire doors are in a category of their own and are subject to incredibly strict safety regulations. You can't just grab any old screw from your toolbox.
For a fire-rated door, you must use the specific, fire-rated steel screws that are supplied with the certified hinges. These components have been rigorously tested together to withstand extreme heat and maintain the door's integrity during a fire.
Using unapproved screws will instantly void the door's fire rating and compromise safety. Fire-rated doors must be fitted with certified hinges and fasteners capable of withstanding over 200,000 test cycles to comply with UK Fire Regulations. You can learn more about how different types of door hinges have different requirements. Always, always check the manufacturer's instructions and never substitute the hardware they provide.
To help you get it right every time, here’s a quick-reference table summarising the best screw choices for common UK door types.
| Door Application | Recommended Gauge | Recommended Length (mm) | Key Considerations |
|---|---|---|---|
| Standard Internal (Hollow/Light) | No. 8 | 32mm | A standard choice for most interior doors; provides ample strength. |
| Heavy Internal (Solid Core) | No. 10 | 32mm - 40mm | The increased gauge prevents sagging from the door's weight. |
| Standard External | No. 10 | 40mm - 65mm | Length is key for security; must bite into the wall stud. |
| Fire Doors | Per Manufacturer | Per Manufacturer | Must use the certified, fire-rated screws supplied with the hinges. |
This table covers the most common situations you'll encounter. By following these guidelines, you can ensure your doors are hung securely, operate smoothly, and meet the necessary safety standards for their application.
You've got the gauge and length sorted, but the job's not quite finished. The screw's head shape and the material it’s made from are just as vital for a professional, long-lasting finish. Get these details wrong, and you could end up with a door that won't close properly or ugly rust stains down the line.
For door hinges, the countersunk head is the undisputed champion. This isn’t just about aesthetics; it’s a functional necessity. The head is tapered into a cone shape, designed to sit perfectly flush within the bevelled hole on the hinge plate.
Using the wrong head type, like a round or pan head, is a classic mistake. The head will stick out, preventing the hinge leaves from closing fully, which means your door will never shut flush against the frame. A countersunk screw guarantees a completely smooth surface, with nothing to snag on clothing or get in the way of the door's movement.
The material of your screw determines its strength and, crucially, how well it resists corrosion. Standard zinc-plated steel screws are fine for most internal doors in dry spots, but they won't cut it everywhere. In high-moisture environments like bathrooms or kitchens, these screws can start to rust.
A rusty screw doesn't just look awful; it can weaken over time and leave stains on the surrounding wood and hinge. For any external door or internal doors in damp areas, stainless steel screws are the way to go for their excellent corrosion resistance.
Finally, for a truly polished look, the finish of the screw head should match the finish of your hinges. It’s a small detail that makes a huge difference to the overall feel of the installation.
Matching the finish ensures the screws blend in, creating a cohesive and high-quality result. If you're looking at options for other projects, our guide to the best screws for woodworking offers more advice on picking the right materials. Taking this extra step really elevates the entire look of the doorway.
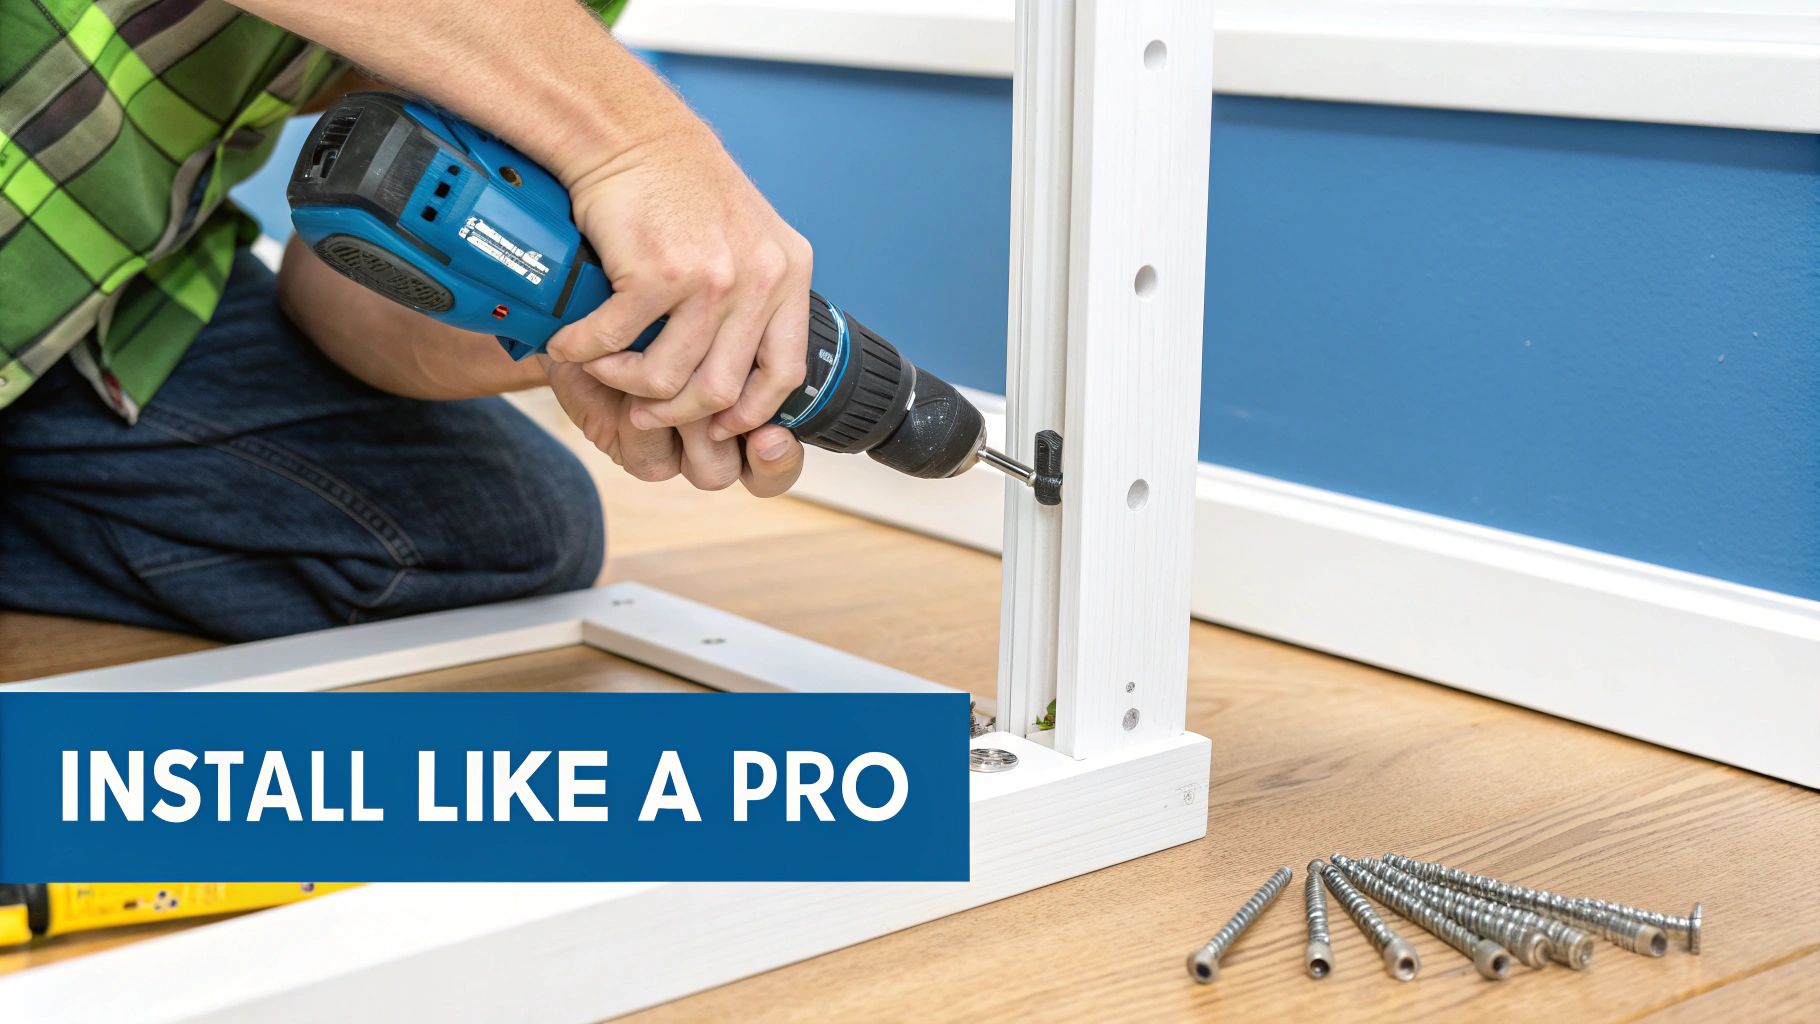
Having the perfectly sized screw is only half the battle; fitting it correctly is what guarantees a door that operates flawlessly for years. A professional installation prevents common headaches like split wood, saggy doors, and loose hinges, ensuring everything hangs straight and true.
The single most important step is to drill a pilot hole before you even think about driving in a screw. This isn't just a suggestion—it's essential, especially when you're working with hardwoods or older, more brittle door frames. A pilot hole clears a path, stopping the wood from splitting under pressure and making sure the screw goes in straight.
For a really clean finish, your pilot hole should be just a fraction smaller than the screw's core diameter (that’s the solid bit, not including the threads). This gives the threads plenty of timber to bite into, creating a powerful grip without risking any damage.
Over time, the sheer weight of a door constantly pulls downwards, putting a huge amount of stress on the top hinge. This is the number one cause of door sag, where the top corner of the door starts dragging on the frame. Luckily, there's a simple but incredibly effective trick to stop this from ever happening.
It’s often called the 'long screw trick', and it’s a total game-changer for door stability and security. All it involves is swapping out one of the short screws on the jamb-side of the top hinge for a much, much longer one.
By replacing a standard 32mm screw with a robust 75mm (3-inch) screw, you bypass the softer door frame entirely and anchor the hinge directly into the solid wall stud sitting behind it. This one small change transfers the door's weight from the frame to the structural timber of the house itself.
This technique creates a rock-solid anchor that dramatically reduces the chance of the door ever sagging. It’s a trick the pros use to guarantee a long-lasting, trouble-free installation and is highly recommended for all doors, but especially heavier ones.
Getting a professional result is straightforward if you just follow a few key steps. It's rushing the job that leads to stripped screw heads and split wood.
Here’s a simple process for a perfect installation every time:
Following these simple but crucial steps will help you sidestep the common DIY pitfalls and achieve a secure, professional finish that will stand the test of time.
https://www.youtube.com/embed/WfX_hAgFf3Y
Even with the best preparation, you can still run into those frustrating little moments that bring a project to a halt. A screw head that gets chewed up, or worse, a screw that just spins in its hole without tightening. These are the classic problems that can turn a simple job into a headache, but thankfully, the fixes are usually surprisingly simple.
This is especially true if your project involves finding a run down property for sale. Years of wear and tear often mean you'll be dealing with exactly these kinds of worn-out fixings that need a bit of know-how to put right.
This is probably the most common issue you'll face: a screw hole has become too wide, and the threads have nothing to grip onto. It happens all the time in older doors or softer woods where the fibres have just given up. Don't worry, you don't need to move the hinge.
The classic carpenter's trick is to use matchsticks and wood glue. Just dip a few wooden matchsticks or toothpicks in some wood glue and pack them into the hole until it's snug. Let the glue dry completely, snap or trim them flush, and you’ve got fresh wood to drill a new pilot hole into. The screw will bite just like new.
For a quicker, more modern fix, you can grab a dedicated wood repair kit. These usually have a two-part epoxy filler that sets rock-hard in just a few minutes, giving you a super-durable new surface to screw into.
The other big headache is a mangled screw head that your screwdriver just can't get a grip on anymore. Or, the ultimate frustration, a screw head that snaps right off, leaving the shank stuck in the wood. For a stripped head, a screw extractor is your best friend. It’s a clever little bit that drills into the damaged head and uses a reverse thread to bite in and wind the broken screw out.
If a screw has snapped clean off, leaving the threaded part buried, the fix is a little more involved but totally doable:
Mastering these quick fixes is a key skill for any DIYer, making sure that a small setback doesn’t derail your whole day. And while you’re sorting out your door hardware, our guide on how to fix squeaky door hinges might come in handy for getting everything working perfectly.
Even after you've got the basics down, a few common questions always seem to pop up. Here are some quick, no-nonsense answers to the things we get asked most about hinge screws.
It might feel like a savvy bit of recycling, but reusing old hinge screws is nearly always a bad idea. Think about it: over the years, those threads have been worn down, the metal has been stressed, and the heads are probably a bit chewed up. That all adds up to a much weaker grip.
For the sake of a few quid, starting fresh with new, correctly sized screws is the only way to go. You're guaranteed a solid, secure fixing that’ll keep your door hanging right for years to come.
Using screws that are too long can cause some real headaches. On the door itself, a screw that punches through the other side is not only ugly but also a nasty, sharp hazard waiting to catch clothes or skin.
On the frame side, it’s even more of a gamble. An overly long screw could easily hit hidden pipes or electrical wires lurking in the wall cavity. Always measure the door’s thickness and be aware of what’s behind the jamb before you decide to go for extra length.
Key Takeaway: Always use new screws for a fresh installation. The minor cost is well worth the improved security and longevity, preventing issues like stripped heads or weakened threads from compromising your door's stability.
Yes, absolutely. A uPVC or composite door is built differently from a standard timber one, often with a metal core for reinforcement. Your everyday wood screws just won't cut it here; they won’t get a secure grip.
For these doors, you need to use specific, self-tapping screws designed to bite into the internal metal frame without cracking or damaging the surrounding uPVC. The best advice is always to check the door manufacturer’s guidelines to make sure you're using exactly the right fixings.
At Neasden Hardware, we stock a huge selection of high-quality screws, hinges, and ironmongery for every job imaginable. Whether you need standard fixings for an internal door or something more specialised, we've got you covered. Explore our full range and get expert advice at https://neasdenhardware.co.uk.