Order Online
- Straight to your door!
Straight to your door


We’ve all been there. You carefully mark your drilling point, line up the bit, and the moment you pull the trigger, the bit skitters across the surface, leaving an ugly scratch. Or worse, it tears the wood fibres on its way in, ruining a perfectly good piece of timber. The fix for this all-too-common frustration is a bit designed specifically for clean, precise work in wood: the brad point drill bit.
Its unique design is the secret to starting a hole exactly where you intend it and leaving an edge so clean it looks like it was cut with a surgeon's knife.
For anyone serious about joinery, furniture making, or any project where a pristine finish is non-negotiable, getting to know the brad point bit is a game-changer. Unlike a standard twist drill that can wander before it starts to bite, a brad point bit anchors itself the instant it touches the wood. This simple difference takes all the guesswork out of drilling and ensures your layout marks are followed with absolute accuracy.
Think of a standard bit as a blunt instrument for making holes—it gets the job done, but often with collateral damage like splintering and tear-out. A brad point bit, on the other hand, is a precision cutting tool through and through. Its design is fundamentally different and purpose-built for clean work in wood. This is what separates amateur results from professional ones.
The magic of the brad point bit lies in its three-part cutting action. It's a methodical approach that sets it apart from every other bit in the workshop.
This level of precision has made brad point bits a workshop staple right across the United Kingdom. In fact, a 2021 survey found that over 78% of professional UK woodworkers rely on them for tasks like drilling dowel holes, where perfect alignment is everything. The same report noted that 42% of woodworkers own at least one full set, which just goes to show how essential they've become. You can discover more insights from the UK Woodworking Association survey.
To really get why brad point bits are so good at their job, you need to look at how cleverly they're designed. Forget standard bits that skate across the wood before they bite in. A brad point bit uses a precise, three-stage cutting action that delivers accuracy and a clean finish every single time. It's this methodical approach that sets it apart from more aggressive, brute-force drilling tools.
Think of the sharp central point as an anchor. The second this tip touches the wood, it digs in slightly and holds the bit perfectly steady. This completely stops that frustrating 'wandering' that can ruin a carefully marked-out workpiece. It’s the first and most important step, making sure the hole starts exactly where you want it to.
With the centre point fixed, the two sharp outer spurs get to work. These act like tiny scribing knives, neatly scoring the circumference of the hole. By slicing through the wood fibres before the main cutting edges start scooping out the material, they prevent the splintering and tear-out you often get with other bits. That's the secret right there.
The whole thing is a sequence of precise actions working together to create a perfect hole. This process ensures minimal damage to the surrounding wood, which is absolutely crucial for high-quality joinery and furniture making.
This infographic neatly shows how the brad point bit is the direct solution to common wood drilling problems like tear-out.
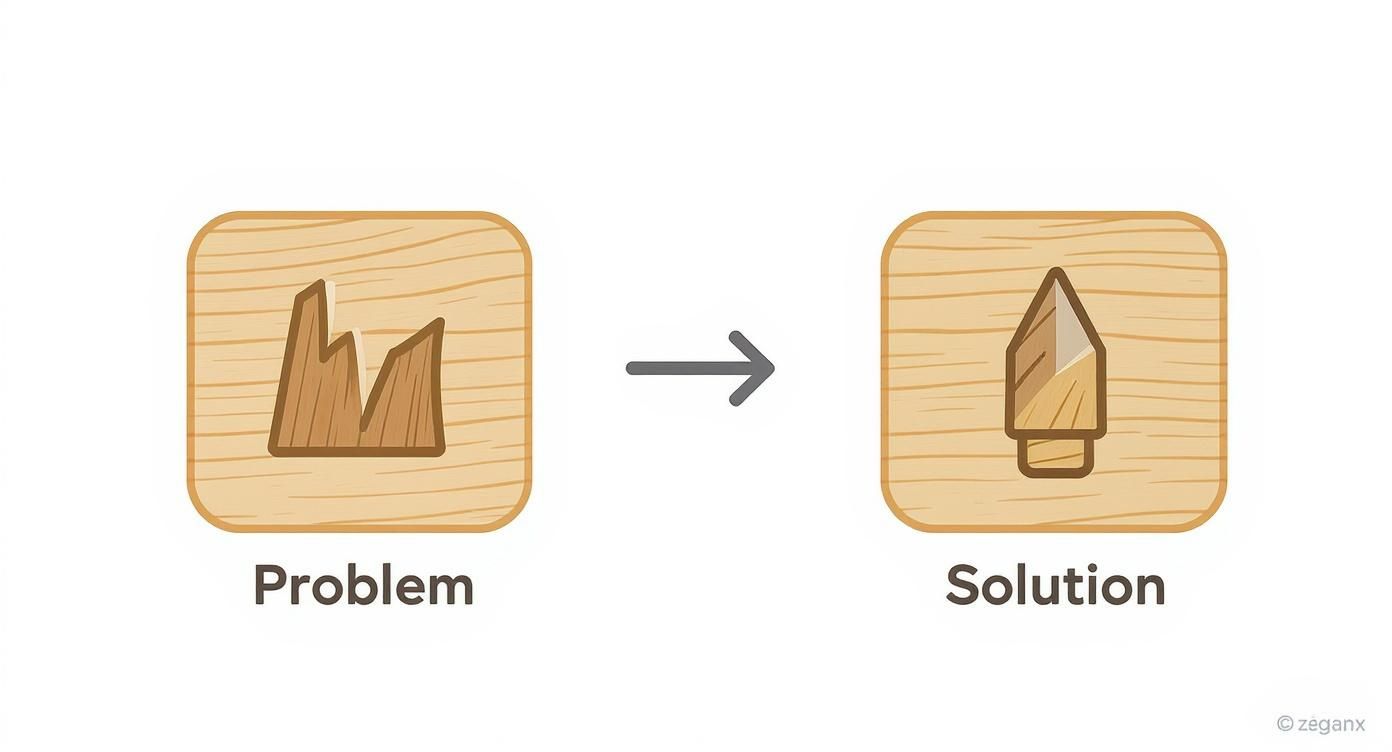
As you can see, where problems like splintering occur, the brad point bit’s unique design provides a reliable and precise remedy.
The difference becomes obvious when you compare this action to a standard twist drill or a spade bit. A twist drill has a fairly blunt, angled tip that has to grind its way into the material, often causing it to wander, especially on harder woods. When you're aiming for flawless holes, understanding the different properties of hardwood you'll be working with becomes vital.
Spade bits are even more aggressive. They're designed for tearing through wood to make large, rough holes quickly, usually in construction where speed is more important than finish. Whilst they’re great for that, they are notorious for causing severe tear-out on both the entry and exit points. You can see the clear difference in application when you compare a brad point bit to something like the Bosch EXPERT SelfCut Speed Spade Drill Bit Set, which is built purely for speed, not finesse.
The core advantage of a brad point bit isn't just about making a hole; it's about controlling exactly how that hole is made. The sequence of anchoring, scoring, and clearing preserves the integrity of the wood, delivering a finish that requires no sanding or clean-up.
Ultimately, the choice of bit comes down to the job. For rough work, a spade bit is fine. For general-purpose drilling, a twist drill gets the job done. But for any woodworking task that demands precision and a flawless finish—from dowel joints to fitting hardware—the methodical cutting action of brad point drill bits is simply unmatched.
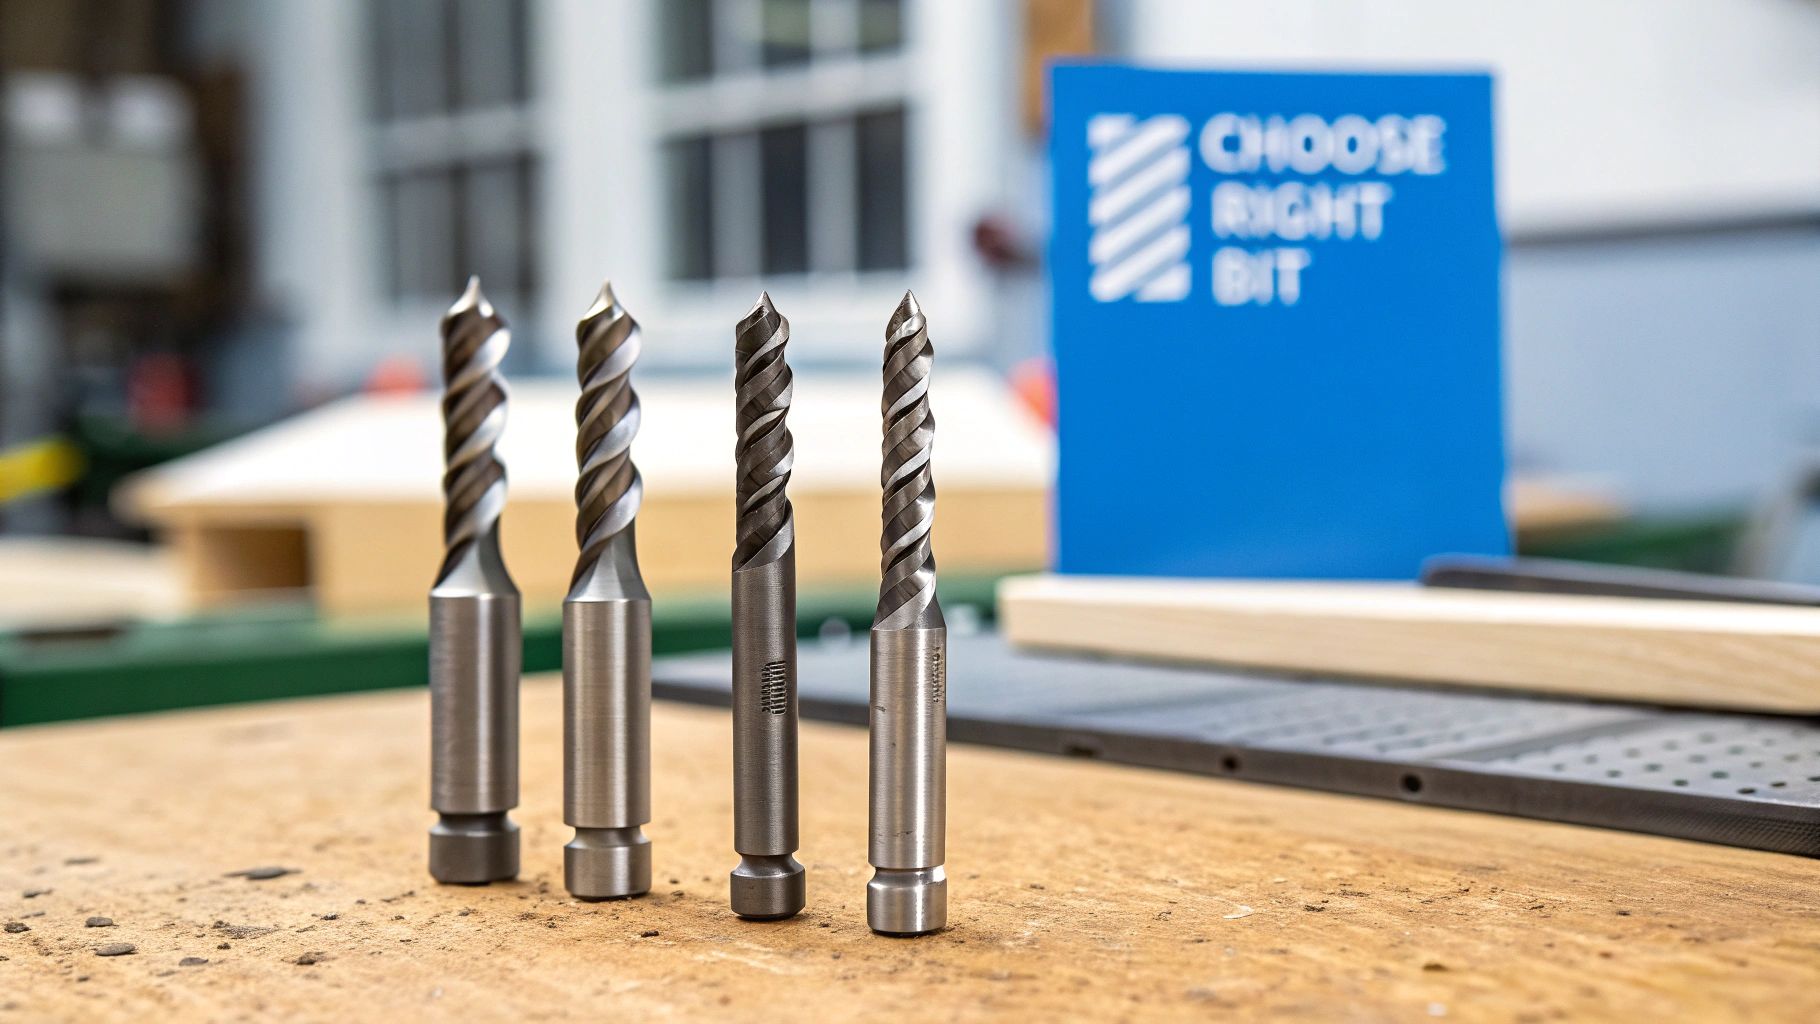
Walking into a hardware store and seeing a wall of drill bits can feel a bit overwhelming. But picking the right brad point bit is simpler than it looks, and it's the key to getting those clean, professional results every woodworker is after. Get it right, and your bit will perform better, last longer, and be perfectly suited for the job at hand.
The choice really boils down to three things: the material the bit is made from, whether it has a coating, and its size. Once you get your head around these, you'll be able to build a solid collection of brad point drill bits that can handle anything from soft pine to dense oak.
The metal a brad point bit is made from is a big deal. It determines how sharp it stays, how tough it is, and what kind of wood it can tackle. Choosing the right one saves you from the frustration of a dull bit and ensures a clean cut every time.
High-Speed Steel (HSS): This is your workhorse. HSS bits are the most common and affordable option, and for good reason. They're brilliant for drilling into softwoods like pine and cedar and can handle most common hardwoods without any trouble. For general DIY and woodworking, they offer the best bang for your buck.
Cobalt Steel: When you step up to dense, exotic hardwoods or find yourself doing a lot of repetitive drilling, a cobalt bit is what you need. They contain 5-8% cobalt, which makes them much harder and better at dealing with heat. That extra toughness means they hold their edge longer under pressure.
Carbide-Tipped: These are the specialists. For really abrasive materials like MDF, particleboard, and laminate, a standard steel bit will go blunt in no time. Carbide-tipped bits have ultra-hard tungsten carbide on their cutting edges, allowing them to slice through these tough materials cleanly. Whilst drilling into things like concrete requires a completely different tool (check out our guide on selecting the right drill bit for concrete), carbide-tipped brad points are the undisputed champs for composite woods.
You'll often see bits with a gold or black finish. These aren't just for looks; they're coatings designed to boost performance and lifespan. Think of it as putting a tough jacket on your bit to help it work better and last longer.
A coating isn't just for show; it's a functional enhancement that reduces friction, dissipates heat, and protects the bit from wear and corrosion. Think of it as armour for your cutting tool.
There are two main types you'll come across:
Titanium Nitride (TiN): That distinctive gold colour comes from a super-hard ceramic coating. It makes the bit's surface tougher and much more resistant to heat and friction. A good TiN-coated HSS bit can last three to six times longer than an uncoated one.
Black Oxide: This is a more standard finish that provides a bit of corrosion resistance and helps reduce friction. It’s not as tough as TiN, but it’s a definite improvement over bare steel and a common feature on quality drill bits.
Getting the hole size spot-on is critical, especially when you're working with dowels or creating pilot holes for screws. A hole that's too small can split the wood, whilst one that's too big will result in a weak, wobbly joint. Guesswork just doesn't cut it.
The table below is a handy reference for matching your brad point bit to common dowel and screw sizes here in the UK.
| Application | Dowel/Screw Size | Recommended Brad Point Bit Size (mm) | Notes |
|---|---|---|---|
| Dowel Joint | 6mm Dowel | 6mm | Creates a snug, precise fit for standard dowel pins. |
| Dowel Joint | 8mm Dowel | 8mm | Ideal for stronger joints in furniture and cabinet making. |
| Dowel Joint | 10mm Dowel | 10mm | Used for robust structural joints in larger projects. |
| Pilot Hole (Softwood) | No. 6 Screw | 2.5mm | Prevents softwood from splitting when driving the screw. |
| Pilot Hole (Hardwood) | No. 8 Screw | 3.5mm | A slightly larger pilot hole is needed for dense hardwoods. |
| Clearance Hole | M4 Bolt/Screw | 4.5mm | Allows an M4 bolt to pass through without engaging the threads. |
Keep this guide handy, and you’ll save yourself a lot of headaches and wasted materials. It’s all about creating the perfect fit from the get-go.
One last thing to think about is the length of the bit. For most jobs, like drilling dowel holes in standard-thickness timber, a standard length bit will do just fine.
But every now and then, you'll need to drill a much deeper hole – perhaps through a thick fence post or into a hard-to-reach spot inside a cabinet. That's when a long series brad point bit becomes essential. It's well worth having a few of the more common long series sizes in your toolkit; they can be a real lifesaver.
Having the right brad point drill bit is a great start, but true mastery comes from how you use it. The way you control the drill's speed and the pressure you apply are the two things that separate a clean, professional hole from a burnt, messy one. Getting this balance right is what turns a good bit into a precision instrument.
This relationship between speed and pressure is vital. Spinning a bit too fast or pushing it too hard generates a ton of heat, which can easily scorch the wood, especially in dense hardwoods like oak or maple. This burning not only looks awful but also dulls the bit's cutting edges prematurely, shortening its working life.
The ideal drill speed, measured in Revolutions Per Minute (RPM), isn't a one-size-fits-all number. It really depends on both the type of wood and the diameter of the bit you're using. A good rule of thumb is: the larger the bit, the slower the speed. Likewise, harder woods need slower speeds to keep from burning.
Combine this with steady, even pressure. Let the bit do the work; don't try to force it through the material. If you see smoke or smell burning wood, that's your cue to either back off the speed or ease up on the pressure.
One of the biggest frustrations in woodworking is "tear-out"—that splintering and chipping that happens as the drill bit punches through the other side of your workpiece. Brad point bits are brilliant at creating a clean entry, but the exit can still be a mess if you're not careful.
The cleanest holes are achieved by supporting the wood fibres on the exit side of the cut. Without support, the bit simply blows out the last few millimetres of wood, causing irreparable damage to your project.
The most effective way to prevent this is by using a sacrificial backer board. Just clamp a scrap piece of wood firmly against the back of your workpiece where the hole will exit. As the brad point bit drills through, it will enter the backer board, which supports the wood fibres and allows the bit to finish the hole cleanly, leaving a perfect exit every time.
Beyond standard drilling, brad point bits really come into their own in more challenging situations where you can't afford any mistakes. With the right approach, you can achieve clean holes even on angles or in difficult end grain.
Drilling on an Angle: Angled drilling is where the brad point's central spur truly shines. Start by drilling a shallow, perpendicular pilot hole just deep enough for the centre point to get a good bite. Then, you can tilt your drill to the desired angle. That established point will anchor the bit and stop it from wandering as you finish the angled hole.
Drilling into End Grain: End grain is notorious for splitting and causing bits to wander because the fibres are oriented vertically. Use a much slower drill speed and very light pressure here. The brad point's sharp spurs will score the fibres cleanly before the main flutes start clearing material, giving you a much cleaner hole than a standard twist drill ever could. To prep the hole for a screw and stop it from splitting, you might also need a countersink; the Trend Universal Countersink is an excellent tool for creating a neat, recessed finish.
The value of this kind of precision is being recognised more and more in formal training. A 2023 report noted that 92% of UK schools and colleges with woodworking courses now teach students how to use brad point drill bits. This has led to a 30% reduction in material waste and better practical results. You can read the full findings in the 2023 UK Department for Education report.
A good set of brad point drill bits is an investment, plain and simple. Treat them right, and they'll reward you with clean, precise holes for years to come. But just like any quality cutting tool, their performance hinges entirely on keeping them clean and sharp. If you let them get gunked up and dull, you're not just setting yourself up for sloppy results—you're also cutting the lifespan of your bits short.
It all starts with a simple clean-up after each use. Wood resin, sap, and fine dust have a nasty habit of building up in the flutes and along the cutting edges. This creates friction, which means more heat and those ugly scorch marks on your workpiece. It also forces you to push harder, risking damage to both the bit and your project.
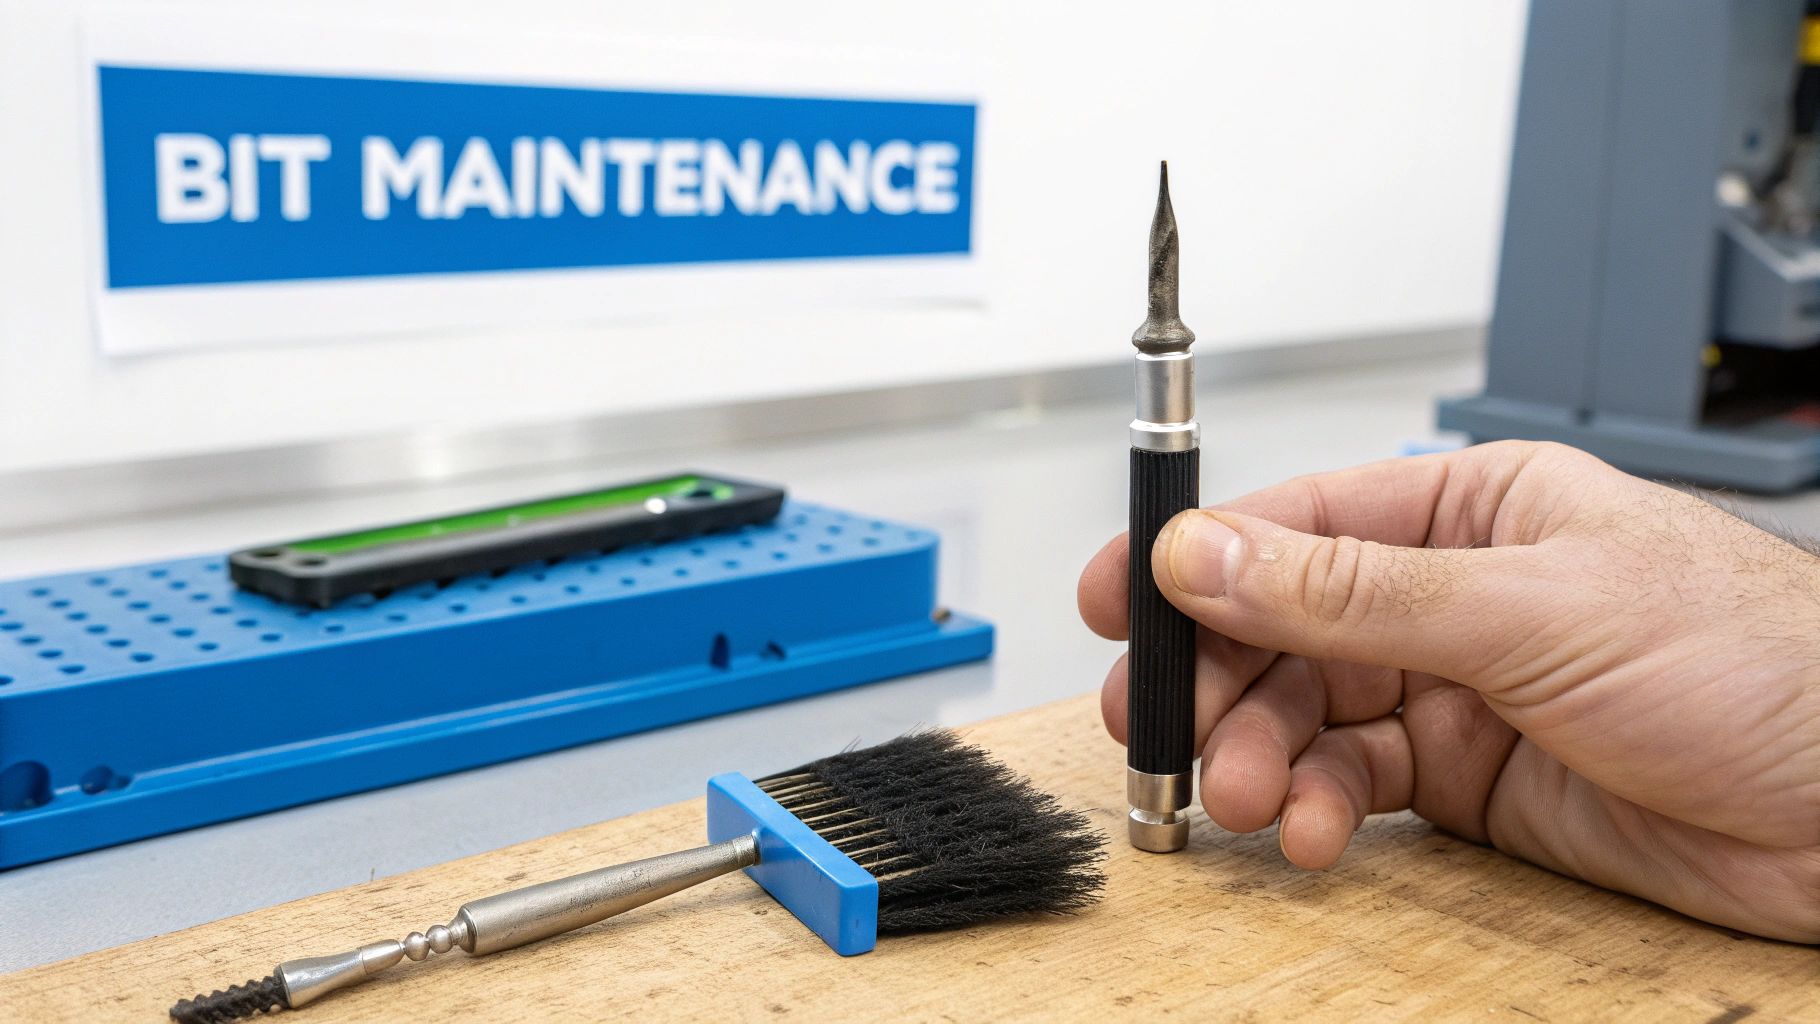
Keeping your bits free from debris is pretty straightforward. A quick wipe-down now saves you from chipping away at hardened resin later.
Let's be honest, sharpening a brad point bit is a bit more fiddly than touching up a standard twist drill, but it's a skill well worth learning. A dull bit is a pain—it makes you work harder, leaves a rough finish, and is far more likely to burn the wood. With the right tools, like a set of fine diamond files or a dedicated sharpening jig, you can bring that factory-sharp edge right back.
The secret to a good sharpening job is all in the sequence. You've got to tackle the outer spurs first, then move onto the main cutting lips. The centre point should be left alone, but make sure it stays perfectly aligned.
The whole process requires a careful hand. Always go slow and only remove a tiny amount of material with each pass of the file to maintain the bit’s precise geometry.
Whilst sharpening can give a bit a new lease on life, there comes a point when you just have to call it a day. If that central point is broken or bent, the bit is done. It'll never drill straight again, so it's time to retire it.
Likewise, if the outer spurs get so worn down that they're shorter than the main cutting lips, the bit won't be able to score the wood fibres properly. That's when you start getting nasty tear-out. Trying to salvage a severely damaged bit is a false economy; a fresh, sharp brad point bit will give you far cleaner, safer, and better results every single time.
Investing in a set of brad point drill bits is one of the smartest moves any woodworker can make, but let's be honest—not all bits are created equal. To get the clean, precise results your projects deserve, you need to know what separates a top-tier bit from a cheap knock-off. Choosing wisely means your tools will perform better and last significantly longer, saving you a world of frustration and money down the line.
A high-quality bit is easy to spot once you know what to look for. Get it in your hands and examine it closely. The flutes should be perfectly ground and polished to ensure wood chips are ejected smoothly. The central point needs to be flawlessly centred, and the outer spurs should be razor-sharp to the touch. These are the details that separate premium bits from the ones that deliver sloppy, disappointing holes.
When you're ready to buy, it's vital to partner with a reliable power tools supplier. Knowledgeable suppliers, like us here at Neasden Hardware, make a point of stocking reputable brands known for their consistency and performance. These brands have earned their stripes through years of precision engineering and using high-grade, durable steel.
Interestingly, the UK market has a strong preference for European manufacturing. UK import statistics show a significant reliance on suppliers from Austria and Germany, which together accounted for 90% of the 1.2 million brad point bits brought into the country in 2022. Brands from these countries are renowned for their exceptional quality, reflecting the high standards of UK tradespeople and hobbyists. You can find more data on this from the UK Office for National Statistics.
A common question we get is whether to buy a complete set or just purchase individual bits as needed. Whilst grabbing a single bit for a one-off task might seem economical at first, investing in a good-quality set is almost always the more sensible long-term strategy. A set ensures you have the right size on hand when you need it, preventing those annoying project delays.
For anyone just starting to build their workshop toolkit, a core 'starter set' is the perfect entry point.
Expert Tip: A versatile starter set should cover the most common sizes used in UK joinery. Look for a collection that includes 4mm, 5mm, 6mm, 8mm, and 10mm bits. This range will handle the vast majority of dowelling jobs and pilot holes you'll ever need to drill.
Armed with this knowledge, you're in a much better position to buy tools that deliver true value. By focusing on the hallmarks of quality manufacturing and choosing a versatile set from a trusted source, you can be confident your investment will pay off with every single flawless hole you drill.
To wrap things up, let's tackle a few of the most common questions that pop up when you're working with brad point drill bits. Getting these details right can be the difference between a clean, professional job and a frustrating mistake.
Even when you've got the basics down, there's always a specific situation or a tricky workpiece that makes you pause. Here are some quick, clear answers to get you back on track.
Whilst they're designed specifically for wood, you can get away with using brad point bits on some softer plastics if you're careful. The centre point is great for stopping the bit from wandering on a smooth surface, but you absolutely must use a very slow drill speed. Go too fast, and you'll just melt the plastic instead of cutting it.
However, they are completely unsuitable for drilling into metal. Don't even think about it. The sharp, fine spurs and the delicate centre point are far too brittle for metal and will chip or snap almost instantly. Stick to a proper HSS twist drill bit for any metalwork – no exceptions.
It all comes down to the design of the tip. A standard twist drill bit has a pretty simple, angled cutting edge. It gets the job done, but it has a nasty habit of "walking" or wandering across the surface before it starts to bite into the wood.
A brad point bit is a different beast altogether, with three key features working in harmony:
This clever design gives you far more accuracy and a much cleaner entry hole in wood than any standard twist bit can manage.
The real magic of a brad point bit is its ability to start a hole with absolute precision. That central point digs in and eliminates any risk of the bit wandering, guaranteeing your hole is exactly where you marked it, every single time.
This is a classic concern, especially when you're working with thinner pieces of wood or drilling a hole that doesn't go all the way through (a blind hole). You want a clean finish on both sides, and the last thing you need is the tip poking out unexpectedly.
The solution is all about careful depth control. The easiest way to manage this is with a drill stop – a small collar that you tighten onto the bit at the exact depth you need. Alternatively, a simple piece of masking tape wrapped around the bit works just as well as a visual guide. Drill slowly and stop as soon as you hit your marker. This ensures the main cutting lips do their job without the centre point ever breaking through the other side, leaving you with a perfectly clean, flat-bottomed hole for your joinery.
For any woodworking project, from fiddly furniture making to heavy-duty joinery, having the right drill bit is non-negotiable. At Neasden Hardware, we stock a huge selection of high-quality brad point drill bits to make sure you get that perfect, clean finish every time. Check out our collection online and get the benefit of our team's expertise and fast, reliable delivery across the UK. Find the precision you're looking for at https://neasdenhardware.co.uk.