Order Online
- Straight to your door!
Straight to your door


Of course you can paint wood with emulsion, but it’s not as straightforward as just cracking open a tin and slapping it on. While it’s a brilliant trick for upcycling old furniture and getting that trendy, chalky finish, it demands some proper prep work to make sure it lasts. Just remember, this technique is strictly for interior projects only.
Using standard wall and ceiling paint on wood has become a huge trend for DIYers all over the UK. It's all part of a bigger movement where people are getting more hands-on with home improvements, looking for creative and wallet-friendly ways to refresh their spaces. A big part of the appeal is the massive range of colours available and that gorgeous flat, matt look that emulsion gives you. You can actually see how much the UK's DIY market has grown over on Statista.com.
But, and it’s a big but, you have to know its limits right from the start. Emulsion is water-based, and it just doesn't have the built-in toughness and flexibility of paints made specifically for woodwork, like satinwood or eggshell.
The best way to think about it is this: emulsion is a decorative finish, not a hardcore protective one. It's fantastic for things that aren’t going to get a lot of rough treatment.
The reason it’s not tough enough comes down to its chemical makeup. Emulsion dries to a rigid, slightly porous film that simply wasn't engineered to handle the knocks and bangs that woodwork in a busy home takes every day.
The most common mistake people make is thinking emulsion behaves just like a wood paint. If you skip the proper prep and a protective topcoat, your beautifully painted wooden surface will quickly end up covered in scuffs, stains, and chips, undoing all your hard work.
So, should you use it? It really comes down to balancing the look you want with the durability you need. For the right project, emulsion can give you a stunning, contemporary finish that’s hard to get with anything else.
Before you commit, it’s worth thinking about whether emulsion is the right fit for what you have in mind.
| Project Type | Suitability with Emulsion | Key Considerations |
|---|---|---|
| Decorative Items (Picture Frames, Ornaments) | Excellent | Perfect for achieving a chalky, matt finish. Little to no wear and tear. |
| Low-Traffic Furniture (Bedside Table, Bookcase) | Good | Works well with proper priming and sealing. Avoid surfaces where items are dragged. |
| Interior Doors & Trim | Not Recommended | These are high-contact areas. Emulsion will scuff, chip, and absorb dirt easily. |
| Kitchen/Bathroom Cabinets | Avoid | Constant moisture, grease, and cleaning will destroy the finish quickly. |
| Skirting Boards | Avoid | They take a beating from vacuums, shoes, and furniture. Durability is essential here. |
| Exterior Wood (Fences, Sheds) | Completely Unsuitable | Emulsion offers zero weather protection and will fail rapidly outdoors. |
Ultimately, choosing emulsion for wood is a trade-off. You get a fantastic range of colours and a beautiful finish, but you sacrifice the durability that comes with purpose-made wood paints.
Anyone who’s ever painted furniture will tell you that a professional-looking finish is 90% preparation. It’s a step you absolutely cannot skip, especially with emulsion. Unlike specialist wood paints that are a bit more forgiving, emulsion will show up every single flaw. If there's any grease, dust, or imperfection left on the surface, the paint just won't stick properly, and you’ll end up with peeling and a shoddy result.
First things first, give the entire piece a thorough clean. A simple solution of sugar soap and warm water is usually all you need to cut through years of built-up grime, wax, or furniture polish. Once you're done, wipe it all down with a clean, damp cloth to get rid of any soap residue, then let it dry completely.
With the surface clean and dry, it's time to get sanding. The goal here isn't to strip the wood bare, but to create a "key" by lightly roughing up the surface. This gives the primer something to really grab onto, which is crucial for making your paint job last.
If you’re working with previously painted or varnished wood, a medium-grit sandpaper (around 120-grit) is perfect. For bare, untreated wood, you can go a bit finer—something like 180-grit will do the job without scratching the surface too much. Always remember to sand in the direction of the wood grain. Go against it, and you'll see those scratches right through your final coat of paint.
This infographic really drives home the importance of getting a smooth surface before you even think about picking up a paintbrush.
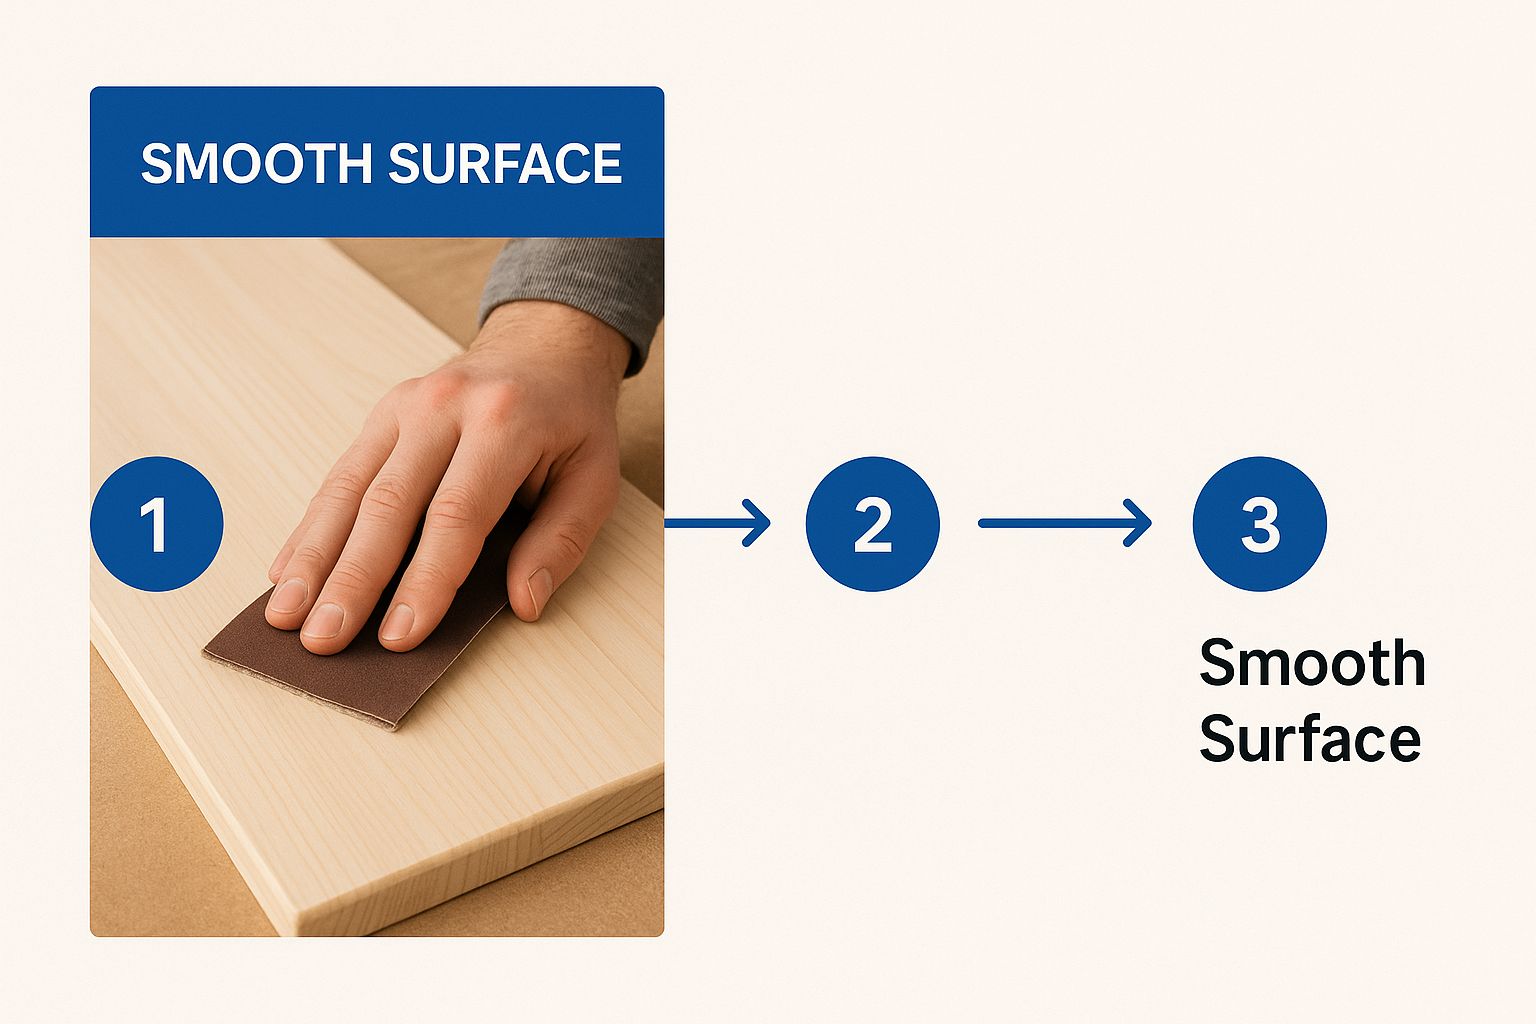
As you can see, a flawless finish starts with a perfectly smooth foundation, and that comes from careful sanding.
After you've finished sanding, wipe away every last bit of dust with a tack cloth or a slightly damp microfibre cloth. If you spot any dents, dings, or holes, now is the time to deal with them. Using a good quality product like a high-performance two-part wood filler will make those imperfections vanish.
Keep in mind that your preparation strategy might change depending on what you're working with. It’s always a good idea to understand the different types of wood, such as oak, pine, and mahogany, as they can behave differently. All this groundwork is what creates the flawless base you need for the next crucial stage: priming.
Tempted to skip the primer to save a bit of time and cash? It’s a common thought, but honestly, it’s the single biggest mistake you can make when painting wood with emulsion. It's a recipe for a flaky, peeling disaster down the line.
The simple truth is emulsion paint just isn’t formulated to grab onto bare or previously finished wood without a bit of help. A specialist wood primer is that essential helping hand. It acts as a bridge, creating a uniform, grippy surface that your emulsion can properly bond to. No primer, no bond.

Beyond just helping the paint stick, a good primer acts as a crucial barrier. If you've ever worked with pine or oak, you'll know all about "tannin bleed." These are natural oils and resins in the wood that have a nasty habit of seeping through water-based paints, leaving ugly yellow or brown stains that completely ruin your finish. Knots are notorious hotspots for this.
A good quality primer is non-negotiable here. It physically blocks these tannins from bleeding through, ensuring your chosen paint colour stays pure and consistent. Without it, you could be looking at a blotchy, stained mess within just a few weeks.
For those really stubborn knots or when you're painting over a dark varnish, a shellac-based primer is your secret weapon. I always reach for a product like Zinsser B-I-N Primer-Sealer; it’s fantastic for stain blocking and creates an excellent base for any emulsion topcoat. For clean, bare wood, a good quality water-based acrylic primer will do the job just fine.
Taking the time to understand the foundational importance of this step is what separates an amateur finish from a professional one. To really get to grips with it, you can delve deeper into what paint primer is used for and see how it guarantees a flawless result. Ultimately, spending an extra hour on priming will save you the headache of having to strip everything back and start over in a few months.
Right, the prep work is done, and now for the fun bit – getting some colour on. This is where your project really starts to take shape. Painting wood with emulsion isn't quite the same as slapping it on a wall; it's all about building up thin, even layers to get that smooth, professional finish you're after.
For fiddly bits like furniture legs or spindles, a good quality synthetic brush will be your best mate. But for larger, flat areas like a tabletop or wardrobe doors, grab a mini foam roller. It’s the secret to a beautifully smooth and uniform coat, completely free from brush marks.

The real trick to a great finish is patience and a light touch. Forget trying to get it all done in one go with a thick, gloopy coat. You’ll just end up with drips and runs. Instead, aim for two or three thin coats. A thick layer not only looks amateurish but takes an age to dry properly.
Make sure each coat is completely dry before you even think about starting the next. This usually takes a couple of hours, but always have a quick look at the instructions on the tin for the manufacturer’s specific advice.
Want to know the game-changing trick for an ultra-smooth result? A light sand between each coat. Once a coat is bone dry, gently go over it with fine-grit sandpaper (around 220-grit). This knocks back any tiny bumps or trapped dust particles, giving you a perfectly flat base for the next layer.
Trust me, this one small step makes a massive difference to the final quality. If you want more tips and tricks, check out our essential paint and decorating tips that can help with any project you’re tackling.
Just remember, emulsion is really only for interior woodwork. It doesn’t have the weather resistance to stand up to the great British outdoors, unlike specialised exterior paints. It’s brilliant for giving indoor furniture a new lease of life, but keep it inside
Once that final coat of emulsion is perfectly dry, your project might look finished, but it isn't quite ready for the real world yet. Let's be honest, emulsion paint on its own is not durable enough for furniture or high-traffic wood surfaces. This final sealing step is what transforms your decorative piece into a functional item with genuine staying power.
Without a protective topcoat, all your hard work is left vulnerable. Everyday life—a stray coffee mug, a curious pet, or an accidental knock—will quickly lead to scuffs, stains, and chips. Sealing the surface isn’t just a recommendation; it's non-negotiable if you want the finish to last.
The goal here is to protect the paint without ruining that beautiful, chalky aesthetic you chose emulsion for in the first place. You need a topcoat that offers robust protection while remaining virtually invisible.
For this, a clear, non-yellowing, water-based varnish is your best bet. Unlike oil-based varnishes that can develop a yellow tint over time and mess with your paint colour, a water-based polyurethane varnish dries completely clear and stays that way.
Look for finishes that match the look you're going for:
The number of coats you'll need depends entirely on how the item will be used. A decorative picture frame might only need one light coat just for dust protection. On the other hand, a regularly used coffee table will require at least three thin coats to properly withstand spills and daily wear.
Applying the varnish is pretty straightforward. Grab a high-quality synthetic brush and apply it in thin, even layers. Let each coat dry completely before giving it a very light sand with fine-grit sandpaper, then wipe away the dust and apply the next. This simple process ensures your emulsion-painted wood is not only beautiful but durable enough to enjoy for years to come.
Even the best-laid plans can throw up a few questions once you get started. It’s completely normal. Let’s tackle some of the most common queries I hear about using emulsion on wood, so you can push on with your project and sidestep any rookie errors.
Is a primer really necessary before you crack open the emulsion? The short answer is yes, 100%. Don’t be tempted to skip it. A specialist wood primer is your best friend for two crucial reasons.
First off, it acts as a barrier, stopping any stains or natural tannins in the wood from bleeding through and ruining your beautiful new paint colour. Secondly, it creates a grippy, stable surface for the emulsion to cling to. Without that foundation, your paint will almost certainly start to chip and peel before you know it.
It’s always tempting to use that half-empty tin of wall emulsion on a wooden table or chair. And you can, but only if you’re prepared to seal it properly afterwards. Your standard wall emulsion simply isn’t designed to handle physical contact or regular cleaning, meaning it will mark and stain incredibly easily.
To get a durable finish, you absolutely must apply several coats of a clear, water-based varnish once the emulsion is fully dry. If you skip this part, all your hard work will be ruined in no time.
What about using emulsion for skirting boards or door frames? Honestly, I wouldn’t recommend it. While you could probably make it work with a lot of prep and sealing, these are high-impact areas that take a constant beating from knocks, scuffs, and the vacuum cleaner.
You’re far better off choosing a paint specifically made for wood trim, like a satinwood or an eggshell finish. These are formulated to be much more durable and practical, and they’ll stand up to the wear and tear of a busy home for years to come. Using the right product for the job is always the best long-term solution.
For all your decorating needs, from specialist primers to the perfect topcoat, Neasden Hardware has the high-quality supplies to get the job done right. Explore our full range of paint and decorating supplies today!