Order Online
- Straight to your door!
Straight to your door


Fitting a door closer isn't just a case of drilling a few holes. It's about picking the right model for your door's size and weight, using the template to get your markings spot on, and then adjusting the valves until you get that perfect, controlled swing.
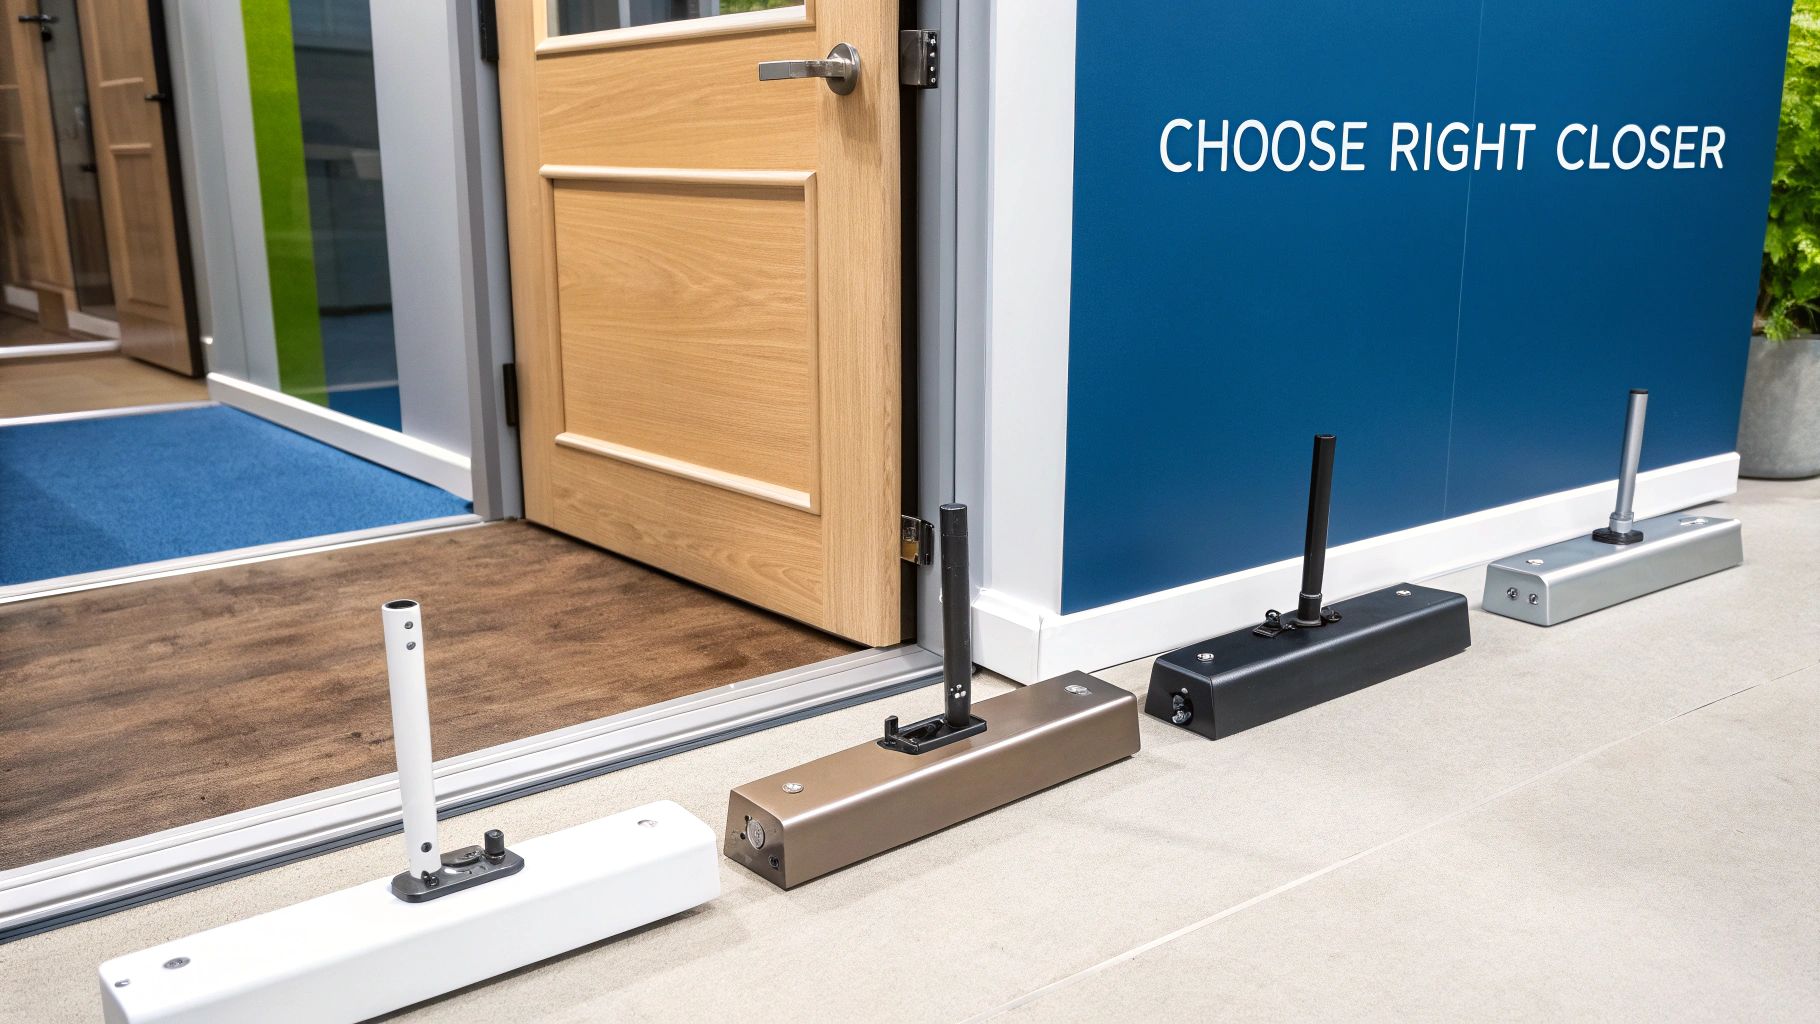
Before you even think about picking up a drill, getting the selection right is the most important part of the job. This single decision affects safety, how easy the door is to use every day, and whether you’re compliant with regulations—especially when it comes to fire doors.
Get it wrong, and you could end up with a door that's a nightmare to open or one that doesn't latch properly, which completely defeats the point. It’s no surprise the global door closer market was valued at around £3.08 billion; these aren't just accessories, they're essential bits of kit in any modern building.
Your choice will boil down to the door's purpose, its location, and the look you're going for. In most cases, you’ll be dealing with one of these three types:
Getting to grips with the basics is the best way to start. For a deeper dive, you can learn more about the various door closing mechanisms available.
It really is a case of matching the closer to the job. An overhead closer is ideal for a bustling stockroom, whereas a floor spring is the right call for a heavy glass entrance in a smart office block.
The "strength" of a door closer is rated using a European Norm (EN) scale, which runs from EN1 (for the lightest doors) up to EN7 (for the heaviest). This rating is non-negotiable. It ensures the closer is strong enough to shut the door every time, but not so powerful that a child or someone with limited mobility can't open it.
Matching the EN size to your door's width and weight is absolutely critical for both safety and accessibility. It's vital to check the relevant British Standards for fire safety, as using an underpowered closer on a fire door is a serious safety breach and against regulations.
To help you get it right, here’s a quick reference table. Just measure your door’s width and estimate its weight to find the EN power size you’ll need.
| EN Power Size | Max Door Width (mm) | Max Door Weight (kg) |
|---|---|---|
| EN1 | 750 | 20 |
| EN2 | 850 | 40 |
| EN3 | 950 | 60 |
| EN4 | 1100 | 80 |
| EN5 | 1250 | 100 |
| EN6 | 1400 | 120 |
| EN7 | 1600 | 160 |
Using this table ensures your closer will perform correctly and meet compliance standards, especially for commercial or public buildings. Always double-check the manufacturer's specifications before you buy.
A successful door closer installation is all down to good prep. Trust me, rushing in without the right gear or a quick inspection is a recipe for wonky fittings and endless frustration. Before you even crack open the box, take a moment to gather your tools and give the door itself a once-over.
Having the right equipment to hand makes the whole process smoother and guarantees a professional finish. You won't need a huge workshop, but a few key items are non-negotiable for getting the job done right.
Most installations can be handled with some basic hand and power tools. Here’s a quick checklist of what you should have ready:
The paper template included with your door closer is the single most important tool you have. It isn't a suggestion—it's a precise map for every drill hole. Ignoring it is the fastest way to misalign the entire mechanism.
With your tools organised, it’s time to inspect the door and frame. A door closer can only control a door that hangs and swings correctly; it’s not a magic fix for underlying structural problems.
First off, check that the door hangs plumb and the frame is square. A warped door or sagging hinges will just fight against the closer, leading to premature wear and stopping it from latching properly. Open and close the door a few times to make sure it swings freely without binding or catching on the frame.
Also, confirm you have the right fixings for the job. While most kits come with standard screws for timber, you might need something more robust for different materials. For instance, knowing the best fixings for plasterboard walls is crucial if you're mounting onto a stud wall with a hollow cavity. It's also worth remembering that some complex or risky DIY tasks best left to professionals. Addressing these small details now will prevent major headaches down the line.
Right, let's move from theory to practice. This is your hands-on guide to fitting the most common closer out there: the overhead surface-mounted unit. We’ll focus on the three main ways to install it—standard, transom, and parallel arm—with clear, actionable advice to help you get the job done properly.
The process isn't overly complicated, but precision is everything. Being out by just a few millimetres can be the difference between a door that closes beautifully and one that slams shut or won't latch at all. We'll walk through it all, from using the template to mounting the components, so you can feel confident from start to finish.
This visual guide shows the essential checks you need to make before you even think about picking up a drill. It’s all about setting the stage for a successful installation.
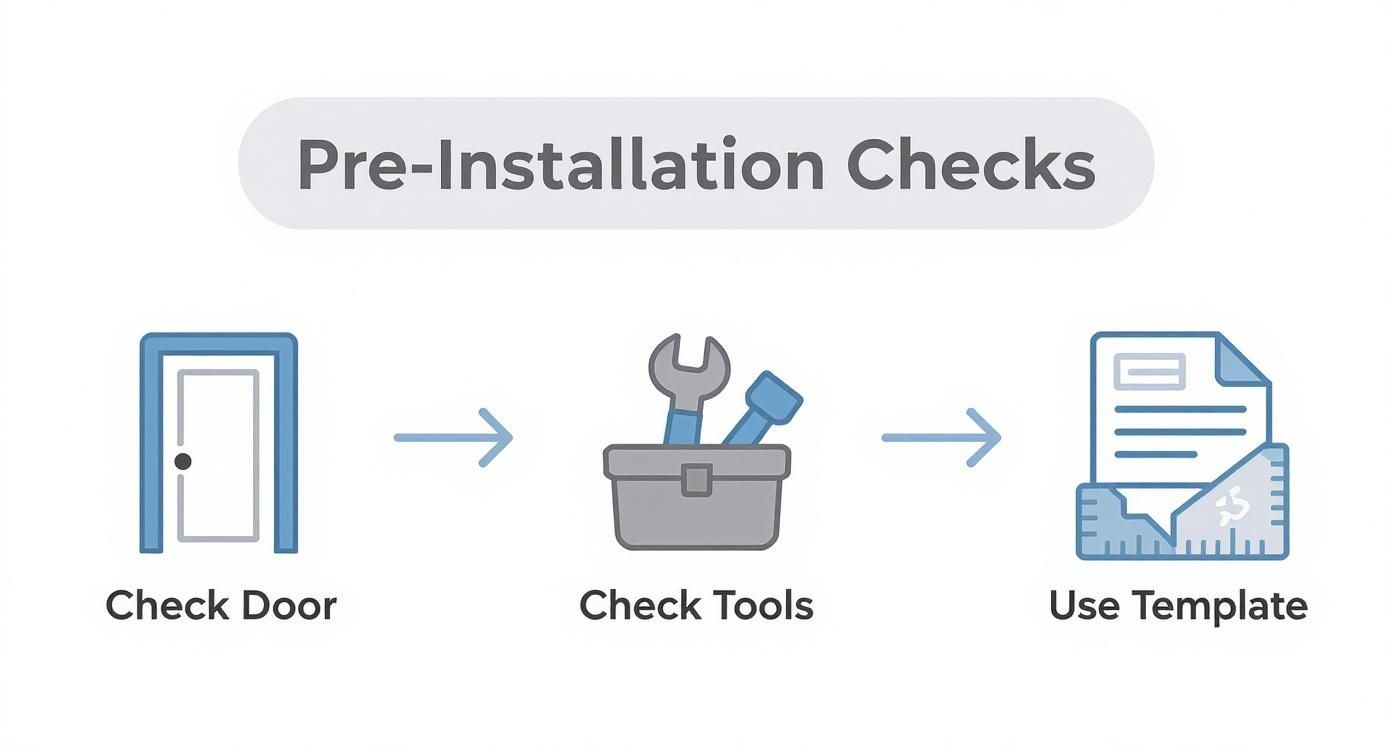
This simple three-step process—checking the door's condition, organising your tools, and meticulously using the template—is your best defence against the most common fitting errors.
Every new door closer comes with a paper fitting template, and honestly, it's your most important tool. Don't be tempted to eyeball it; that template holds the precise hole locations for multiple fitting types and power sizes.
First, figure out which fitting style you need. This is usually determined by how the door swings and whether there are any physical obstructions in the way.
Once you’ve picked your method, carefully tape the template to the door and frame as shown in the diagram. Use a spirit level to get it perfectly straight before marking your drill points. A pencil works, but a centre punch is even better as it stops the drill bit from wandering.
With your holes accurately marked, it’s time to drill. Choose a drill bit slightly smaller than the screws provided to create a snug pilot hole. Pay attention to your door material—a hollow-core door will need specialist fixings for a secure grip, while solid timber or steel is much more straightforward.
Fix the closer body to the door or frame, but don't tighten the screws all the way just yet. You want it firm, but with a tiny bit of wiggle room for any micro-adjustments later on. Next, fit the arm bracket (sometimes called the 'shoe') to the other surface.
Pro Tip: A classic mistake is mounting the closer body upside down. The adjustment valves should always face away from the hinge side of the door. Double-check the manufacturer’s instructions to be sure about the correct orientation for your specific model.
Connecting the two parts is the final assembly step. Most surface-mounted closers, like the very popular Dorma TS72VBC Surface Door Closer, use a two-part arm. Attach the main arm to the square spindle on top of the closer body, then connect the forearm to the arm bracket.
Before you bolt the two arm sections together, you need to apply a little pre-tension. This just means rotating the main arm slightly towards the latch side of the door before connecting it to the forearm. This pre-load gives the closer enough initial force to start pulling the door closed from a fully open position.
The template or instructions will tell you the correct angle. Once connected, tighten all the screws properly, including those for the closer body and arm bracket. Open the door fully and let it close. Don't worry about the speed for now—you're just checking that the movement is smooth, unhindered, and that the arm doesn't bind or catch on the frame.
If it all closes smoothly, you've successfully finished the physical installation. The next critical stage is fine-tuning the closing speed, which we'll dive into in the next section.
While surface-mounted closers are the go-to workhorse for most jobs, sometimes aesthetics or the sheer weight of a door calls for something more specialised. This is where concealed and floor spring closers step in, giving you either a completely seamless look or the raw strength needed for heavy-duty doors.
Unlike their surface-mounted cousins, fitting these is a far more involved process. It demands precision woodworking and, in some cases, concrete work, which is why it's often a job best left to experienced joiners or specialist fitters. Still, understanding what’s involved is vital, whether you're a seasoned DIYer sizing up the challenge or a homeowner wanting to have an informed chat with a professional.
Concealed closers are engineered to be totally invisible when the door is shut. They’re either hidden inside the door leaf itself or tucked away in the head of the frame, creating that clean, minimalist appearance that’s so sought after in modern interior design.
Achieving that seamless look means cutting a precise cavity, or mortice, to house the closer body. This is usually done with a power router and finished off with a sharp chisel for the corners. The key here is absolute accuracy. The mortice has to be the exact depth, length, and width specified by the manufacturer. Too shallow, and the cover plate won’t sit flush. Too deep, and you'll compromise the mechanism’s performance.
The rule is simple: measure three times, cut once. An incorrectly routed mortice can permanently damage a door, and that's an expensive mistake to fix. It’s a job that requires patience and a steady hand.
Once the cavity is ready, the closer body is fitted and screwed in place. The track or guide rail is then morticed into the opposite surface—typically the head of the door frame. Perfect alignment between the closer body and the track is absolutely critical. It ensures the arm can glide smoothly without binding or putting unnecessary stress on the components.
For seriously heavy doors, like large glass panels or grand entrance doors, a floor spring is often the only real option. These robust units are installed in a recess in the floor directly under the door's pivot point, providing powerful, controlled operation for doors weighing well over 100 kg.
The installation starts with creating a hole in the floor to take a cement box. This metal container houses the entire closer mechanism and has to be set perfectly level in a bed of concrete or strong mortar. Its position is dictated by the door’s pivot point, which needs careful calculation to ensure the door swings correctly.
After the cement box is securely set and the concrete has cured, the floor spring mechanism is placed inside. The top pivot is then fitted into the door frame head, while the bottom pivot on the door connects to the spindle of the floor spring. The final, critical task is alignment—making sure the top and bottom pivots are perfectly plumb so the door hangs straight and operates without any strain.
The world of door control is definitely evolving. More and more, new commercial and high-end residential projects are looking beyond purely mechanical solutions. The integration of smart technology is becoming a huge factor in how these systems are specified and installed.
In fact, industry trends show that over 65% of new commercial projects are projected to install automatic or smart-enabled door closers. This shift points to a growing demand for features like automated opening, remote locking, and integration with building management systems. If you'd like to read more on this, you can discover more insights about door closer company innovations. This move towards intelligent automation reflects a broader focus on creating more accessible, secure, and efficient buildings.
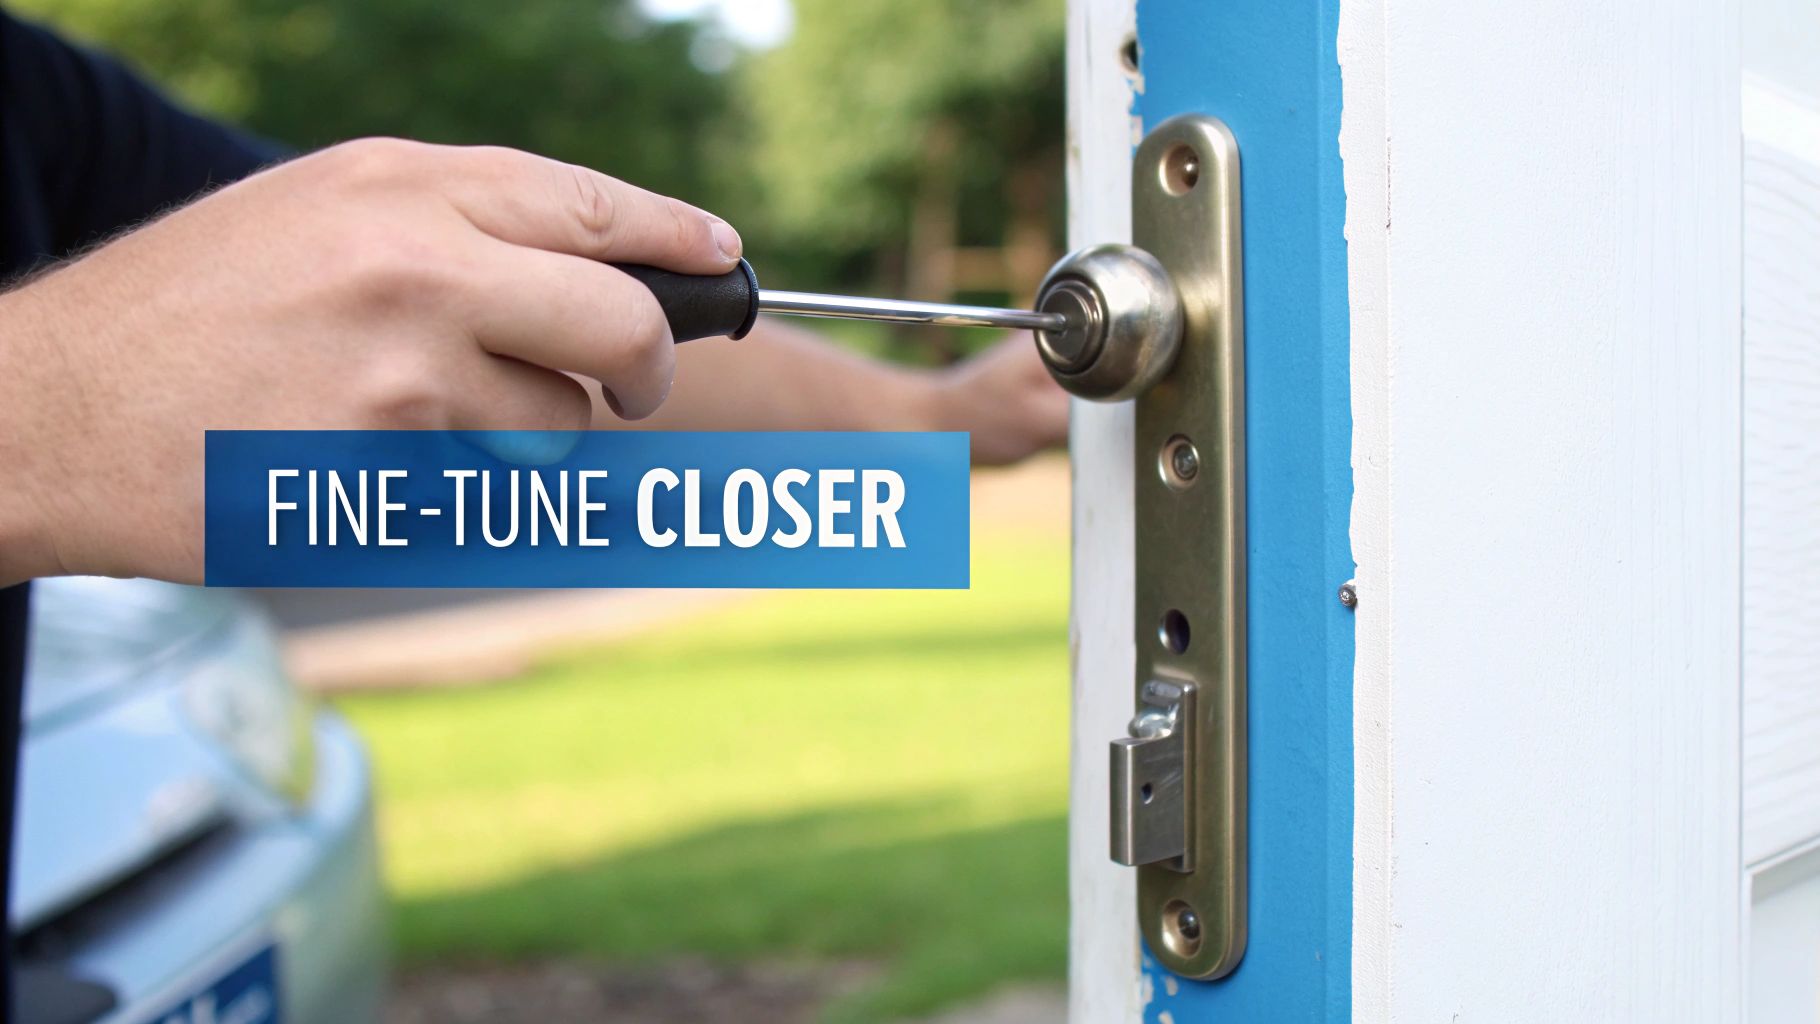 Getting the door closer physically mounted is a huge step, but the job isn't finished yet. The final, critical phase is all about the fine-tuning. This is where you transform a simple mechanism into a perfectly performing piece of hardware, ensuring the door closes smoothly, quietly, and securely every single time.
This adjustment process involves making tiny, incremental turns to the hydraulic valves on the closer body, usually with a small screwdriver or an Allen key. Patience is key here; a quarter-turn is often all it takes to see a significant change in performance. Rushing this stage is a common mistake that leads to doors slamming or not latching at all.
The first adjustment you’ll want to make is the main closing speed, often labelled as ‘C’ or ‘1’. This controls the time it takes for the door to travel from fully open to the last 15 degrees or so before it closes. The goal is a controlled, deliberate sweep that gives people ample time to pass through without being rushed.
Think about a busy office corridor. You want the door to close quickly enough to maintain fire separation and privacy, but not so fast that it becomes a hazard. A good starting point is a closing time of around five to seven seconds from a 90-degree opening.
To adjust it, locate the corresponding valve. Turning it clockwise will typically restrict the hydraulic fluid flow, slowing the door down. An anti-clockwise turn will speed it up. Make a small adjustment, then open the door fully and let it close. Repeat this process until you have a smooth, safe closing arc.
Once the main sweep is set, it’s time to focus on the latching speed, often marked as ‘L’ or ‘2’. This valve controls the final few inches of travel, giving the door that last little push it needs to overcome the resistance of the latch and click securely into the frame.
This adjustment is a delicate balancing act. Too little speed, and the door might be left slightly ajar, which is a major security and fire safety risk. Too much speed, and you get an annoying and potentially damaging slam every time it closes.
The perfect latch is more of a firm 'click' than a loud 'bang'. It should be just enough to engage the lockset without startling anyone. This is especially important in quiet environments like libraries, healthcare settings, or residential blocks.
Start by adjusting the latching valve in tiny increments. Let the door close from about 30 degrees open and observe its final movement. You are looking for a seamless transition from the main closing speed to a slightly faster latching action that ensures the door is properly secured.
The backcheck feature, marked ‘BC’, is an essential safety control, especially for outward-opening external doors. It acts as a hydraulic cushion, preventing the door from being thrown open violently by a strong gust of wind or aggressive use. It typically engages when the door is opened beyond about 75 degrees.
Properly setting the backcheck protects the door, the frame, and the closer itself from damage. When the door is opened into the backcheck range, you should feel a distinct increase in resistance, slowing its momentum.
Just like the other valves, a clockwise turn increases the backcheck resistance, while turning it anti-clockwise decreases it. Be careful not to set it too high, as this can make the door difficult to open fully when needed. The correct setting provides a firm but not restrictive cushion, giving you complete control over the door’s entire range of motion.
Even the most carefully planned installation can hit a snag. A door that slams shut, drifts open, or makes a strange noise doesn't mean you've done a bad job; it usually just points to a simple adjustment or a quick diagnosis. This is your guide to figuring out and fixing the most common issues that pop up after fitting a door closer.
Think of it as the final snagging list before you sign off on the job. Getting these little details right is what separates an installation that’s just ‘done’ from one that’s going to function perfectly for years to come. The good news is, most of these problems can be sorted in minutes once you know what to look for.
The first job is to correctly identify the symptom. Is the door slamming, or is it failing to latch securely? Each issue points to a different cause, and getting this right is the key to finding the solution.
Here are the most common problems you're likely to come across:
Once you've figured out the problem, the fix is usually pretty straightforward. For any speed-related issues, grab your Allen key or screwdriver and go back to the adjustment valves we covered earlier. Just remember to make very small, quarter-turn adjustments at a time, testing the door after each one. It's a game of small increments.
For a door that slams, turn the closing speed valve (often marked 'C' or '1') and the latching speed valve ('L' or '2') clockwise to slow it down. If it's failing to latch, a slight anti-clockwise turn on that latching valve should give it the final push it needs.
If you're hearing grinding, double-check that the main arm and forearm are correctly aligned and that every single screw is tight. Occasionally, a tiny bit of lubricant on the arm's joints can solve minor squeaks, but always check your manual first to make sure it's recommended.
The Unmistakable Warning Sign The one problem you absolutely cannot fix is a hydraulic fluid leak. If you see oil dripping from the closer body or staining the door, the internal seals have failed. This is not repairable and means a complete replacement of the unit is needed. Trying to patch it up is unsafe and, frankly, a waste of time.
We get it—sometimes a specific question pops up right in the middle of a job. Here are clear, straightforward answers to the most common queries we hear about installing door closers, helping you get past any hurdles and finish your project with confidence.
Almost, but the real deciding factor is the condition of the door and its frame. A door closer is designed to control a well-hung door; it’s not a fix for existing problems like a warped door leaf or a frame that binds and scrapes.
While surface-mounted closers are incredibly versatile, the concealed models need the door to have a certain thickness to accommodate the mortice. Always check the manufacturer’s specs against your door’s material (wood, metal, uPVC) and weight to make sure everything is compatible before you start.
Backcheck is a vital safety feature that adds hydraulic resistance when the door is opened beyond a certain point, usually around 75-80 degrees. Think of it as a hydraulic shock absorber, stopping the door from being flung open by a sudden gust of wind or just someone being a bit too forceful.
This cushioning effect protects the closer mechanism, the door itself, and the wall next to it from getting damaged. It’s a feature we highly recommend for any external door, particularly those in exposed locations.
This is a very common issue, so don't worry. The hydraulic fluid inside the closer just gets a bit thicker (more viscous) in the cold, which slows down its movement through the valves. Most modern closers use temperature-stable fluid, but extreme cold can still have a noticeable effect.
You’ll likely need to make a minor seasonal adjustment. A tiny, anti-clockwise turn of the closing speed valve should be enough to compensate for the colder weather and get things moving smoothly again.
Crucial Fire Door Reminder: A fire door closer isn't just an option—it's a legal and life-saving requirement. It must be CE marked and fully compliant with BS EN 1154. Fitting a standard, non-fire-rated closer on a fire door assembly is a serious breach of safety regulations and invalidates the door's fire protection certificate.
For all your project needs, from heavy-duty closers to specialist ironmongery, trust the experts. Neasden Hardware provides high-quality fittings and expert advice, delivered straight to your door. Explore our full range at https://neasdenhardware.co.uk.