
Order Online
- Straight to your door!
Straight to your door


Swapping out an old door handle is one of those jobs that can feel deceptively simple. Most of the time, it is. You just undo a couple of screws, slide the new spindle through the existing latch, and fix your new handle in place. Often, you can get it done in less than 15 minutes with nothing more than a screwdriver. It’s a quick win for refreshing a room’s look.
But sometimes, it’s not just a simple swap.
A door handle isn't just a way to get in and out of a room. It’s a key finishing touch, one of those small details that pulls a whole space together. A perfectly aligned, solid-feeling handle speaks volumes about quality and attention to detail. On the flip side, a wobbly or misaligned one can make even the most beautifully decorated room feel a bit cheap.
This guide is for everyone, from seasoned pros working on a major project to first-time DIYers wanting to make a small but mighty home improvement.
We’ll get into the nitty-gritty of installing common UK handle types, like the ever-popular lever on rose and the more traditional lever on backplate. Our advice is pulled from decades of hands-on experience in London's ironmongery trade, so you're getting practical tips that actually work on site. Before you dive in, it’s worth exploring options like stylish aluminium door handles that can really elevate your home’s aesthetic.
It’s easy to underestimate the importance of this small detail, but door handles are big business. In 2021, the UK market was valued at a massive £215 million, and it's projected to climb to £290 million by 2030. Lever handles, in particular, dominate UK interiors and hold the largest revenue share, reflecting just how popular they are in our homes and workplaces.
Our aim here is to give you the confidence to get the job done right, whether you're fitting a handle to a brand-new door or giving an old one a much-needed update. One of the first things people ask is about positioning. Getting this right is what separates an amateur job from a professional one.
A key element of a professional installation is consistency. All handles in a property should ideally be set at the same height to create a clean, uniform visual line. This detail, while small, makes a significant difference to the finished look.
To get a full breakdown of where your new hardware should go, check out our guide on the standard door handle height in the UK. It covers everything from Building Regulations to practical tips from the trade. With the right hardware and a solid approach, you can achieve a flawless finish that looks fantastic and is built to last.
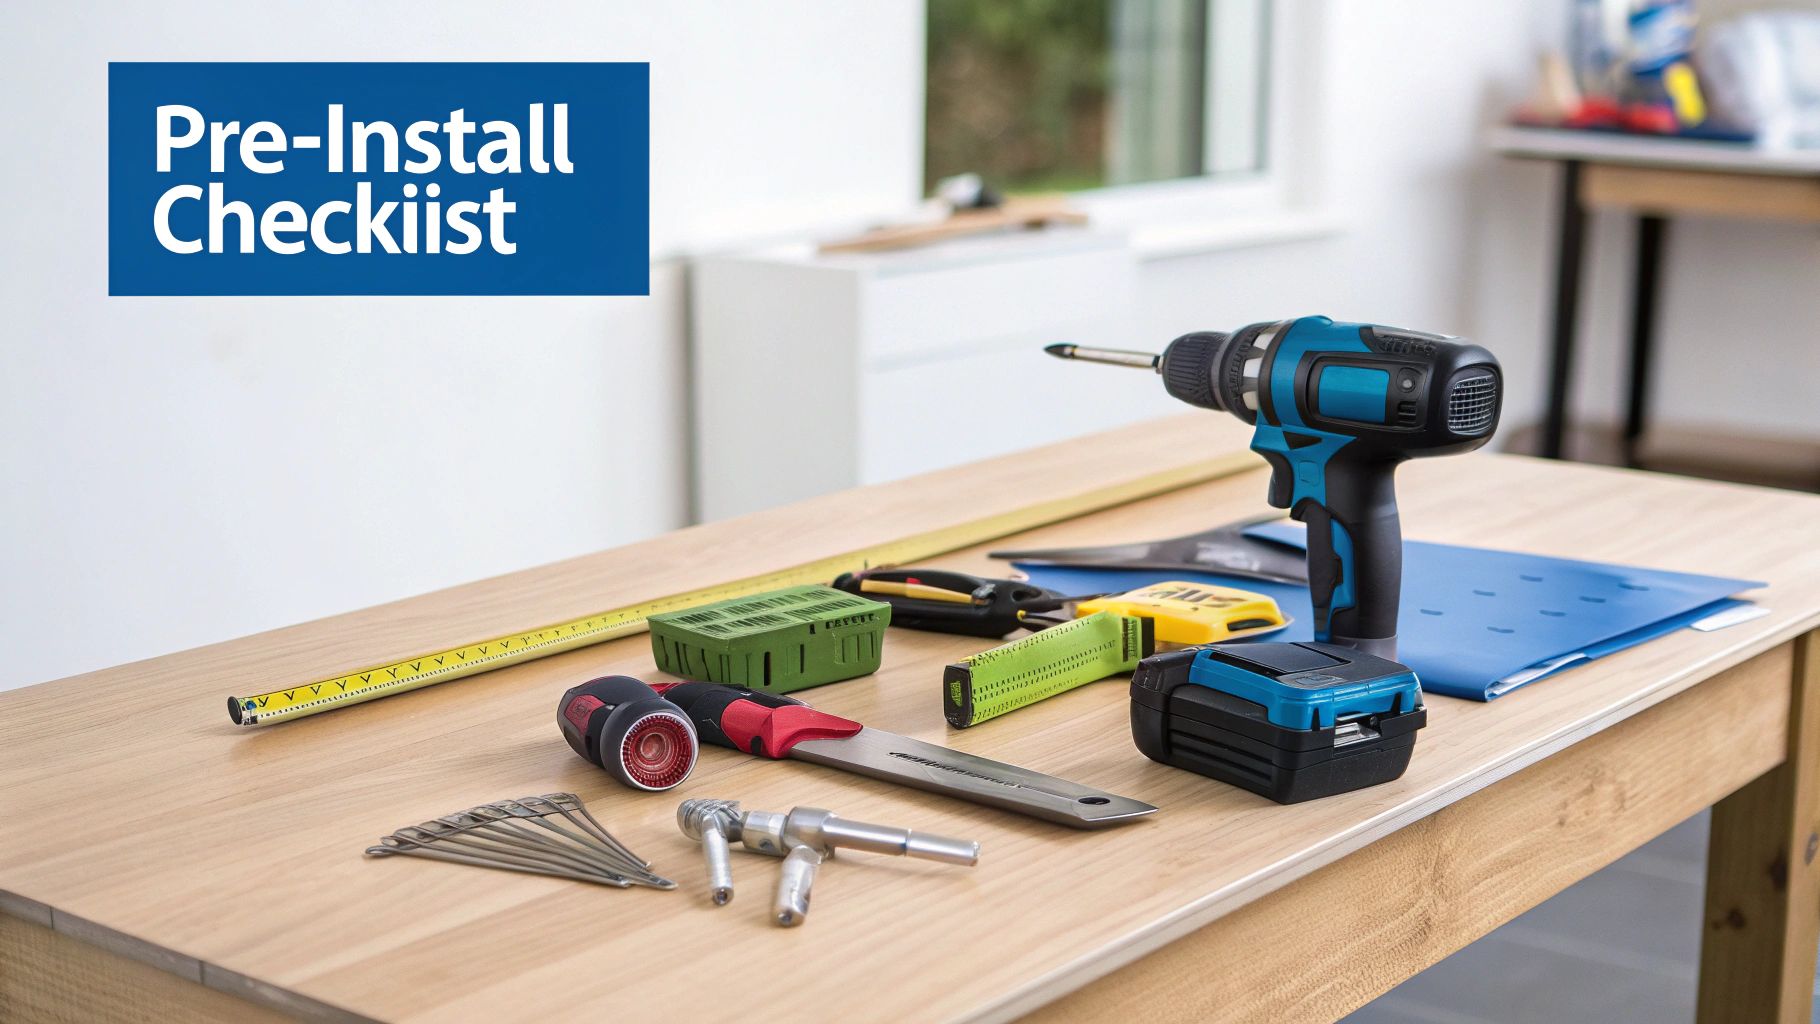
Before you even think about undoing the first screw, a successful door handle installation starts with solid preparation. Getting this part right is what turns the job from a frustrating chore into a satisfying project with a professional finish. It’s not just about having the tools; it’s about having the right tools for the job and knowing what to check before you begin.
Having an organised toolkit makes any DIY task smoother. While a basic screwdriver might get you through a simple swap, a fresh installation demands a bit more. For anyone serious about home improvement, investing in a good quality kit is a smart move. You can find everything you need in something like a Stanley Essential Toolkit, which covers the basics for this job and plenty of others around the house.
The tools you’ll need depend entirely on the job at hand. Are you simply replacing an old, tired handle with a new one of the same size, or are you fitting a handle to a brand-new, unmarked door? The two tasks are worlds apart. A straightforward replacement often only requires a good screwdriver, but a new installation is a different beast altogether.
Take a look at the table below for a quick breakdown of what you'll need. It covers the essentials for both a simple replacement and a full new installation, so you can make sure you've got the right gear lined up.
| Tool/Material | Required for New Installation | Required for Replacement | Pro Tip |
|---|---|---|---|
| Tape Measure | Yes | Yes | Double-check every measurement before you mark or drill. Trust me on this one. |
| Pencil | Yes | No | A sharp pencil gives you crisp, accurate lines that are easy to follow. |
| Combination Square | Yes | No | Essential for marking perfectly straight lines across the door edge and face. |
| Drill & Drill Bits | Yes | No | Use a spade bit for the main spindle hole and a smaller bit for the latch barrel. |
| Screwdriver | Yes | Yes | Choose a Phillips or Pozidriv head that matches your screws snugly to avoid stripping them. |
| Sharp Chisels | Yes | No | Non-negotiable for recessing the latch plate and strike plate for that flush, professional finish. |
| Mallet or Hammer | Yes | No | Use this with the chisel for controlled cuts. A wooden mallet is best if you have one. |
| Safety Goggles | Yes | Yes | Always protect your eyes from wood dust and potential debris. It’s a simple step, but a vital one. |
Having the right tools is half the battle won. Now, you’re ready to get to work without any last-minute trips to the hardware shop.
With your tools ready, the next step is to assess the door itself. Overlooking these details is where many DIY attempts go wrong, so don't skip this part.
First, get a feel for the door's construction. Is it a solid core or hollow core door? You can usually tell just by knocking on it; a hollow door will sound empty and light, while a solid one feels dense. This is important because hollow doors need specific fixings to ensure the handle is secure and won't pull loose over time.
Next, you need to determine the handing of your door. Stand outside the room and see which side the hinges are on. If the hinges are on the left and the door opens towards you, it's a left-handed door. If they're on the right, it's a right-handed door. This is absolutely crucial for lever handles, as many are designed specifically for left or right-hand opening.
A classic mistake is forgetting to check the door's handing before you buy the handle. While some lever handles are reversible, many aren't. Getting this wrong means the handle will be upside down, which looks unprofessional and can even affect how it operates.
Finally, it’s time to accurately mark the handle's position. In the UK, the standard height is 1000mm from the finished floor. The backset—the distance from the edge of the door to the centre of the spindle—is typically 57mm. Grab your combination square and tape measure and mark these points clearly. This careful preparation is the foundation of a job well done.
Right then, let's get our hands dirty. Fitting a lever on rose handle with a tubular latch is one of those bread-and-butter jobs you’ll come across time and again, whether you're a seasoned joiner or a weekend DIYer. It's a classic combination in modern homes for good reason—it looks clean and the mechanism is wonderfully straightforward.
We're going to walk through the entire process, step-by-step. The aim here is a top-notch finish: a handle that feels solid in your hand, turns smoothly, and sits perfectly flush against the door.
Precision is your best mate on this job. Grab your measurements from the prep stage—usually 1000mm up from the floor for the height and a 57mm backset from the door's edge. Use a combination square to draw these lines until they cross; that intersection is the dead centre for your main spindle hole.
Now for the drilling. Technique is everything if you want to avoid blowing out the other side of the door—a classic rookie mistake. The trick is to drill from both sides. Using a spade bit (typically a 25mm for a standard tubular latch), drill halfway through from one side until the very tip just pokes through. Then, flip over to the other side and use that little pilot hole to finish the job. Guarantees a clean exit every single time.
With the main hole sorted, it’s time to drill into the edge of the door for the latch itself. A 22mm wood bit is your tool for this. Keep your drill dead level and straight, and drill to the depth your latch requires.
Here's a simple tip I've used for years to get the depth spot on: measure the latch body, then wrap a bit of masking tape around your drill bit at that same length. Drill until the tape just touches the door edge, and you've got a perfect hole with no guesswork.
For a truly professional look, the latch's faceplate needs to sit perfectly flush with the edge of the door. Slide the tubular latch into the hole you just drilled. Take a moment to get its position right; you want that latch mechanism perfectly vertical.
Once you’re happy with the alignment, trace around the faceplate with a sharp pencil or, even better, a marking knife. This gives you a crisp, precise outline to work from.
Pull the latch out. Now, grab a very sharp chisel (something around 18-25mm wide) and a mallet. Carefully tap the chisel along the inside of your marked lines. You're just scoring the wood fibres here to stop them from splitting out. Once the perimeter is scored, make a few shallow cuts across the waste wood inside the outline.
Next, gently pare away the waste wood with your chisel, keeping it as flat as you can. The key is to work slowly, removing thin layers at a time. Keep test-fitting the latch until it sits perfectly flush without rocking back and forth.
With the recess cut, you can pop the latch back in and secure it. Check one last time that it's sitting flush and straight. Always drill small pilot holes for the fixing screws—it’s a simple step that prevents the wood from splitting, especially on thinner door stiles. Drive the screws in until they're snug.
Now for the handles. Most lever on rose handles come in two main parts. Start by unscrewing the outer rose cover from the inner fixing plate.
Before you tighten them completely, get a spirit level out and make sure the levers are perfectly horizontal. A slightly wonky handle will stick out like a sore thumb and can spoil the whole look.
The final, and most crucial, step is to tighten the grub screw. You'll usually find it on the underside of the lever's neck. This tiny screw is what clamps the lever onto the spindle, stopping any wobble or looseness. Use the Allen key that came with the handle and tighten it firmly. It’s this little detail that ensures your handle feels solid and reliable for years to come.
Once that’s done, simply screw the outer rose covers back on for a clean, concealed finish. Your handle is now installed and ready for the final piece of the puzzle: fitting the strike plate to the door frame.
Fitting a mortice lock with a classic lever on backplate handle is a proper joinery skill. It's a definite step up in security and style compared to simpler latches. While the process is more involved than fitting a basic tubular latch, the result is well worth the effort—you get a solid, secure feel that’s perfect for both internal and external doors.
This kind of installation is a core skill for any serious DIYer or tradesperson. It's all about precision and understanding how the hardware actually works. From the initial drilling to securing the final handle, every step relies on careful measurement.
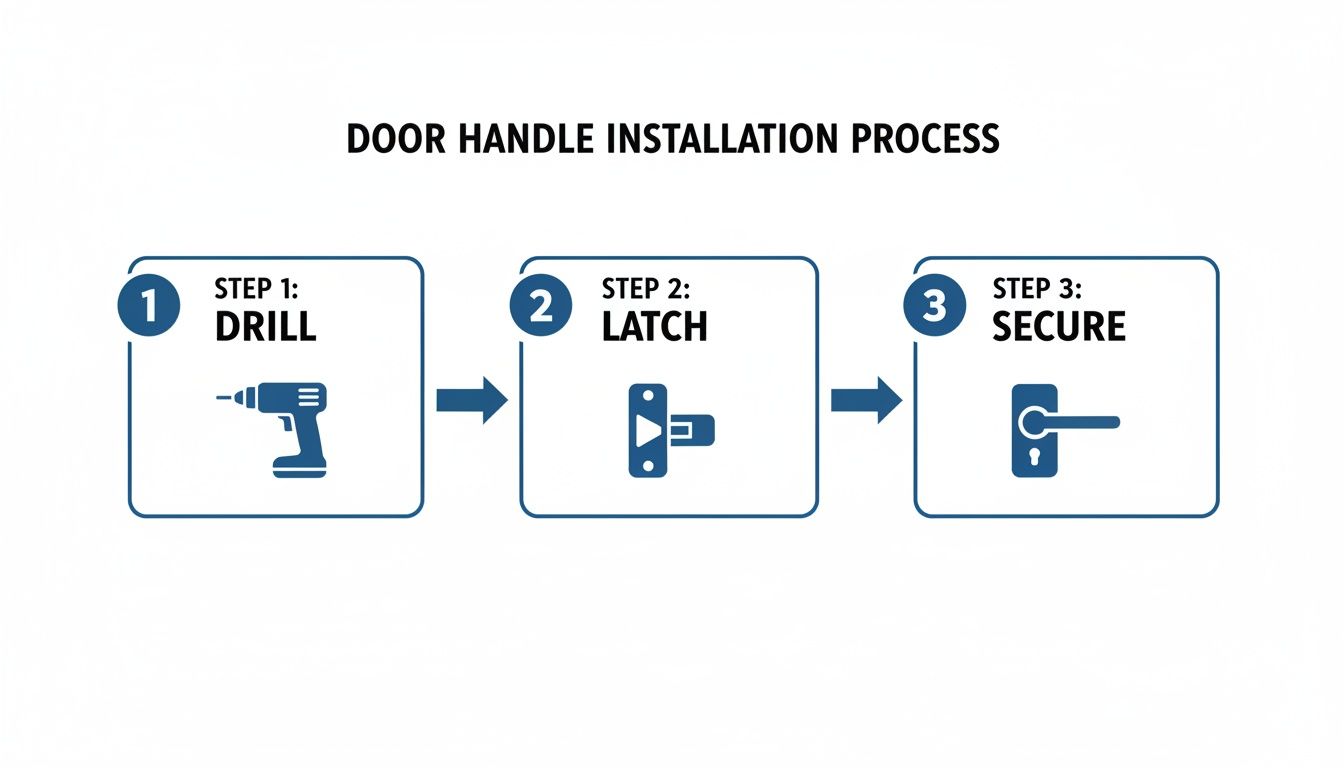
As you can see, whether you're fitting a basic latch or a full lock, the fundamental stages—drilling, fitting the mechanism, and securing the handle—are always the same.
The first and most critical job is to carve out the mortice. This is the deep rectangular pocket in the door's edge where the lock case will live. Start by holding the lock body against the door edge and marking its top and bottom. Use a combination square to carry these lines across the door's thickness.
Mark a centre line along the door edge. The next step is to remove the bulk of the wood. A drill with a flat wood bit that matches the thickness of your lock case is perfect for this. Set your drill's depth stop (or just wrap masking tape around the bit) to match the depth of the lock. Drill a series of overlapping holes along the centre line between your top and bottom marks. This clears out most of the waste wood quickly and cleanly.
With the bulk of the wood gone, it's time for the chisel. A sharp chisel is non-negotiable here. Carefully pare the sides of the mortice, shaving away the remaining wood to create a clean, straight-sided pocket. Go slowly and keep checking the fit of the lock case until it slides in snugly without being forced. For a more detailed walkthrough, you can explore our full guide on how to correctly fit a mortice lock, which dives deeper into these crucial first steps.
Once the lock case fits perfectly, pop it back into the mortice. Trace the outline of its faceplate onto the door edge, just like you would for a tubular latch. While it's in there, carefully mark the centres for the spindle and the keyhole right through the holes in the lock case itself.
Pull the lock out again and use your drill to create the holes for the spindle and keyhole. Make sure you drill straight through from both sides to avoid splintering the wood when the bit exits. After drilling, you'll need to open up the keyhole shape using a small coping saw or by carefully chiselling out the waste.
Now you can chisel out the shallow recess for the faceplate. Score the outline with a marking knife first, then carefully pare away the wood until the faceplate sits perfectly flush with the door edge. With all the cutting done, you can slide the lock case into the mortice for the final time and screw it securely in place.
A professional finish is all in the details. When fitting a lock, make sure the keyhole on both sides of the door aligns perfectly. Even a slight misalignment can cause the key to bind, making the lock a nightmare to operate smoothly.
With the lock secure, you can now fit the lever on backplate handles. Slide the spindle through the lock and place the handles over it, making sure they sit vertically straight. Mark the screw holes for both backplates.
Drill small pilot holes for the fixing screws to avoid splitting the wood. Now secure the handles to the door. You want them firm, but don't overtighten, as this can distort the backplate and affect the mechanism. Test the lever action—it should feel smooth and spring back easily.
The final piece of the puzzle is the strike plate on the door frame. Close the door gently until the latch bolt touches the frame and mark its position. This shows you exactly where to cut the recess for the strike plate and the hole for the latch bolt. Chisel these out carefully until the plate sits flush and the door clicks shut securely.
Even with the best intentions and careful prep, hitting a snag when installing a new door handle is pretty common. There’s nothing more frustrating than finishing a job only to find the latch is sticky or the lever has a wobble. The good news is that most of these problems are straightforward to diagnose and fix with a few small tweaks.
Don’t get disheartened. These little hitches are often part of the process, and sorting them out is what separates a decent job from a truly professional finish. Most of the time, all it takes is a few minutes and a bit of patience.
A handle that rattles or feels insecure is one of the most frequent issues we see. Not only does it feel cheap, but it can also put unnecessary strain on the internal latch mechanism, leading to premature wear. Before you write it off as a faulty product, run through these quick checks.
The usual suspect is the grub screw. This is that tiny screw, often tucked away on the underside of the lever’s neck, that clamps the handle tightly onto the spindle. If it's even slightly loose, you'll get a wobble. Grab the Allen key that came with the set and give it a good tighten until it’s fully secure.
Another potential cause is the bolt-through fixings. These are the two long bolts that run right through the door and latch, holding the whole assembly together. If you haven't tightened them evenly, the handle can rock back and forth. Make sure both bolts are snug, but be careful not to overtighten them. Cranking down too hard can crush a hollow-core door or cause the latch mechanism to bind up.
A latch that doesn’t spring back cleanly is a real pain. Nine times out of ten, this is down to an alignment issue or too much pressure on the mechanism.
This issue is almost always about the alignment between the latch bolt and the strike plate on the door frame. If the door swings shut but doesn't "click" into place, the latch isn't entering the hole in the strike plate correctly.
Slowly close the door and watch exactly where the latch bolt makes contact with the frame. You’ll probably see it’s hitting too high, too low, or is just slightly off-centre. The fix is to adjust the position of the strike plate. If it’s only out by a millimetre or two, you can often just enlarge the hole in the plate with a small metal file.
For bigger misalignments, you might have to unscrew the strike plate, fill the old screw holes with a bit of wood filler, and then refit it in the correct position. It’s a small job that makes a huge difference.
A sticky latch can also be a sign that the door itself has shifted due to humidity or seasonal changes. Before you start messing with the hardware, it's worth checking that the door is still hanging true and hasn't dropped on its hinges.
Knowing how to handle these minor adjustments is incredibly useful, particularly in the UK property market. As market trends show, the UK door and window fittings market is surprisingly resilient because hardware like handles can be swapped out without replacing the whole door. This makes hardware upgrades a frequent job for landlords and property managers, where getting a quick, effective installation is essential.
To wrap things up, let's tackle some of the common, real-world questions that pop up when you're in the middle of a door handle project. These are the finer details that can make all the difference, and getting them right is key to a smooth, professional-looking installation.
In the UK, the go-to height for a door handle is generally around 1000mm (1 metre) measured from the finished floor. This height feels comfortable for most adults and creates a clean, consistent visual line across a property.
That said, for accessibility, the official Building Regulations (Approved Document M) suggest a more flexible range between 900mm and 1100mm. The most important thing is consistency. Whichever height you choose, stick with it for every door to keep things looking uniform.
Getting the latch size right is crucial, not just for function but for the overall look and feel. The key measurement here is the ‘backset’ – that's the distance from the very edge of the door to the centre of the spindle hole where the handle fits.
The most common UK backset sizes are:
Personally, I'd almost always recommend the larger 57mm backset. It positions the handle further from the door frame, giving you more space and stopping you from scraping your knuckles every time you open the door. If you're fitting a mortice lock, you’ll also need to check the ‘centres’, which is the distance between the spindle and the keyhole. In the UK, this is typically 57mm.
Yes, you absolutely can, and it's a great way to modernise a door. But there are a few things you need to check before you buy. First, make sure the rose or backplate on your new lever handle is big enough to cover up the mark left by the old knob. You don't want old screw holes, paint rings, or indentations showing.
Lever handles also need a bit more oomph to spring back into place. You might need to swap your current latch for a ‘heavy sprung’ version. This will stop the new lever from drooping over time, which is a common and very annoying problem. Lastly, double-check the backset. If it’s too short, the end of the lever could hit the door frame, which will chip your paintwork and drive you mad.
This question comes up a lot, and getting it right can save you a real headache down the line. The difference is actually pretty simple:
Sprung handles have a spring mechanism built right into the rose or backplate. This spring does the work of returning the lever to its horizontal position, taking the pressure off the latch itself.
Unsprung handles, as you might guess, have no internal spring. They rely entirely on the spring inside the latch or lock to lift the lever back up.
For most homes using standard tubular latches, sprung handles are the way to go. They give you that satisfying, snappy feel and dramatically reduce the chances of the handle sagging. Unsprung handles are better suited for heavy-duty mortice locks, which already have a powerful spring built in that’s more than capable of supporting the handle's weight. If you run into a tricky situation or an installation that feels beyond a DIY guide, it might be worth talking to professional residential locksmith services for some expert advice.
At Neasden Hardware, we stock a huge range of high-quality handles, locks, and latches for any project. With over thirty years in the business, our team has the experience to help you get the job done right. Explore our collection and find the perfect hardware for your home today.