Order Online
- Straight to your door!
Straight to your door


A self-tapping screw is one of the most useful fasteners you can have in your toolkit. In short, it’s a clever type of screw that cuts its own thread as you drive it into a material. Think of it as a drill bit and a screw rolled into one. This simple but brilliant design means you don’t need to pre-tap a hole, saving a huge amount of time and effort on jobs involving sheet metal, plastic, or wood.
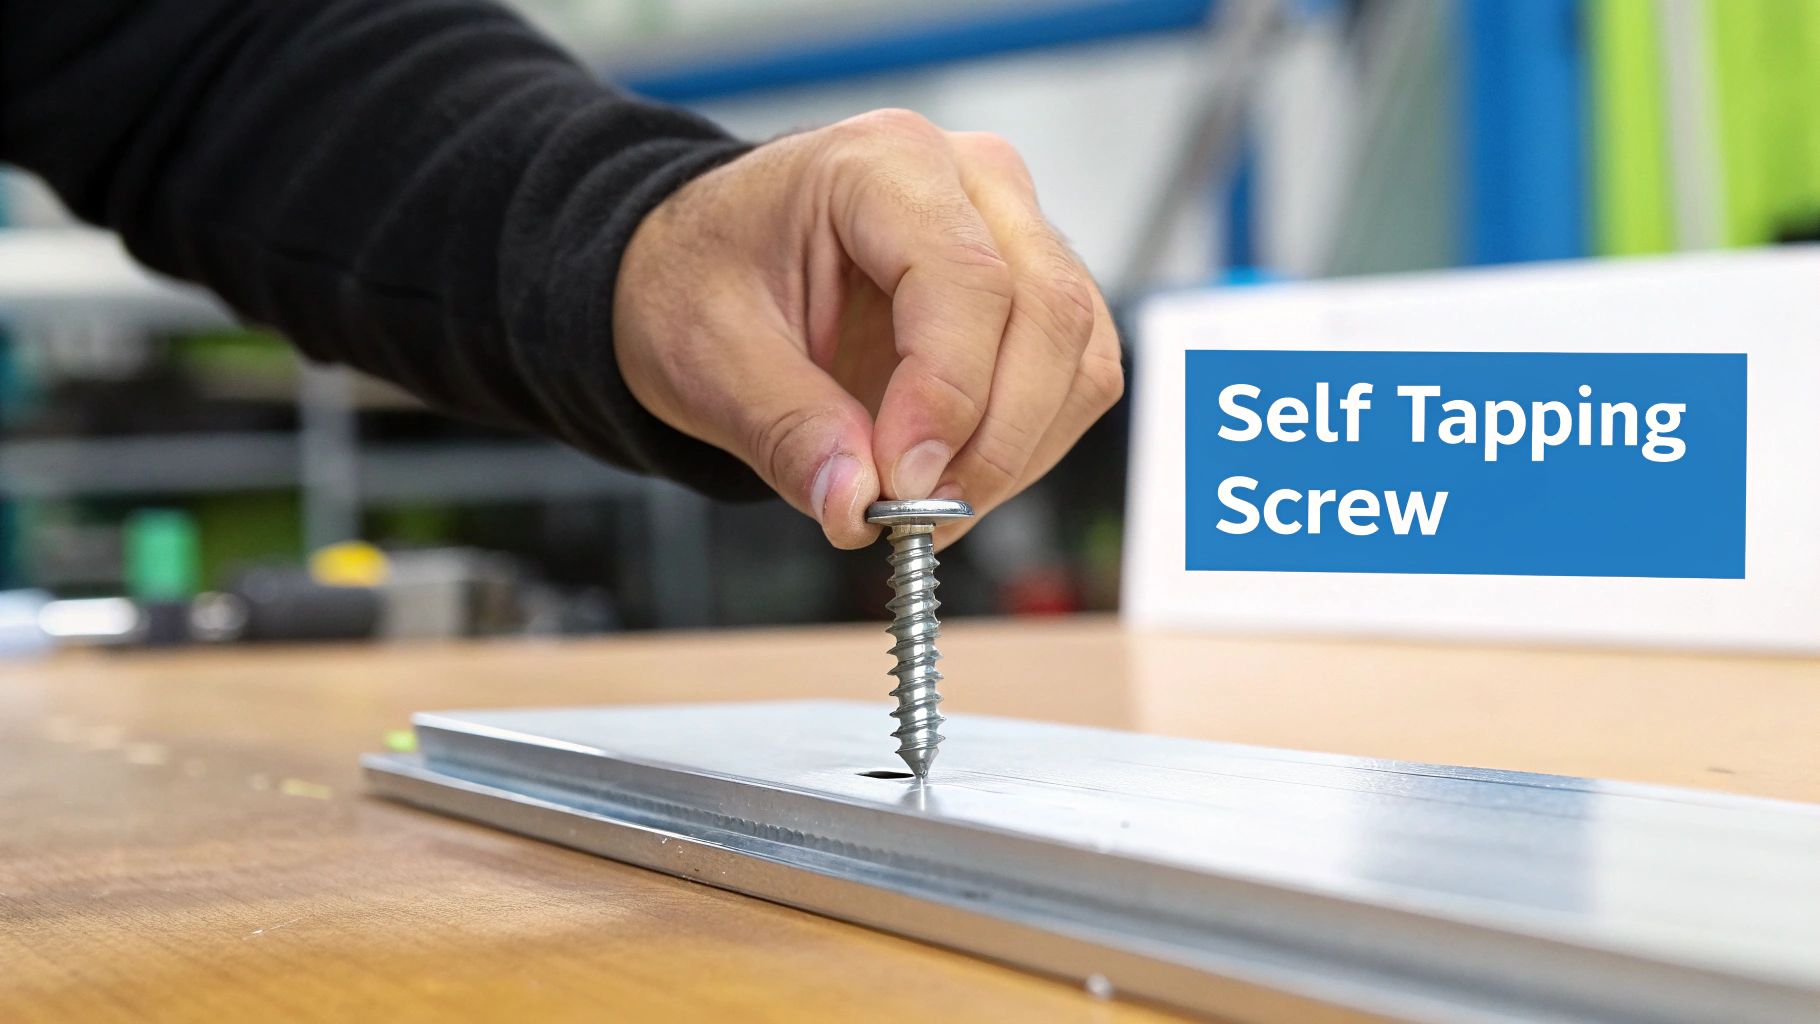
The magic of a self-tapping screw lies in its ability to form a perfectly matching thread inside a material as it’s installed. A standard machine screw, by contrast, needs a pre-threaded (or ‘tapped’) hole to work. This ingenious fastener does all the hard work for you, which is why it has become a cornerstone of modern building and manufacturing.
Imagine trying to force a plain metal rod through a solid piece of wood—it would take an incredible amount of effort. Now, picture that same rod but with a sharp point and a spiral groove cut along its length. As you turn it, that groove carves its own path, pulling the rod deeper with every rotation. A self-tapping screw works on the same principle, using its hardened threads to either cut or form a path into materials like plastic, metal, and wood.
This single feature delivers some major benefits for tradespeople and DIYers alike.
The sheer usefulness of these fasteners is clear from how widely they're used across the UK. In fact, the British self-tapping screw market has seen impressive growth, with consumption recently hitting 68,000 tonnes, valued at £722 million. This demand shows just how essential these screws are in construction, furniture making, and general engineering. You can dig deeper into the UK's appetite for these components in recent industry analysis.
The core idea is simple but incredibly effective: a fastener that creates its own secure home. This self-sufficiency makes the self-tapping screw one of the most practical and reliable fixings you’ll find in any hardware inventory.
Getting your head around this basic mechanism is the first step. Once you realise how a self-tapping screw works, you'll be much better equipped to pick the right type for your project, ensuring a professional, long-lasting finish every time. This guide will walk you through everything you need to know.
The magic of a self-tapping screw isn't just its sharp point; it's the clever engineering packed into its threads. These fasteners don't just punch a hole—they carve out a perfectly matched, secure path for themselves as you drive them in. This is done in one of two ways: either by pushing the material aside or by cutting straight through it.
Getting to grips with the difference between these two methods is the secret to picking the right screw for the job. Each one is designed for specific materials and comes with its own set of advantages when it comes to grip strength, how much torque you’ll need, and the overall strength of the final connection.
One of the most common types you’ll come across is the thread-forming self-tapping screw. Think about pressing your thumb firmly into a block of soft clay. You’re not removing any clay; you're just displacing it, pushing it aside to create an impression. A thread-forming screw works on a very similar principle.
As it drives into a material, its specially shaped threads push the substrate—whether that’s a soft metal or plastic—out of the way. This displaced material then flows back, or ‘cold flows’, around the roots of the screw's threads. In essence, it moulds a brand-new thread directly into the host material, creating an incredibly tight and precise fit.
This technique is brilliant for a few reasons:
Because they work by moulding, thread-forming screws are the go-to choice for softer, more pliable materials. They're perfect for jobs involving thermoplastics, aluminium, and thin-gauge sheet steel, where you don’t need a cutting action and a strong, vibration-proof connection is key.
In contrast, a thread-cutting self-tapping screw acts more like a traditional tap tool used by engineers. These screws are built for harder, more brittle materials where just pushing the material aside won't work. Imagine drilling into a dense piece of oak; you have to remove the wood fibres, not just displace them.
To do this, thread-cutting screws have one or more sharp flutes or cutting edges milled into their tip. This small, sharp groove acts like a tiny saw, physically carving away small pieces of the host material to create a thread as the screw is driven in.
This cutting action is what makes these screws suitable for harder substrates. By removing material rather than displacing it, they create a clean thread with less radial stress on the surrounding area, which is vital for preventing brittle materials from cracking or splitting.
These screws are indispensable when you're working with:
The main takeaway here is that thread-cutting screws are designed for materials that would resist being moulded. They might take a bit more effort to install, but they provide a rock-solid fastening in materials that would be too rigid or brittle for a standard thread-forming screw. Choosing correctly between these two types is a sure-fire way to get a professional result every time.
Once you’ve figured out whether you need a thread-forming or thread-cutting screw, the next job is to pick the right head and drive style. This isn't just about looks—it’s about performance. The choice you make here will affect how the screw sits, how easy it is to install, and the overall quality of your finish. Get it wrong, and you could end up with a screw head sitting proud when it should be flush, or worse, a stripped head from a slipping driver bit.
Knowing the common head and drive styles gives you the confidence to pick the perfect self tapping screw for any job. Whether you’re fixing metal cladding, assembling furniture, or doing some delicate joinery, getting this small detail right is what separates amateur work from a professional job.
This little flowchart is a great starting point, helping you decide on the basic screw type based on what you're fastening into.
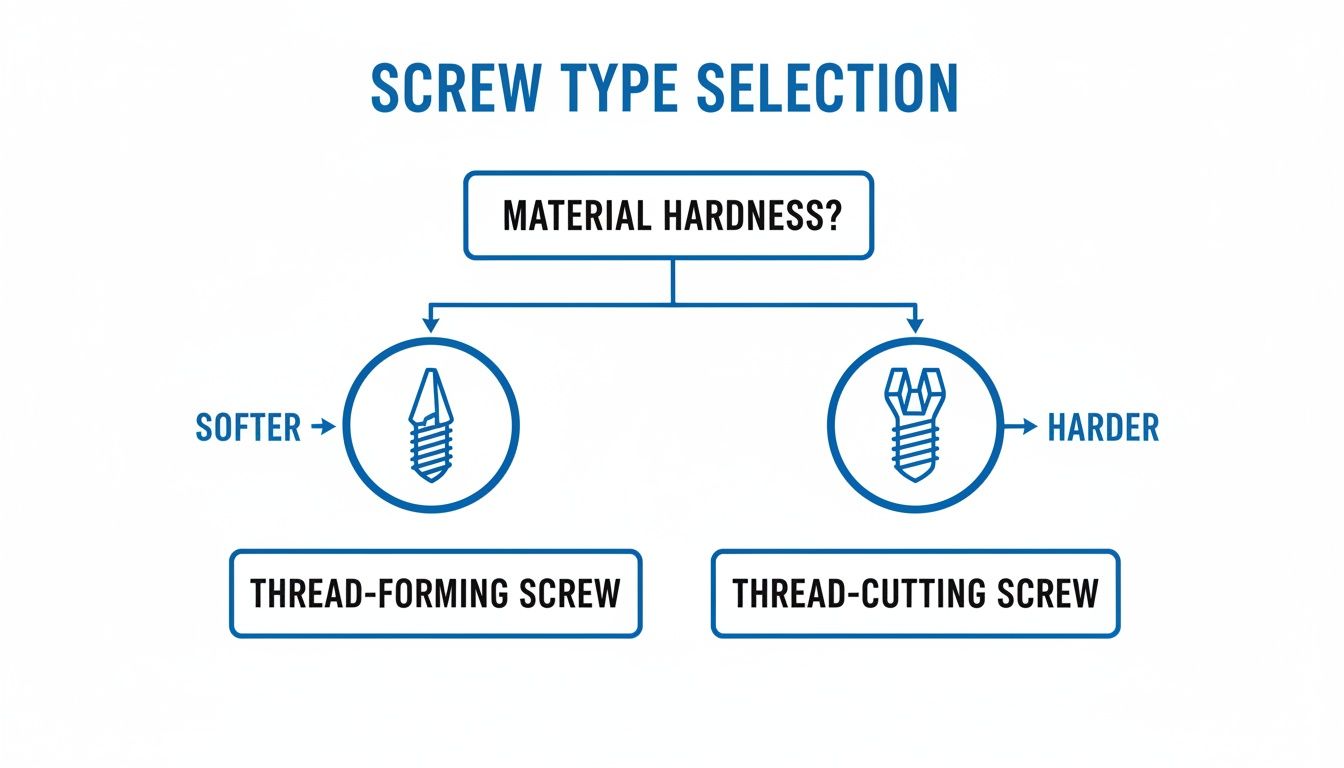
As you can see, it all comes down to the hardness of your material. Softer materials are a job for thread-forming screws, while you’ll need a thread-cutting screw for anything tougher.
The screw head dictates how it sits on the surface and spreads the clamping force. Each one is designed for a specific purpose, so what works perfectly for one task might be completely wrong for another.
Pan Head: With its slightly rounded top and flat base, the pan head is a brilliant all-rounder. It sits neatly on top of the material, providing good clamping pressure without needing to be countersunk. This makes it a go-to for fixing components to sheet metal and plastic casings.
Countersunk Head: This cone-shaped head is designed to sit perfectly flush with or just below the surface. To do this, you’ll need to drill a countersunk hole first. It’s the only way to get that smooth, professional finish in woodworking and cabinetry, leaving no snagging screw heads behind. For more tips on timber fastenings, take a look at our guide on the best screws for woodworking.
Hex Washer Head: This is your heavy-duty option. The hexagonal head lets you use a spanner or socket, which means you can apply much more torque. It also has a built-in washer that spreads the load over a wider area, stopping the screw from pulling through thin materials. It’s the top choice for roofing, cladding, and other construction jobs where you need serious holding power.
To make things a bit clearer, here’s a quick comparison of the most common head types and where you’d use them.
| Feature | Pan Head | Countersunk Head | Hex Washer Head |
|---|---|---|---|
| Profile | Sits on top of the surface with a flat underside. | Sits flush with or below the surface. | Hexagonal head with a built-in washer. |
| Primary Benefit | Good general-purpose clamping without needing a special hole. | Creates a smooth, snag-free finish. | Allows for high torque and distributes load. |
| Typical Use | Sheet metal, plastics, general assembly. | Woodworking, cabinetry, joinery. | Roofing, cladding, heavy-duty construction. |
Picking the right head is half the battle; the other half is choosing a drive that won’t let you down.
The drive is the recess in the screw head where your driver bit fits. A solid connection between the bit and the drive is vital for a smooth installation and avoiding damage.
A poor connection between the driver bit and the screw head leads to "cam-out"—that frustrating moment the driver slips out of the recess. This not only damages the screw head, making it difficult to drive or remove, but can also mar the surrounding material.
To stop this from happening, you need a drive style that gives you excellent torque transfer.
Pozi (Pozidriv): An upgrade on the old Phillips head, the Pozi drive is easy to spot thanks to the four small lines between the main cross. These extra contact points give you a much better grip and seriously cut down the risk of cam-out. It’s a solid, reliable choice for most general-purpose jobs.
Torx (Star Drive): The Torx drive has a six-pointed star shape, a design that provides fantastic torque transfer and makes cam-out a thing of the past. The increased contact area means you can apply more turning force without slipping, which is perfect for high-torque applications or when you're using a power driver.
By matching the right head and drive to your project, you're making sure your self tapping screw not only holds tight but also looks clean, professional, and is built to last.
Choosing the right type of self tapping screw is only half the battle. Just as important is its material and coating, as these are what will guarantee your project stands the test of time. The environment your fastener ends up in—whether that’s a damp bathroom or a windswept coastal deck—will ultimately dictate its lifespan. Making the right choice here is the difference between a job well done and dealing with rust, fastener failure, and the headache of future repairs.
The most common material you'll come across is carbon steel, which gets the nod for its strength and affordability. The catch? On its own, carbon steel rusts very easily, a real problem in the typically damp British climate. This is where protective coatings become absolutely essential.
For a completely dry, indoor job with no moisture exposure—like assembling flat-pack furniture or fitting out indoor cabinetry—a basic carbon steel screw will probably do just fine.
But the moment humidity, condensation, or direct water contact comes into play, you need to think about protection. An unprotected steel screw can start showing signs of rust surprisingly fast, which not only weakens the joint but also stains the surrounding material.
This vulnerability is why you'll rarely see a plain steel screw used in professional applications without some kind of protective layer. The choice of material or coating is always a direct response to the environment it's going into.
A fastener's material composition and coating are not just technical details; they are its primary defence against the elements. Selecting the wrong one is like sending a soldier into battle without armour—failure is almost inevitable.
To fight back against corrosion, carbon steel screws are often coated with a sacrificial layer of another metal. This coating acts as a shield, protecting the steel underneath from moisture and oxygen.
Bright Zinc Plating (BZP): This is one of the most common coatings you'll see. A thin layer of zinc offers a decent level of rust resistance for indoor or sheltered outdoor use. It's ideal for projects like putting up shelves in a garage or general DIY tasks where the screw won't be directly rained on.
Galvanising: For more demanding outdoor applications, galvanised screws are a much better bet. The hot-dip galvanising process applies a far thicker, more durable layer of zinc, giving it superior protection against the elements. This makes galvanised screws the right choice for fencing, decking, and other external construction jobs. For certain environments or aesthetic preferences, you might also consider specific coating options that provide enhanced durability or a different finish.
When you need the ultimate corrosion resistance, nothing beats stainless steel. Unlike coated screws where the protection is just skin-deep, stainless steel's defensive properties are part of its very DNA, thanks to the addition of chromium.
There are two main grades you'll encounter:
A2 (Type 304) Stainless Steel: This is a great all-rounder, offering excellent rust protection for most outdoor applications. It's the standard choice for everything from garden furniture to external fixtures that need to stand up to regular rainfall.
A4 (Type 316) Stainless Steel: When conditions get particularly harsh, A4 is the only sensible option. It contains molybdenum, which gives it superior resistance to chlorides like those found in saltwater. This makes it essential for marine or coastal projects—think boat building or fixing cladding on a seaside property, where the salty air would quickly destroy lesser materials.
 Getting a secure, clean finish with a self tapping screw is less about brute force and more about getting the technique right. Even with the perfect screw, a clumsy installation can lead to a weak joint, damaged material, or a snapped fastener. Nailing two key skills—pilot holes and torque control—is what separates a rough-and-ready job from a professional-grade result.
These steps ensure the screw performs exactly as it should, giving you maximum strength and a flawless look. Whether you're a seasoned tradesperson or a weekend DIYer, paying attention to these details will seriously elevate the quality of your work.
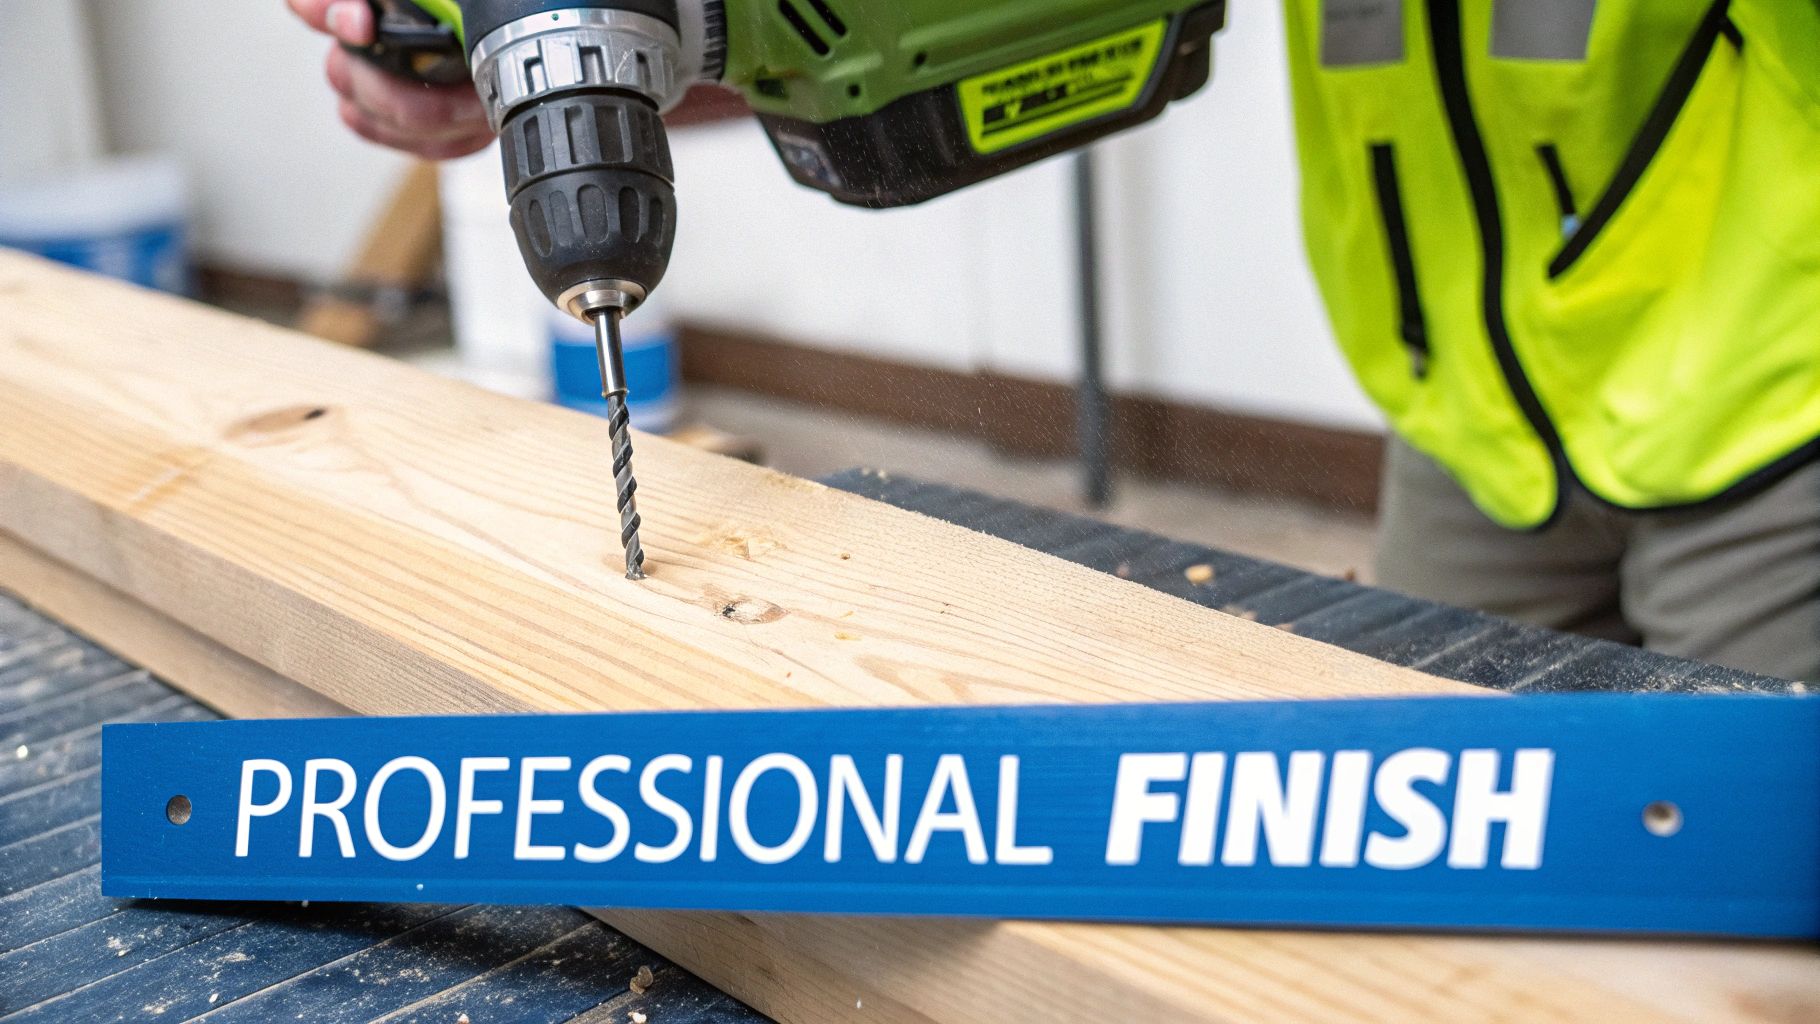
The name "self tapping" can be a bit misleading; it doesn't always mean you can just blast the screw in without any prep. While you can often get away with it in very soft woods or thin sheet metal, drilling a pilot hole is almost always the smarter move. A pilot hole acts as a guide, making sure the screw goes in straight and reducing the stress on the material around it.
In some situations, it’s not just recommended—it's essential.
Think of a pilot hole as clearing a path. You're not doing the screw's job for it, but you are removing just enough material to allow its threads to engage cleanly and effectively, without risking damage to the screw or the workpiece.
For any woodworking project, including something as complex as fitting a new kitchen, the right fastening techniques are crucial for a durable result. You can learn more about how to install kitchen cabinets to see how these principles apply in the real world. The table below gives you a good starting point for picking the right drill bit for your pilot hole.
Choosing the correct pilot hole size is critical. It needs to be large enough to prevent the material from splitting but small enough for the screw threads to get a solid grip. This table provides general guidelines for common screw gauges in different materials.
| Screw Gauge | Softwood Pilot Hole (mm) | Hardwood Pilot Hole (mm) | Mild Steel Pilot Hole (mm) |
|---|---|---|---|
| No. 6 (3.5mm) | 2.0mm | 2.5mm | 2.8mm |
| No. 8 (4.2mm) | 2.5mm | 3.0mm | 3.5mm |
| No. 10 (4.8mm) | 3.0mm | 3.5mm | 4.0mm |
| No. 12 (5.5mm) | 3.5mm | 4.0mm | 4.5mm |
Remember, these are just recommendations. It's always a good idea to test on a scrap piece of the same material first, as densities can vary.
The second pillar of a perfect installation is torque control. Too much torque and you'll strip the threads you just created, making the fixing useless. Too little, and the joint will be loose and unreliable. This is where your drill's clutch settings become your best friend.
The clutch is that numbered collar just behind the chuck on most drills. It’s designed to disengage the motor and make a clicking sound once a set amount of rotational force (torque) is reached.
Start with a low clutch setting and drive the screw. If the clutch clicks before the screw is fully home, increase the setting by one or two numbers and try again. Repeat this until the screw head sits perfectly flush without chewing up the material or stripping the thread. This technique ensures every single self tapping screw is tightened to the perfect, consistent tension for maximum holding power.
While these techniques are spot-on for wood and metal, dealing with hollow walls requires a different approach entirely. For advice on that, you can check out our guide on the best fixings for plasterboard walls.
Walk into any hardware shop, and it’s easy to get your fasteners mixed up. At a glance, self-tapping, self-drilling, and wood screws can look remarkably similar, but they’re engineered for very different jobs. Using the wrong one is a recipe for weak joints, damaged materials, or just a whole lot of frustration.
Understanding what makes each screw unique is the key to avoiding common mistakes. It ensures you grab the most efficient and effective fastener every time, whether you're fixing metal cladding or building a timber frame.
The most common mix-up is between self-tapping and self-drilling screws. While they share some DNA, the defining difference is right at the tip.
A self-tapping screw is designed to cut its own threads, but it needs a pre-drilled pilot hole to get started. It can’t create its own hole from scratch in most materials, especially metal. Its one job is to form the threads that give it a secure grip.
A self-drilling screw, on the other hand, has a small drill bit point at its tip, often called a ‘Tek’ point. This clever addition lets it perform three actions in one go:
The core distinction is simple: a self-drilling screw makes its own hole, while a self-tapping screw needs one drilled for it first. Think of a self-drilling screw as the ultimate time-saver for fixing into metal.
This all-in-one capability makes self-drilling screws incredibly efficient for jobs like attaching sheet metal to steel frames or installing roofing panels. For a practical example, see how specialised self-drilling screws for cement board are designed for specific, tough applications.
The difference between self-tappers and traditional wood screws comes down to their thread design and intended material. A standard wood screw has a much coarser, deeper thread and often a non-threaded shank just below the head. This design is optimised to pull two pieces of timber together for a really tight joint.
A self-tapping screw usually has finer threads running its entire length, designed to engage securely with thinner, more uniform materials like sheet metal or plastic. While you can use a self-tapper in wood, its threads aren't designed for the fibrous nature of timber and might not provide the same pull-out strength you’d get from a dedicated wood screw.
Ultimately, choosing the right fastener comes down to two questions: what material are you fixing into, and does it need a pilot hole? Answering these will point you to the correct screw every time.
Even when you've got the basics down, questions always seem to pop up in the middle of a job. Here are some of the most common queries we hear from tradespeople and DIYers, with clear, practical answers to get you back on track.
It really depends on the material you're working with. If you've driven a self tapping screw into metal, it has cut a clean, machine-like thread. In this scenario, you can generally remove and re-insert the same screw without losing any holding power, much like a standard nut and bolt.
Things are different in softer materials like wood or plastic. Every time you remove and re-drive the screw, you risk stripping out the threads it originally formed. This leads to a much weaker joint. For any critical application, it’s always best practice to grab a fresh screw.
Absolutely, though it isn’t always the best tool for the job. Self tapping screws, particularly the thread-cutting types, can be a real problem-solver in dense hardwoods where a traditional wood screw might struggle or even split the timber. They create a tidy thread and reduce the risk of damage, so long as you’ve drilled a pilot hole.
For general woodwork, however, a dedicated wood screw is usually the better choice. Wood screws have a much coarser thread and a specific shank design that’s engineered to pull two pieces of timber together for a tighter, stronger joint. Think of a self tapping screw as a specialist for certain wood applications, not the everyday go-to fastener.
This is a frustratingly common problem, and it usually comes down to one of three things:
A snapped screw is nearly always a signal that your installation technique needs a tweak. Taking a moment to check your pilot hole size and drill settings will usually solve the problem instantly, saving you the headache of extracting a broken fastener.
Proper preparation is the key to preventing fastener failure and getting a professional finish every time.
For every project, from major construction to minor repairs, having the right fasteners is essential. At Neasden Hardware, we offer a vast range of high-quality self tapping screws and other fixings to meet the needs of both professional tradespeople and DIY enthusiasts. Explore our extensive selection online and get everything you need delivered straight to your door. Find your perfect fastening solution today at https://neasdenhardware.co.uk.