Order Online
- Straight to your door!
Straight to your door


When it comes to interior woodwork, ordinary wall paint simply won’t cut it. You need something tougher—water-based satin or eggshell finishes have become the go-to options for doors, skirting boards and window frames.
These modern formulas strike the perfect balance between durability and a silky-smooth look. They resist scuffs, withstand frequent cleaning and give your woodwork that professional edge without the hassle of lengthy drying times.
Imagine the difference between your lounge walls and your staircase banister. Walls barely get touched, but woodwork faces constant action. Doors swing open and shut, frames fight condensation and skirting boards take the brunt of every vacuum pass.
Standard emulsions aren’t built for that level of wear. Specialised woodwork paints contain a flexible resin that forms a protective shell—one that won’t chip or yellow after a few months of daily use.
Choosing the right paint isn’t just about looks. It’s about protecting your surfaces for years to come and making sure that next family clear-up doesn’t spell disaster for your finish.
Across the UK, both trade professionals and enthusiastic DIYers are opting for paints that pack performance into every tin. They’re looking for:
Choosing the right paint is about creating a finish that is not only beautiful but also practical for everyday life. The goal is a surface that is easy to clean, resistant to scuffs, and maintains its colour integrity for years to come.
Recent industry analysis shows the UK painting sector generated approximately £3.5 billion in revenue, with interior woodwork finishes taking a healthy slice of that pie. Today, 65% of those sales are water-based, reflecting a clear preference for their eco-friendlier credentials and user-friendly properties. This shift to advanced, low-chemical formulas means you can achieve a flawless, lasting result—minus the pungent fumes and endless drying times of traditional oil-based paints.
The finish you choose for your woodwork is what gives it its final look and feel, but it’s also its first line of defence against daily life. Think of a paint finish as its protective coat; some are designed for a subtle, elegant look, while others are built to withstand the knocks and scuffs of a busy household. Getting this choice right is crucial.
It's all about balancing aesthetics with practicality. A high-sheen paint might look stunning on a feature door, but it could unforgivingly highlight every minor imperfection on older skirting boards. On the other hand, a flatter finish hides flaws beautifully but won't be as easy to wipe clean in a high-traffic hallway.
This helpful diagram simplifies the core decisions, showing how the paint base and the finish work together to create the final result.
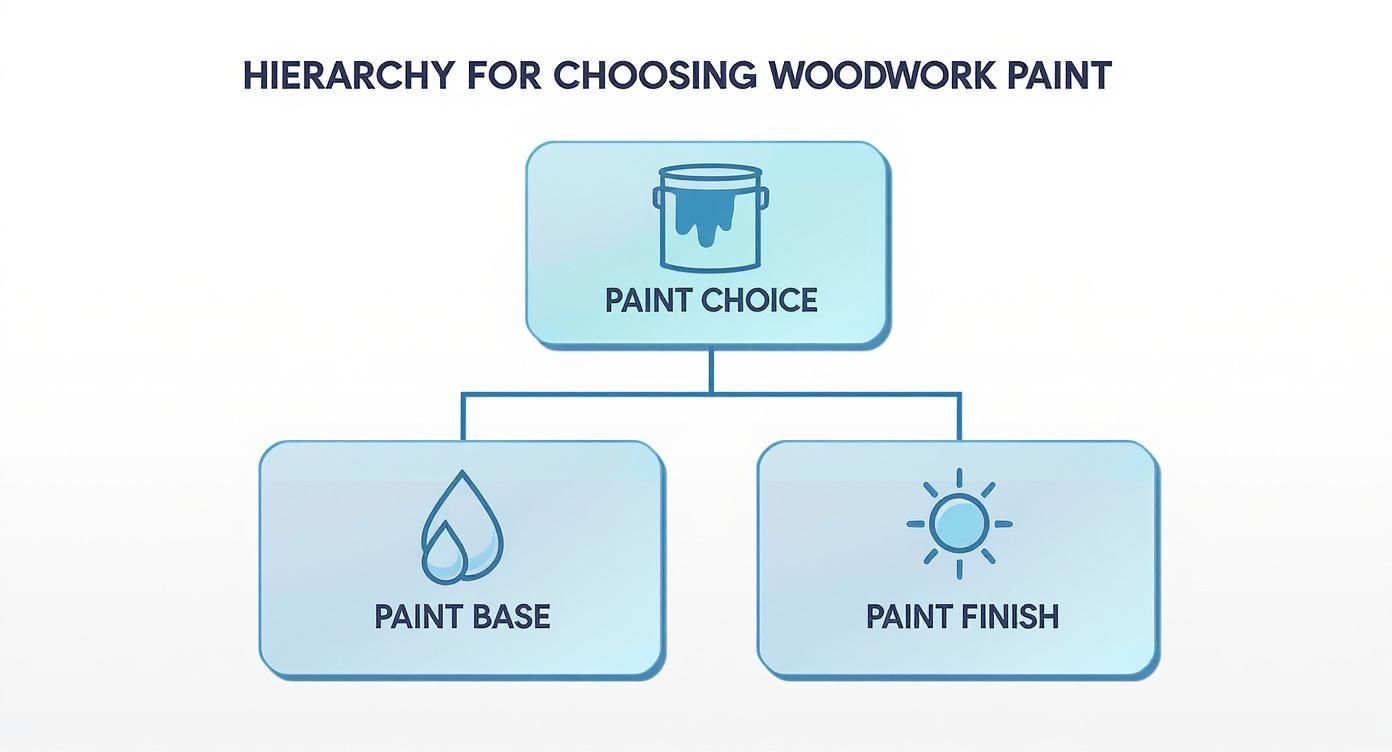
The key takeaway here is that your paint choice is a two-part process. You have to consider both the underlying paint type and the final sheen to get a finish that’s both durable and beautiful.
To make sense of the options, it helps to see them side-by-side. Each finish offers a different balance of sheen, durability, and ease of maintenance. Here’s a quick rundown of the most popular choices for interior woodwork to help you decide which is the right fit for your project.
| Finish | Sheen Level | Durability | Best For | Key Consideration |
|---|---|---|---|---|
| Eggshell | Low | Moderate | Window frames, picture rails, decorative moulding, low-traffic areas. | Excellent for hiding minor surface imperfections due to its low lustre. |
| Satin | Medium | Good | Skirting boards, architraves, door frames, banisters. A great all-rounder. | Offers a good balance of washability and a subtle, modern sheen. |
| Gloss | High | Excellent | Hallway doors, kitchen cabinets, high-traffic areas needing frequent cleaning. | Demands a perfectly smooth surface, as its high shine will amplify any flaw. |
Choosing the right finish comes down to how the woodwork is used. High-traffic areas need toughness, while decorative elements can get away with a more delicate finish.
Eggshell finish has a very low sheen, much like the surface of its namesake. It gives you a sophisticated, almost matt appearance that is brilliant at disguising the minor dents and imperfections you often find on less-than-perfect surfaces.
This quality makes it a fantastic choice for older homes with characterful but uneven woodwork. Its subtle lustre provides a classic, understated look that's perfect for window frames, picture rails, and decorative moulding where you want a refined finish without a distracting shine.
Satin sits comfortably between eggshell and gloss, offering a soft, velvety sheen. This moderate lustre makes it more durable and easier to clean than eggshell, establishing it as a popular all-rounder for modern homes.
It provides a noticeable but not overpowering glow that beautifully highlights the lines of skirting boards and architraves. For a deeper dive into how these two popular finishes compare, you can learn more about the difference between eggshell and satin paint in our detailed guide.
Satin finish offers the ideal compromise between durability and appearance. Its gentle sheen is tough enough for high-traffic areas like door frames and banisters while remaining subtle enough to complement any interior design scheme.
This finish really does strike a perfect balance, making it a reliable option for nearly any woodwork project you can think of.
Gloss is the most reflective and hard-wearing option you can get. A high-gloss finish creates a sleek, almost mirror-like surface that is incredibly durable and exceptionally easy to clean, making it ideal for the busiest areas of a home. Think of doors in a hallway or kitchen cabinets that need frequent wiping.
However, this high shine comes with a caveat: it highlights every single flaw. Any bump, crack, or uneven patch in the wood will be amplified. Because of this, a flawless gloss finish demands meticulous preparation—we’re talking thorough sanding and filling to ensure the underlying surface is perfectly smooth.
Choosing the right paint for interior woodwork often comes down to one big decision: do you go for a water-based or an oil-based formula? For decades, oil-based paints were the undisputed champion for trim, doors, and skirting boards. They were prized for creating a rock-hard, bulletproof finish. But times have changed, and modern water-based paints have made huge leaps forward, offering a fantastic alternative that often suits the pace of modern life much better.
Think of it like this: oil-based paint is the traditional, slow-cooked stew. It takes a lot longer, has a much stronger smell while it's "cooking," but the result is a rich, deeply satisfying finish that’s built to last. Water-based paint, on the other hand, is more like a modern flash-fry—it’s quick, low-odour, and cleaning up is a breeze, delivering a brilliant result with far less fuss.
Getting your head around the differences between these paint bases is the first step to making the right choice for your project. For a deeper dive, resources comparing oil-based and water-based polyurethane finishes can offer some great insights into their respective pros and cons.
Water-based paints, often labelled as acrylic or latex, are now easily the most popular choice for interior woodwork in UK homes. Their biggest selling point is how quickly they dry. You can often get a second coat on in just a few hours, meaning a weekend project doesn't have to drag on into the working week.
Another massive win is their low odour and low levels of Volatile Organic Compounds (VOCs). These are the chemicals that evaporate into the air, creating that strong "paint smell" which can be unpleasant and unhealthy to breathe in. For a family home, especially one with children or pets, a low-VOC water-based paint is a much safer and more comfortable option.
Here’s a quick rundown of the advantages:
Despite the overwhelming popularity of water-based paints, traditional oil-based formulas definitely still have their place. Many professional decorators still swear by them for their incredible levelling properties. This means the paint flows out beautifully as it dries, creating an exceptionally smooth, almost glass-like finish with no brush marks in sight.
Oil-based paint creates an incredibly hard-wearing film once it has fully cured. This makes it a formidable choice for extremely high-traffic areas, like a front door or the woodwork in a busy kitchen, that need maximum resistance to knocks and scuffs.
The downsides are hard to ignore, though. The drying times are long (you can be waiting up to 16 hours before you can recoat), the smell from the higher VOC levels is powerful, and you’ll need mineral spirits or white spirit for the clean-up job. But for sheer, unadulterated toughness, they remain the benchmark.
In the UK, there's been a significant shift towards more eco-friendly and sustainable options for interior paint. In fact, reports show that over 40% of paint sales in the UK were for products labelled as low-VOC or eco-friendly. This trend is especially clear when it comes to woodwork, where homeowners are choosing paints that are non-toxic, easy to clean up, and won't yellow over time.
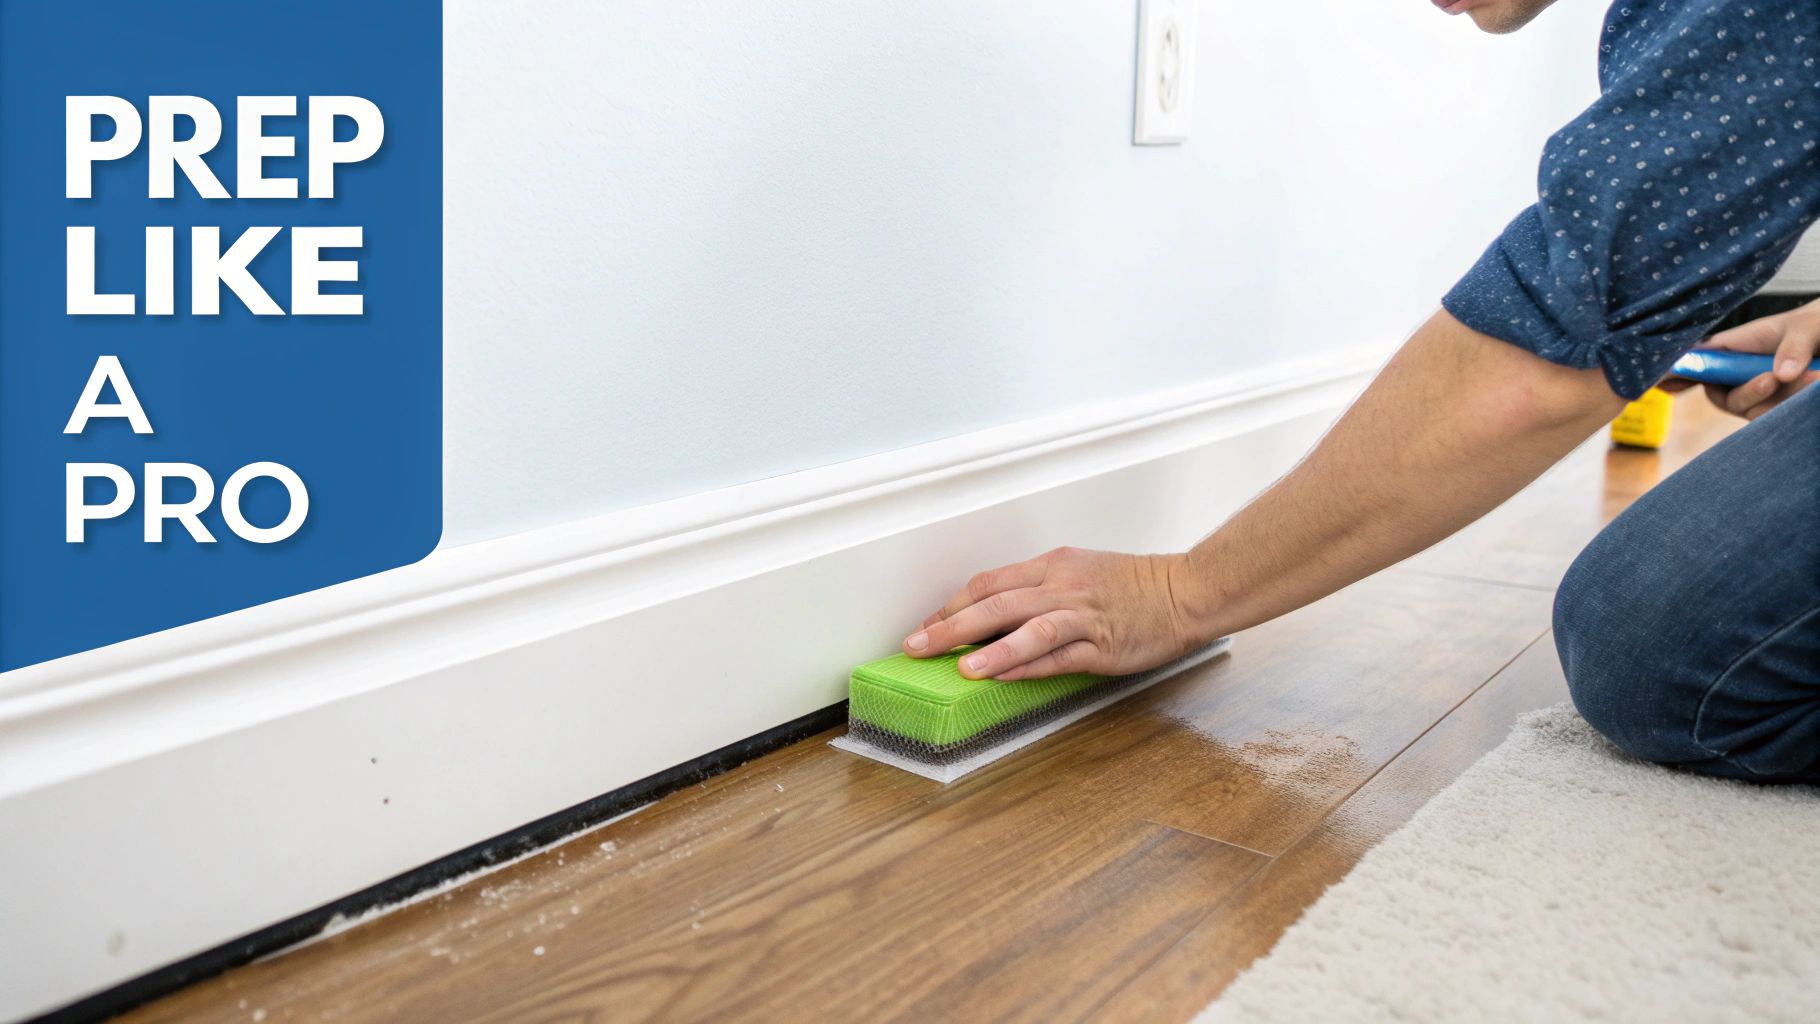
Even the best paint in the world will look dreadful if you slap it onto a poorly prepared surface. A professional-looking finish isn’t just about the final coat; it’s built on the groundwork you do beforehand. Think of it as creating the perfect canvas for your masterpiece.
Proper prep ensures the paint adheres correctly, creating a durable bond that resists chipping and peeling for years to come. Rushing this stage is the most common DIY mistake, but spending a little extra time here guarantees a stunning, long-lasting transformation for your skirting boards, doors, and frames.
Before you even think about cracking open a tin of paint, follow this simple but crucial process. Each step builds on the last to create an ideal surface that’s ready for its new look.
Clean Thoroughly: Your woodwork collects more grime, grease, and dust than you might realise. Use a sugar soap solution or a good degreasing cleaner to wash down all surfaces. This step is vital—paint simply won’t stick to a greasy or dirty base.
Fill Imperfections: Have a good look over the woodwork for any cracks, dents, or old nail holes. Use a quality wood filler, applying it with a putty knife and slightly overfilling to account for shrinkage. Once it’s dry, sand it back so it’s completely flush with the surrounding wood.
Sand for Grip: Sanding isn't about stripping the wood bare; it's about creating a 'key' for the new paint to grip onto. A light scuff with medium-grit sandpaper (around 120-grit) is usually enough to take the sheen off an old finish and smooth out any bumps. Always wipe away the dust with a tack cloth or a damp rag afterwards.
Tackling previously painted gloss surfaces can be tricky, as their high shine makes it difficult for new paint to get a decent grip. For more specific advice, you can explore our guide on how to successfully paint over old gloss finishes.
Many people use the terms 'primer' and 'undercoat' interchangeably, but they serve very different purposes. Knowing when to use them is the secret to a professional result, especially when dealing with challenging surfaces.
A primer is the foundation. Its main job is to seal the surface and provide a stable, uniform base for the paint to stick to. An undercoat is all about building colour and hiding the old finish.
A primer is non-negotiable in a few key situations. It’s essential for:
An undercoat is typically used after the primer. Its role is to build up the depth of the new colour and completely blot out the old one. Some modern paint systems combine these functions, but for the most durable, flawless finish, a dedicated primer followed by an undercoat is the gold standard of professional prep.
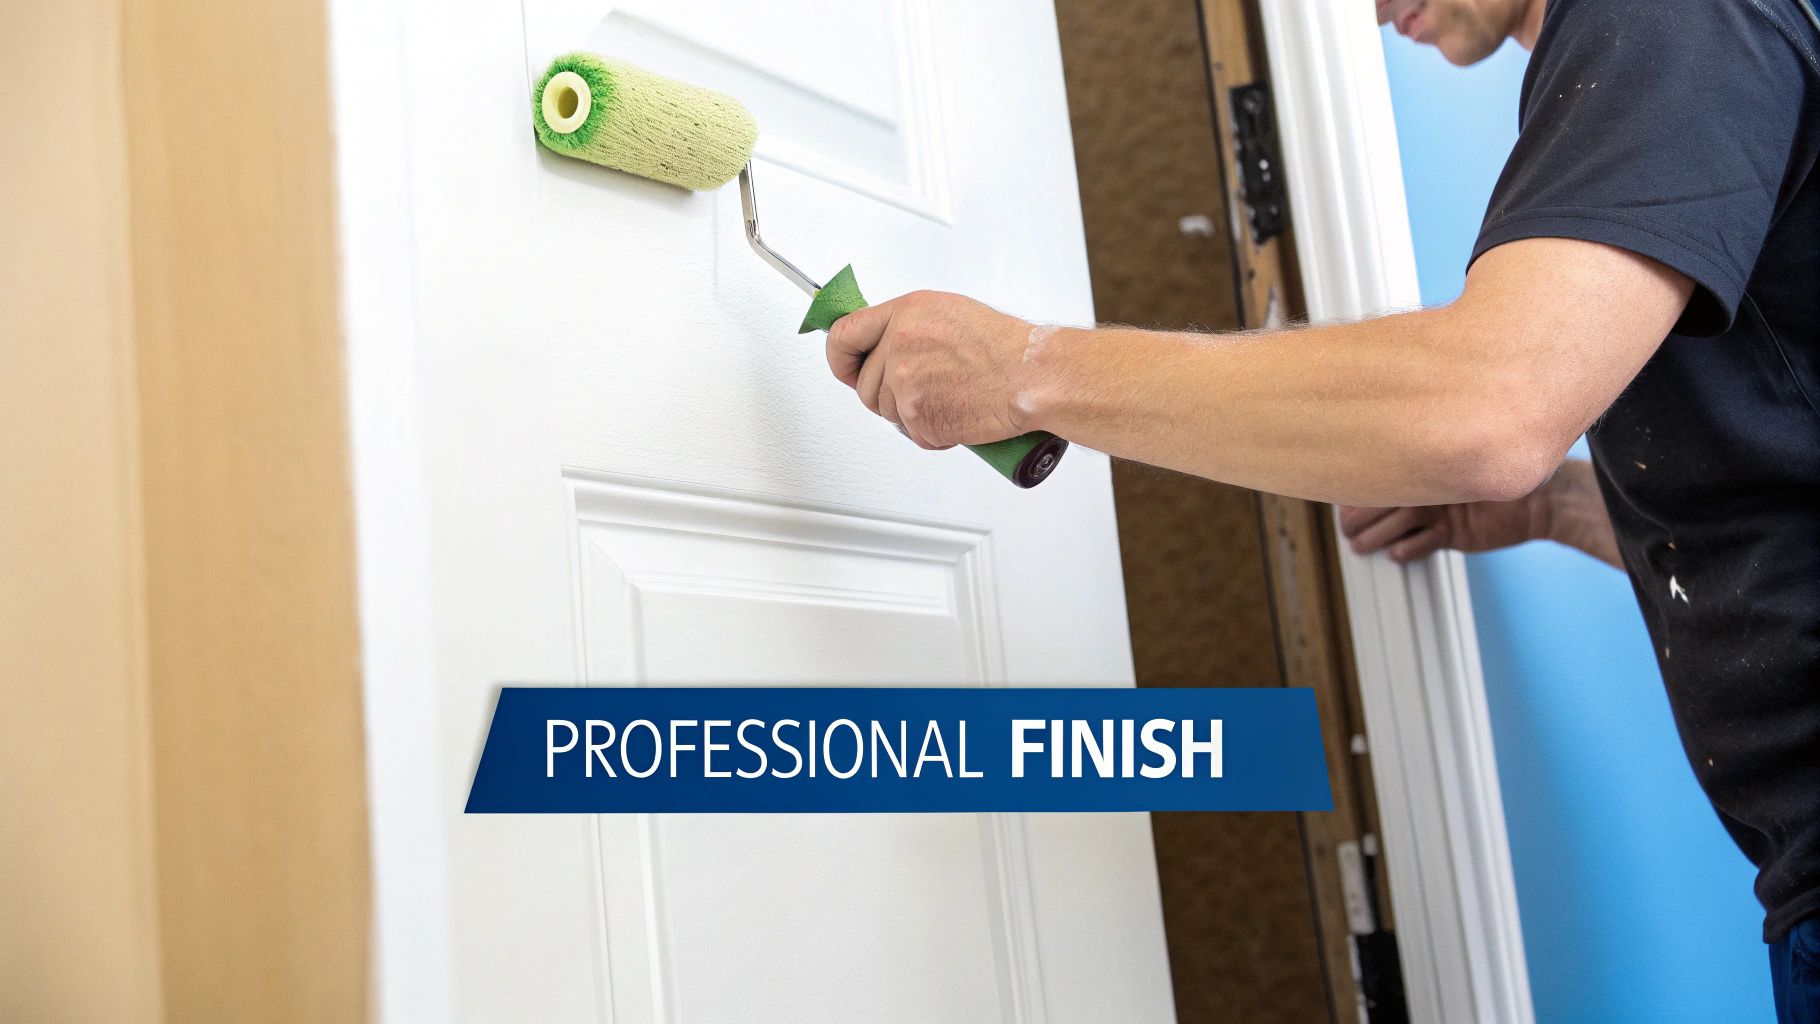
You’ve done the hard graft of prepping your woodwork and have picked out the perfect paint. Now for the final, satisfying step: the application. Getting that smooth, brush-stroke-free finish is easier than you might think, as long as you have the right kit and a few pro tricks up your sleeve.
The quality of your finish is directly tied to the quality of your tools, so it pays not to skimp here.
For a flawless result, invest in a decent brush. If you’re using water-based paints, a synthetic bristle brush is your best bet, as they don’t absorb water and go floppy. For traditional oil-based paints, a natural bristle brush is the way to go; it holds and spreads the thicker paint much more effectively.
And for larger, flatter surfaces like doors or panels? A mini microfibre roller will give you a beautifully even finish in a fraction of the time.
When you’re tackling skirting boards and architraves, a methodical approach is your best friend. The aim is to avoid those ugly lap marks where wet and dry paint edges overlap.
The secret to a professional finish is maintaining a 'wet edge'. This just means ensuring that the edge of the paint you are applying never dries before you apply the next stroke. Do this, and you’ll create a single, seamless surface.
These principles of smooth application don't just apply to new installations. They're just as crucial when you're looking into projects like applying paint for easy & creative DIY tips for upcycling furniture.
If you’re keen to elevate your skills even further, we’ve put together a whole collection of expert paint and decorating tips to help you out.
Even with the best advice, a few specific questions always pop up when you're in the middle of a woodwork painting project. This final section tackles some of the most common queries, helping you clear those last-minute hurdles and lock in the key principles for a flawless finish.
We'll cover everything from the great primer debate to the subtle differences between popular paint sheens, making sure you have all the answers you need.
Not always, but it’s highly recommended if you want the best, most durable results. A primer is absolutely essential if you're painting bare, untreated wood. It works by sealing the porous surface, which stops the topcoat from soaking in unevenly and looking patchy.
It’s also a non-negotiable step when you're making a dramatic colour change, like going from dark wood to white, or if the surface you’re painting over is high-gloss. While some modern paints are sold as 'self-priming', using a dedicated primer first almost always gives you a superior, longer-lasting foundation for your chosen paint.
A primer's main job is to ensure the paint sticks and to seal the surface. An undercoat's role is to build up the new colour and hide the old one. Using both is the gold standard for a professional result.
To steer clear of those dreaded, unsightly brush marks, start by investing in a high-quality brush that’s right for your paint type—synthetic bristles for water-based and natural bristles for oil-based. Try not to overload the brush with paint; dipping just the first third of the bristles is usually plenty.
Apply the paint in light, even strokes, always moving in the same direction as the wood grain. The final, crucial step is to 'tip off' the wet paint. You do this by lightly dragging just the tips of your brush over the surface in one long, smooth stroke. This simple technique is the secret to levelling the paint and making any visible marks disappear.
The main difference between eggshell and satin paint boils down to their sheen, or how much light they reflect. Eggshell has a very low lustre, similar to the surface of an egg's shell, which makes it brilliant at hiding minor surface imperfections.
Satin, on the other hand, has a slightly higher sheen that creates a soft, velvety glow. This extra bit of lustre also makes satin more durable and easier to wipe clean than eggshell. That's why satin is often the go-to choice for high-traffic areas like skirting boards and door frames, whereas eggshell is perfect for a more classic, understated look on window frames or decorative moulding.
Ready to start your project? At Neasden Hardware, we stock everything you need, from high-quality primers to the best paint for interior woodwork. Explore our full range of decorating supplies at https://neasdenhardware.co.uk and get everything delivered right to your door.