Order Online
- Straight to your door!
Straight to your door


An internal door frame is so much more than a simple surround for your door. Think of it as the structural backbone that holds everything together, making sure your door hangs true, swings smoothly, and closes securely for years to come. A well-fitted frame gives the whole installation stability, prevents the door from warping, and is absolutely essential for a professional finish in any room.
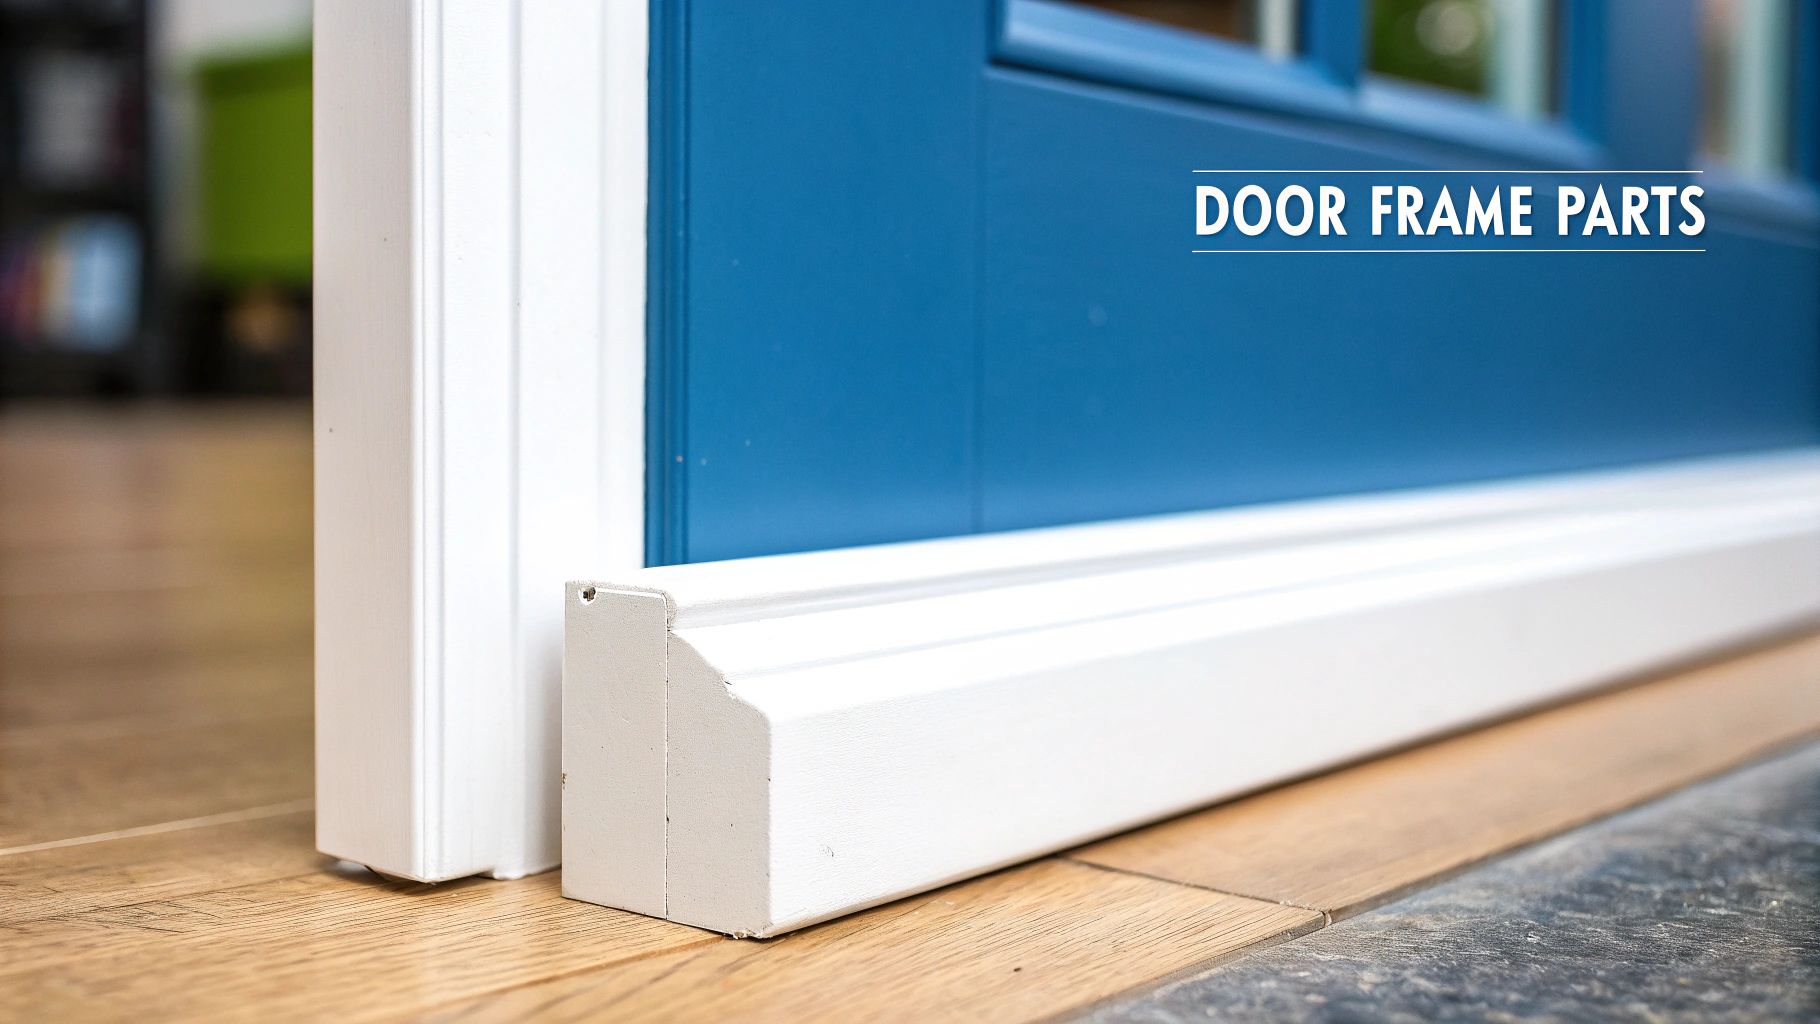
At a glance, a door frame might just look like a few pieces of timber, but it's a carefully designed assembly where every part has a job to do. Understanding these components is the first step to getting your head around how a door installation works and why each piece is crucial.
In the UK, we often call the frame a door lining. It’s essentially the box that the door sits inside, which is then fixed into the rough structural opening in the wall. Getting this bit right is fundamental.
To get a better handle on things, here’s a quick breakdown of the main parts of a standard door frame and what they do.
| Component | Description | Primary Function |
|---|---|---|
| Jambs | The two vertical posts that run up either side of the door. | One jamb holds the hinges (hinge jamb), and the other holds the latch (latch jamb). |
| Head | The horizontal piece that sits across the top, connecting the two jambs. | Sets the width of the frame and keeps the entire structure square. |
| Door Stop | A thin strip of wood or MDF fixed around the inside face of the jambs and head. | Physically stops the door from swinging through the frame and helps create a neat seal. |
| Architrave | The decorative moulding that is fitted around the outside of the frame. | Covers the gap between the frame and the wall plaster, providing a clean, tidy finish. |
Knowing these terms will make it much easier to select the right product and follow installation instructions.
The right internal door frame does more than just hold a door; it provides structural integrity, ensures alignment, and ultimately dictates how smoothly the door operates over its lifetime. It’s a foundational element that shouldn't be overlooked.
Across the UK, the demand for quality internal doors and frames is always on the rise, whether for new builds or home renovations. With the average British home having around five internal doors, even a small uptick in housing projects creates a huge need for frames. In fact, the UK doors market is set to grow by 2.8% each year for the next decade, fuelled by our love for functional and stylish home improvements. This just goes to show how important it is for both homeowners and tradespeople to get the fundamentals, like choosing the right internal door frame, spot-on from the very beginning.
Picking the right material for an internal door frame is one of those decisions that really shapes the final outcome of a project. It’s not just about looks; it affects the cost, how long the frame will last, and the overall feel of the room. The three main contenders you'll find in UK homes are softwood, hardwood, and MDF, and each one brings something different to the table.
Getting to know the ins and outs of these materials will help you make a smart, practical choice. After all, a frame destined for a busy hallway needs to be tougher than one in a bathroom, where fighting off moisture is the name of the game. Let's break down what each material does best.
Softwood, usually from fast-growing trees like Pine or Redwood, is hands down the most popular choice for internal door frames in the UK. And for good reason. Its biggest selling point is its price, making it a brilliant option if you're working on a big project or keeping a close eye on the budget. It just hits that sweet spot between cost and performance.
Beyond the price tag, softwood is a dream to work with for both seasoned joiners and weekend DIYers. It cuts, sands, and shapes easily with standard tools, which takes a lot of the headache out of the installation.
When you need something that’s built to last and looks the part, hardwood is the undisputed champ. Oak is the go-to for an internal door frame, valued for its sheer strength, dense grain, and timeless beauty. It can take a lot more punishment than softwood, making it a solid investment for the busiest parts of a home.
An oak door frame is often paired with solid oak doors to create a seamless, high-end look that paint just can't compete with. It definitely costs more, but its longevity and visual punch often make it worth every penny.
Choosing a hardwood like oak is an investment in your property's character. It's a material that’s meant to be seen and admired, adding a touch of quality that elevates the entire space.
Medium-Density Fibreboard (MDF) is an engineered wood product, made by breaking down wood fibres and mixing them with wax and resin under intense heat and pressure. Its superpower is its stability. Unlike natural timber, it won't warp or crack when the temperature or humidity changes.
This stability makes it the ideal canvas for a perfect paint job. MDF frames usually come pre-primed, which saves you a job on site, and because the surface is completely smooth and free of knots, the paint goes on like a dream.
When to Choose MDF:
Ultimately, the best material really does come down to what your project needs. By balancing the cost, the finish you're aiming for, and where the door is located, you’ll find the perfect option that delivers on both performance and style.
Getting your measurements right is the single most important part of buying a new internal door frame. Think of it like getting a suit tailored—if the first measurements are off, the final fit will never be right, no matter how good the fabric is. Taking a few minutes to measure accurately now will save you a world of headaches, prevent costly mistakes, and ensure your new door swings perfectly from day one.
This isn't a complicated job, but it does demand a bit of precision. All you need is a reliable tape measure and somewhere to jot down the numbers. Even if you're not drafting a blueprint, a bit of knowledge about accurate CAD dimensioning principles can help you appreciate why every millimetre counts.
First things first, you need to measure the structural opening. This is the raw, rough-and-ready hole in the wall where the door and frame will eventually live. Don't measure the old frame or the door itself—we need the dimensions of the gap.
Why the smallest measurement? Because walls are rarely perfectly square. Using the smallest figure guarantees your new frame will actually fit into the opening without any forced persuasion.
Forgetting to measure the wall thickness is a classic rookie mistake, and it’s one that can really throw a spanner in the works. The depth of your door frame (often called the lining) needs to match the total thickness of your wall—studwork, plasterboard, and plaster skim included—to get that clean, professional finish.
To get this measurement, simply hold your tape measure across the wall's thickness at the opening. Make sure you're measuring from the face of the plaster on one side straight across to the face of the plaster on the other. This figure tells you what depth of frame lining you need to buy.
"A common pitfall is measuring only the studwork and forgetting the plasterboard. A frame that's too narrow will sit recessed into the wall, while one that's too wide will protrude, making it impossible to fit the architrave neatly."
This infographic provides a quick visual reference for the most common materials used for an internal door frame, which we covered in the previous section.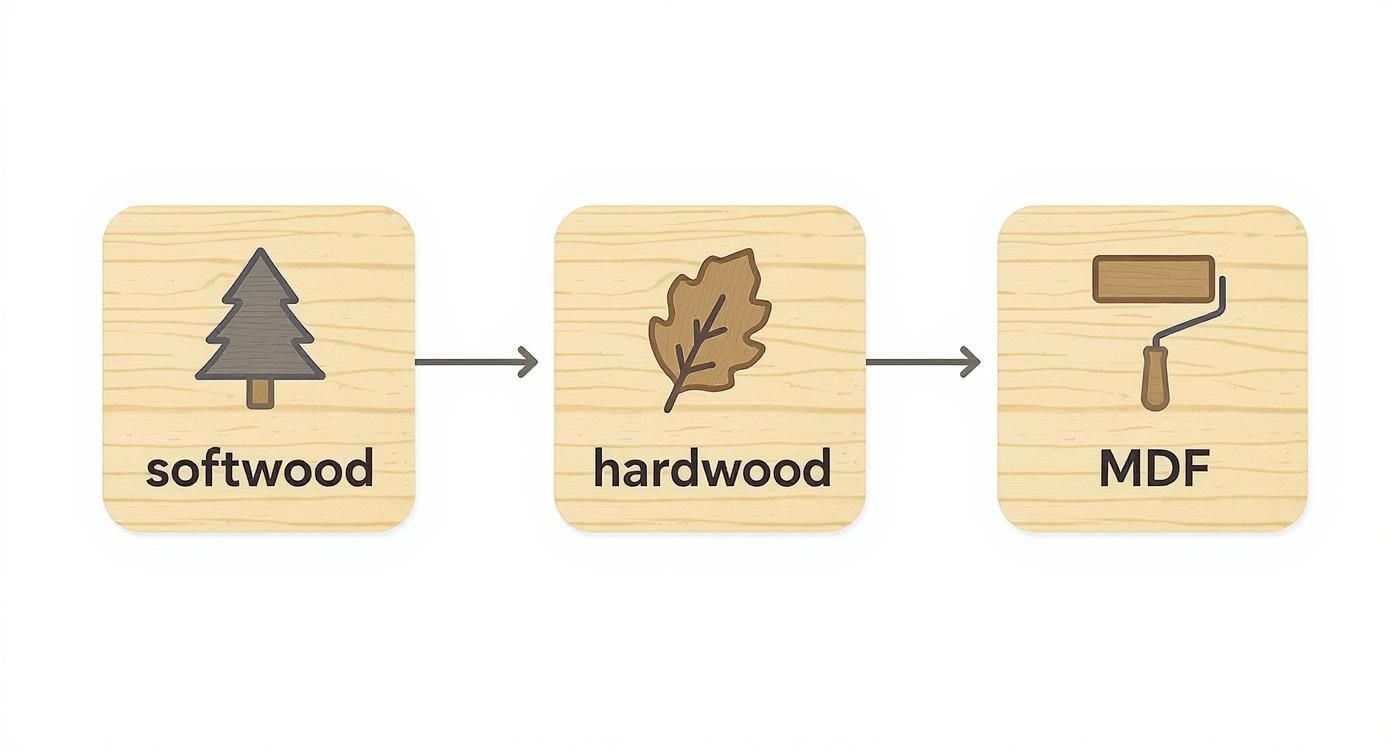
The flow from softwood to MDF illustrates the journey from cost-effective, paintable solutions to practical, moisture-resistant options ideal for specific applications like bathrooms.
In the UK, we still have one foot firmly in the imperial world when it comes to internal doors, though you'll always see the metric equivalents listed. Getting familiar with these standard dimensions makes it much easier to match a door to the right frame and structural opening. While you're thinking about dimensions, it's also a good time to consider hardware placement; you can find out more in our guide on the standard door handle height in the UK.
Here’s a quick-reference table showing some of the most common sizes you'll come across on a job.
This table breaks down common UK door sizes and the structural opening you'll need to accommodate them with a standard frame.
| Standard Door Size (Imperial) | Door Size (Metric - H x W) | Required Structural Opening (H x W) |
|---|---|---|
| 6' 6" x 2' 6" | 1981 x 762 mm | 2075 x 850 mm |
| 6' 6" x 2' 3" | 1981 x 686 mm | 2075 x 775 mm |
| 6' 6" x 2' 0" | 1981 x 610 mm | 2075 x 700 mm |
You'll notice the opening sizes are quite a bit larger than the doors. This is intentional. It allows room for the frame itself plus a crucial 10-15 mm tolerance around the outside for packing and levelling during installation.
If you're fitting a fire door, the rulebook gets a lot stricter. A fire door is only effective if it's installed in a certified, compatible fire-rated frame. That’s a non-negotiable requirement under UK Building Regulations.
An FD30 door, which provides 30 minutes of fire resistance, must be fitted into an FD30-rated frame. These frames are engineered with specific dimensions and material densities and must be fitted with intumescent strips—the clever seals that expand when heated to block smoke and flames. Never, ever use a standard door lining for a fire door. Doing so completely invalidates its safety rating and could put lives at risk.
With a bit of preparation and a steady hand, fitting an internal door frame is a hugely satisfying job for any confident DIYer. It’s one of those tasks that connects the rough structural work with the final finishing touches, and getting it spot-on is the secret to a door that hangs perfectly for years. We’ll walk you through the essential steps, giving you practical tips to get a professional result.
Before you even think about assembly, make sure the structural opening is clean, tidy, and ready for its new frame. Double-check your measurements against the frame kit you’ve bought, and always remember to leave a small but vital bit of wiggle room for adjustments.
Most internal door frames you'll find in the UK come as a flat-pack kit, which usually includes two vertical jambs and a horizontal head piece. The first job is to lay these parts out on a flat, clean surface and piece them together.
You'll notice the head piece often has 'horns'—little extensions that stick out past the jambs. These are there for you to trim down, ensuring a perfect fit for your specific opening. Once cut to size, you can screw or nail the frame together into a solid, three-sided unit.
With the frame assembled, gently lift it into the structural opening. At this point, you're just aiming to get it roughly centred, leaving a small, consistent gap all the way around. This gap is where the real magic happens.
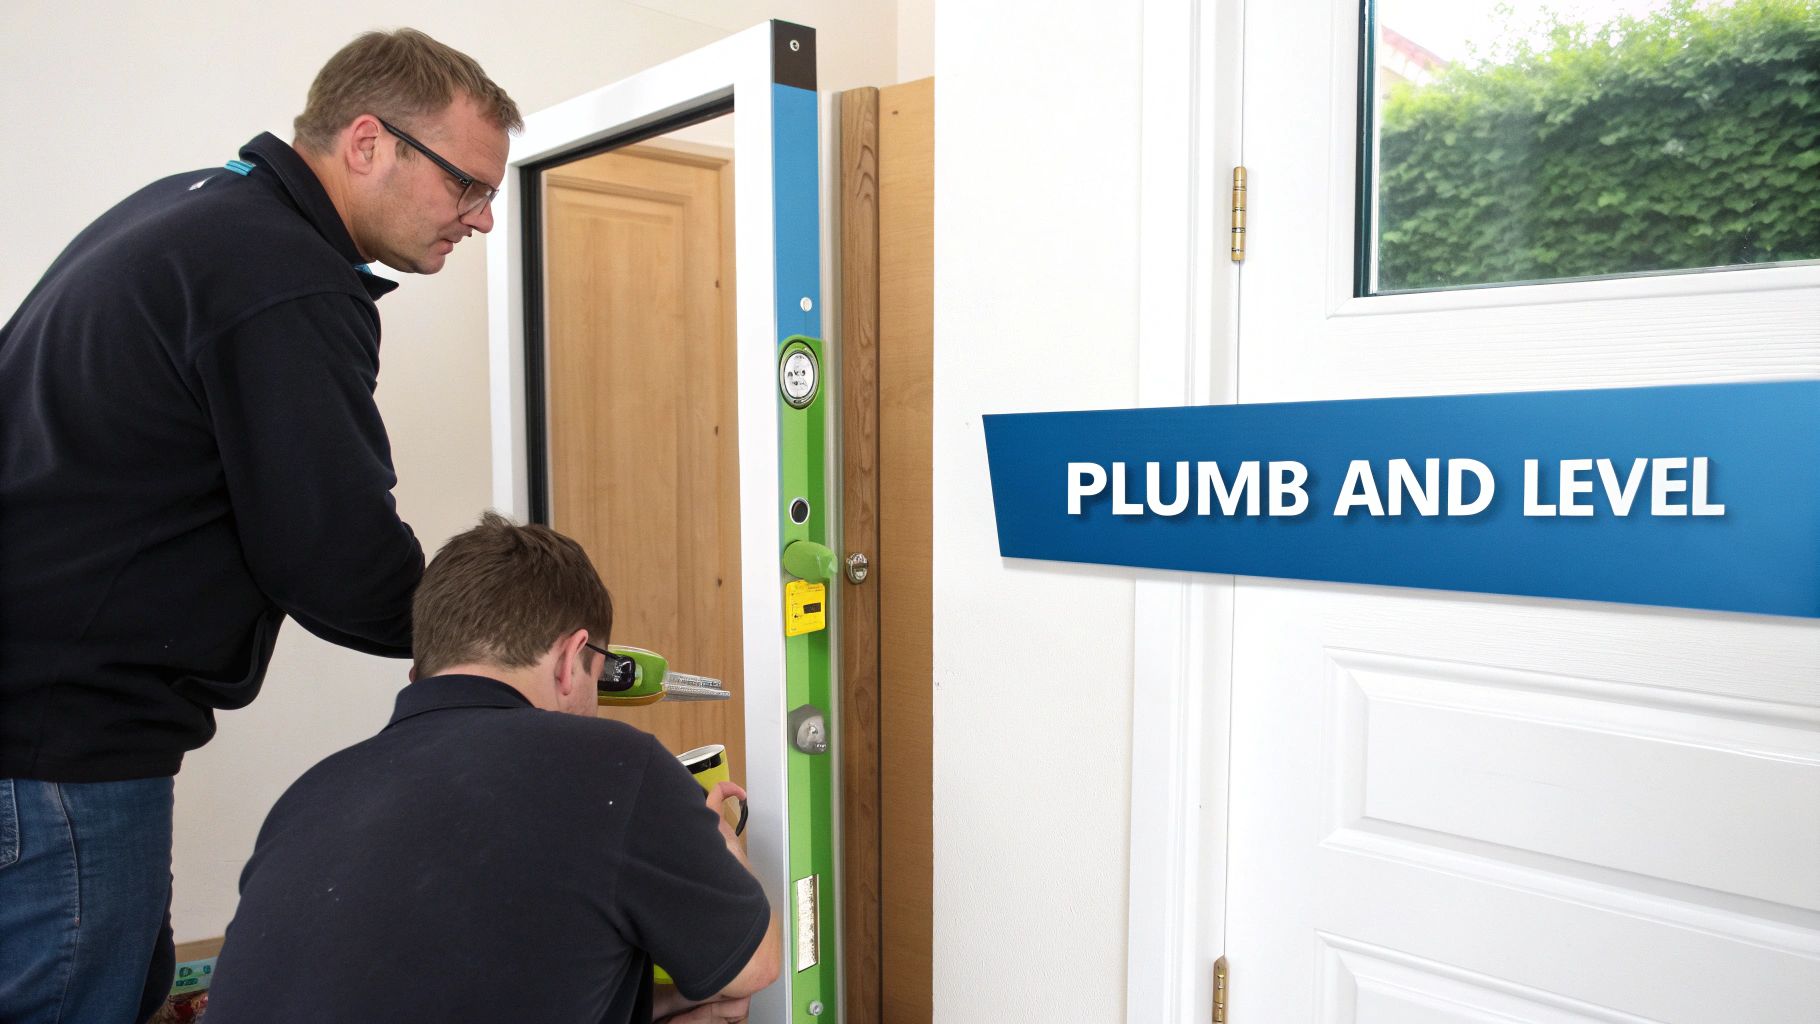
The difference between a wobbly, annoying door and a professional job often comes down to one thing: using packers and a spirit level. A frame that isn’t perfectly plumb (straight up and down) and level (straight side to side) will cause the door to swing on its own, which is a constant pain.
To get that perfect fit, follow these steps:
A quick pro tip for checking if your frame is 'square' is to measure the diagonals from corner to corner. If both measurements are exactly the same, your frame is perfectly square and ready to be fixed in place.
Once you’re happy that the frame is plumb, level, and square, it’s time to fix it securely to the wall. The exact method depends on your wall type, but the principle is always the same: fix through the jambs, through your packers, and into the solid wall.
Fixing through the packers stops the frame from being pulled out of alignment when you tighten the screws. Use countersunk screws for a clean finish that you can easily fill and hide later on. Start by securing the hinge side first, checking with your spirit level after every screw. Then move on to the latch side, and finally, the head.
This method is the bedrock for fitting standard hinged doors. Other systems, like pocket or sliding doors, have their own specific fitting requirements. For a detailed look at another popular choice, you can learn more about how to install sliding doors in our dedicated guide. With your frame now firmly installed, you're ready to hang the door and fit the architrave.
A great installation isn't truly finished until you get the final details right. The last steps—preparing and painting your new internal door frame—are what transform it from a simple bit of construction into a polished, professional feature in your home. This is where attention to detail really pays off.
The journey to a flawless finish actually starts long before you even think about opening a tin of paint. Good preparation is everything. The final coat of paint will only ever be as good as the surface you put it on, which means taking the time to sand, fill, and prime the frame properly.
First things first, tackle any small nail or screw holes. Grab a good quality wood filler and slightly overfill each hole to account for any shrinkage as it dries. Once it’s fully cured, sand the entire frame with medium-grit sandpaper (around 120-grit is ideal) to smooth down the filler and knock back any rough spots. The aim here is a perfectly uniform surface.
After sanding, you need to get rid of every last speck of dust. A tack cloth is your best friend for this job, as it’ll pick up all the fine particles that a vacuum or brush might leave behind. Skipping this step is a recipe for a gritty, uneven texture in your final finish.
It's tempting to skip the primer, especially on pre-primed MDF, but it’s a common mistake. Even on pre-primed frames, a quick, light sand followed by a coat of quality wood primer-undercoat is a must. It seals the surface, stops grain raise on timber, and gives your topcoat a solid, even base to grip onto.
The finish you choose doesn't just affect the look of your door frame; it also determines its durability. Each option has its own character and is suited to different needs and materials.
For a deeper dive into picking the perfect paint, our guide on the best paint for interior woodwork has all the detailed advice you’ll need to make the right choice.
A well-finished frame is pretty low-maintenance. A regular wipe-down with a soft, damp cloth will keep it looking fresh and clean. If you've painted your frames, it's always a good idea to keep a small amount of the leftover paint for touching up any inevitable scuffs or chips that happen over time.
For varnished frames, a bit of wax polish applied periodically will restore their lustre and add an extra layer of protection. By looking after the finish, you’ll ensure your internal door frame continues to look its best and function perfectly for years.
Even with the best plans, a few simple slip-ups can turn a straightforward job into a real headache. When you’re fitting an internal door frame, a small mistake at the start can cause big problems later on, like a door that won't close properly or an untidy, unprofessional finish.
Knowing what to look out for is half the battle. Think of this as your pre-flight checklist—a quick run-through of the most common blunders to help you get the installation right the first time.
The single biggest and most common mistake is failing to get the frame perfectly plumb, level, and square. Get this wrong, and you're in for a world of pain. It has a domino effect, causing the door to swing open on its own, creating ugly, uneven gaps, and stopping the latch from lining up. It’s a nightmare.
The fix is simple, but it demands a bit of patience. Always use a spirit level on both jambs and the head, using packers to make tiny adjustments until every part is spot-on. Here's a pro tip: measure the frame’s diagonals from corner to corner. If the numbers match exactly, your frame is perfectly square.
A door frame that is just a few millimetres out of plumb at the top can result in a gap of over a centimetre at the bottom. This small inaccuracy is often the root cause of a door that looks and feels poorly fitted.
Another classic blunder is fixing the frame in place without thinking about the final floor height. If you install a frame directly onto a concrete subfloor, it’ll be too low once you add underlay and carpet or laminate. That means you’ll have to trim the bottom of your brand-new door, which is something nobody wants to do.
How to Avoid This:
We've touched on this before, but it’s worth repeating because it happens all the time. Buying a frame with a lining that’s too narrow or too wide for the wall is a common problem. If the lining doesn’t match the wall's finished thickness—including the plasterboard and skim coat—it’s almost impossible to fit the architrave neatly. You’ll be left with a messy, gappy finish that screams amateur.
Always measure the wall's total finished thickness in several spots. Use that measurement to choose a door lining that’s a perfect match. This one step is the secret to getting that sharp, professional look where the architrave sits beautifully flush.
Beyond the technical slip-ups, it's also vital to ensure building code compliance for installations to sidestep any legal issues down the road. Steering clear of these common mistakes will save you time, money, and a whole lot of frustration, leaving you with an installation you can be proud of.
To help you get your project right the first time, we've put together answers to some of the most common questions DIYers and homeowners have when it comes to fitting an internal door frame.
In the UK, you'll hear these terms used for the same thing, especially for internal doors. What most people call a door lining is the standard three-piece kit you'll find in most homes. It’s a simple setup with two vertical jambs and a horizontal head piece.
The term 'door frame' is sometimes kept for a beefier assembly that might include a sill at the bottom, making it more common for external doors. For almost any job inside your house, a door lining is what you’ll be looking for.
Yes, absolutely. This is non-negotiable. A fire door only does its job if it’s installed in a compatible, fire-rated frame. A standard door lining won’t provide any fire protection and must not be used.
Fire door frames are specifically made to a certain thickness and material density. They also have to be fitted with intumescent strips, which expand when they get hot to seal the gap between the door and the frame, stopping smoke and flames from getting through. Always make sure the frame's rating (like FD30) matches the door's rating.
You can, and in fact, you’re supposed to. Standard softwood, hardwood, and MDF door linings are designed to be trimmed for a perfect fit. The head piece comes with 'horns' that are intentionally longer, so you can cut them down to match the exact width of your opening.
You can also trim the bottom of the jambs to suit your finished floor level. Just be sure to check the manufacturer’s instructions first. This is especially critical with fire-rated frames, as trimming too much could void their fire certification and compromise safety.
A key thing to remember is that standard frames are built to be adjustable, but that flexibility comes with responsibility. For fire doors, any changes must stay within the certified guidelines to maintain safety standards.
You'll need three key measurements to get a perfect fit. First, measure the height and width of the structural opening—that's the rough gap in the wall itself. Then, measure the total thickness of the wall, including the plaster or plasterboard on both sides.
The door lining you pick needs to match this wall thickness, but its overall external size should be slightly smaller than the structural opening. This little bit of wiggle room is for packers and final adjustments during installation, which is how you get a perfectly square and plumb fit.
For all your project needs, from high-quality door frames and linings to hinges, handles, and professional decorating supplies, Neasden Hardware has you covered. Explore our extensive range and get expert advice.