Order Online
- Straight to your door!
Straight to your door


Hanging a door properly is one of those jobs where preparation really is everything. It’s not just about the door itself; having the right tools organised and ready to go is what separates a frustrating afternoon from a satisfying, professional finish. The difference between a door that glides shut with a soft click and one that scrapes, sticks, or hangs askew often comes down to the quality of your prep work.
Before diving in, it’s worth remembering that hanging a door is a fundamental skill in joinery. It’s a craft that’s always in demand, with the UK’s joinery installation industry projected to hit revenues of £15.3 billion by 2025. That figure shows just how much value is placed on getting these core tasks right in homes up and down the country.
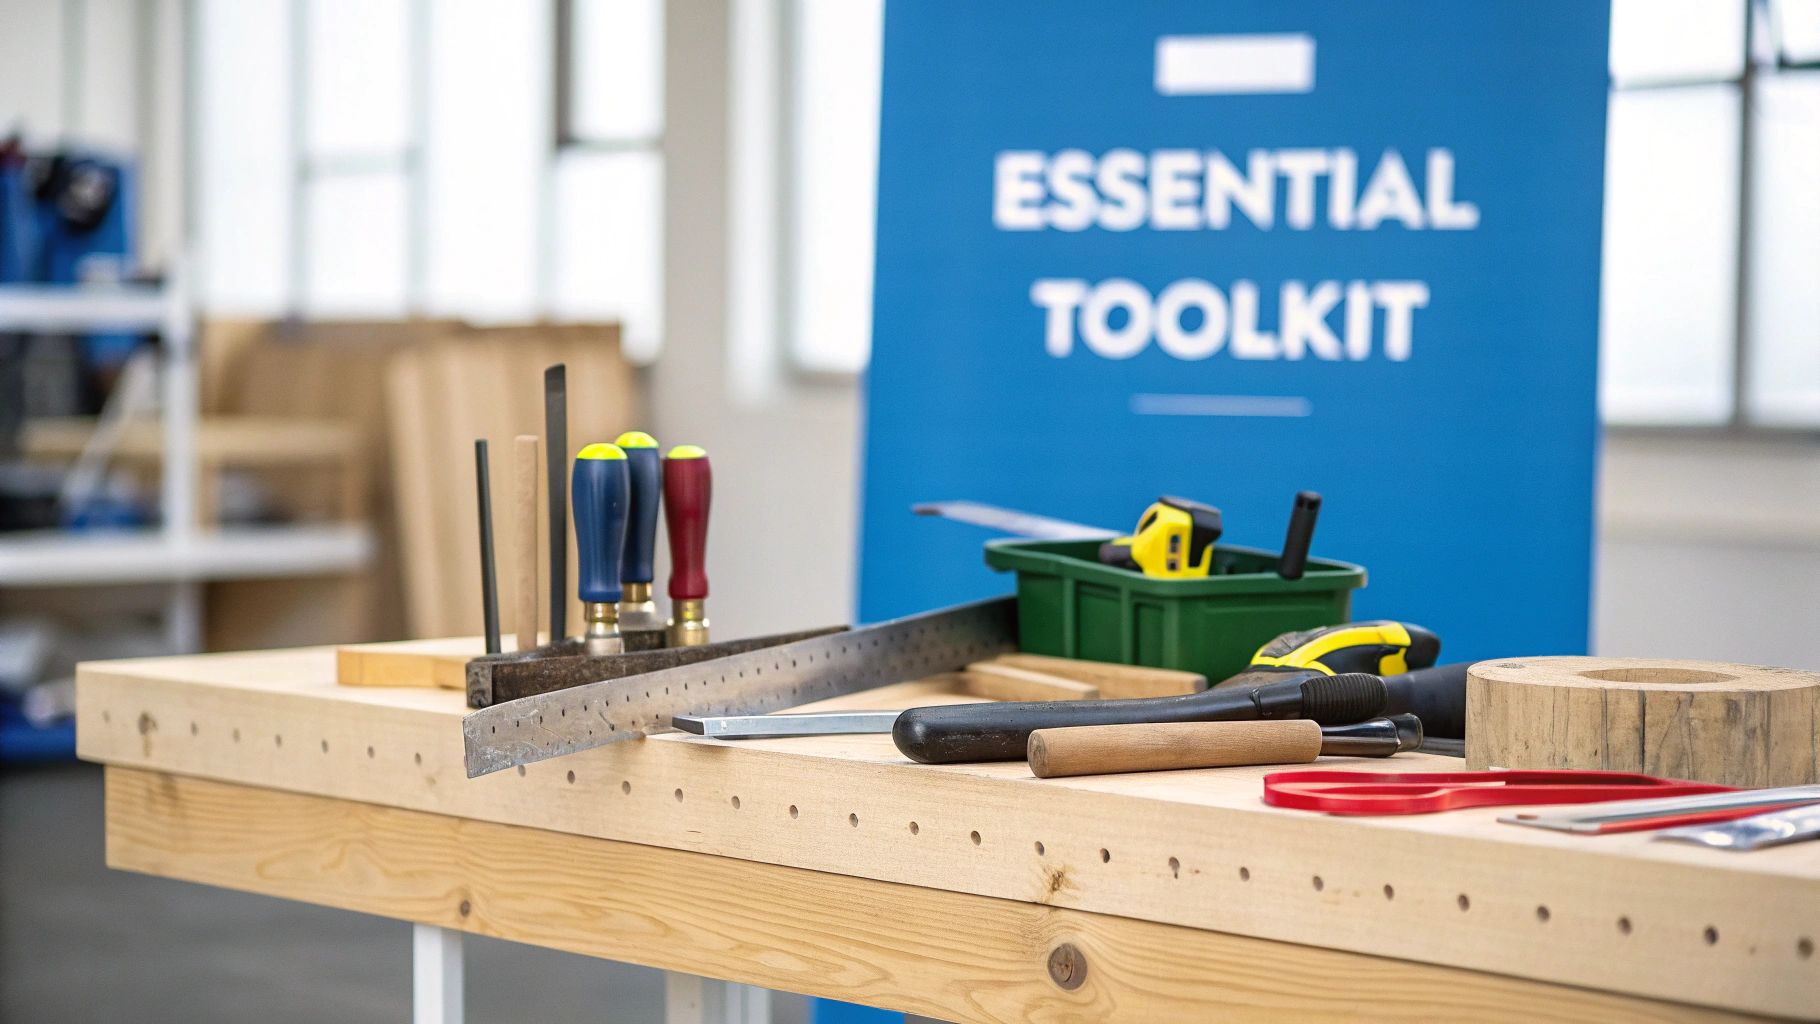
Think of this stage like a chef getting their mise en place ready. Having every tool you need within arm’s reach stops you from breaking your flow and helps you stay focused. A wobbly workbench or a blunt pencil can throw the whole project off before you’ve even made your first mark.
Some tools are simply indispensable for getting those clean, accurate results. These are the bits of kit where you really don’t want to cut corners:
A classic mistake is underestimating just how sharp your chisel needs to be. A dull tool forces you to use more pressure, which often leads to slips that can gouge the door or, worse, your hand. Take five minutes to sharpen your chisels before you start. You’ll be glad you did.
Beyond the core precision tools, you’ll need a wider kit to see the job through from marking up to the final tweaks. Before you start pulling tools from the shed, it’s also a good idea to get clued up on selecting the right doors for your project.
Once you have your door, here's a handy checklist of everything you'll need from your local hardware supplier.
| Category | Item | Why It's Essential |
|---|---|---|
| Marking & Measuring | Tape Measure | For all your key length and width measurements. |
| Sharp Pencil or Marking Knife | A knife gives you a finer, more precise line than a pencil. | |
| Spirit Level | A 600mm or longer one is best for ensuring the door is plumb. | |
| Cutting & Shaping | Hand Saw | A fine-toothed panel saw is ideal for trimming the door to size. |
| Electric Planer | Makes quick work of shaving small amounts off the door's width. | |
| Mallet | For tapping your chisels when creating mortises. | |
| Fixing & Fitting | Drill/Driver & Drill Bits | For pilot holes and driving in screws without splitting the wood. |
| Screwdriver | A good quality one that matches your hinge screws is a must. | |
| Packers or Shims | Plastic or wooden wedges are brilliant for getting the position just right. |
Having these items laid out and ready will make the entire process feel less like a complex job and more like a series of simple, manageable steps.
The difference between a door that glides shut perfectly and one that sticks, scrapes, or rattles is often decided before you even pick up a saw. The secret? A few careful measurements. Forget taking a single measurement and hoping for the best; the professionals know a secret that accounts for the reality of most homes: door frames are rarely perfectly square.
This is where the 'three-point' technique comes in. It’s a straightforward method that guarantees you're working with the right dimensions from the get-go, preventing those frustrating “oops” moments later on. If you want your project to start smoothly, learning exactly how to measure a door for a perfect fit is the first, most crucial step.
Old houses settle. Even new builds can have their quirks. Measuring a door frame at just one point can give you a false sense of security, so you need to check its dimensions in a few key places to find the narrowest points.
Start by measuring the width of the door frame at three distinct points:
Jot down all three measurements. Next, do the same for the height, measuring from the floor to the underside of the frame on both the left and right sides. Once you have your numbers, the rule is simple: always use the smallest measurement for both width and height. This ensures the door will fit into the frame even at its tightest point.
Pro Tip: Don't measure from inside the old door stops if they are still attached. You need the measurement of the actual structural opening, known as the door lining or frame. Pull off any old stops for a true reading.
With your key measurements in hand, it's time to mark up your new door. But you don’t just draw the exact size of the frame opening. A door needs a small, consistent gap—often called the reveal—around its perimeter so it can swing open and closed without binding. This little bit of wiggle room also accommodates layers of paint and the natural expansion and contraction of wood through the seasons.
The standard clearance you're aiming for is 2-3mm on the sides and the top. That's about the thickness of a £1 coin, which makes a handy impromptu gauge if you need one!
So, to get your final door dimensions, you'll do a little bit of simple arithmetic:
The gap at the bottom is more variable. For hard flooring like wood or tiles, 5mm is usually plenty. However, if you have thick carpet, you may need a gap of 10-15mm to stop the door from dragging. Once you've marked it all out, you're ready to trim the door to its final size.
A perfect fit isn't just about the door; the frame needs to be in top condition, too. Before you even think about attaching hinges, give the existing door frame a thorough clean and inspection.
This prep work ensures your new hardware will sit flush, which is absolutely essential for a smooth-swinging door. The position of your hardware is also key; for more on this, our post on standard UK door handle height has all the industry-standard info you’ll need. Getting these details right sets the stage for a flawless installation.
This is where the real craft of hanging a door comes into its own: cutting the recesses, or mortises, for the hinges and latch. When a mortise is cut perfectly, the hinge flap sits completely flush with the door's edge. Get this right, and you're guaranteed a tight fit and a smooth swing. It might look tricky, but with a bit of patience and the right technique, it’s a seriously satisfying skill to get under your belt.
The whole process boils down to a simple, repeatable flow: mark, cut, and fit.
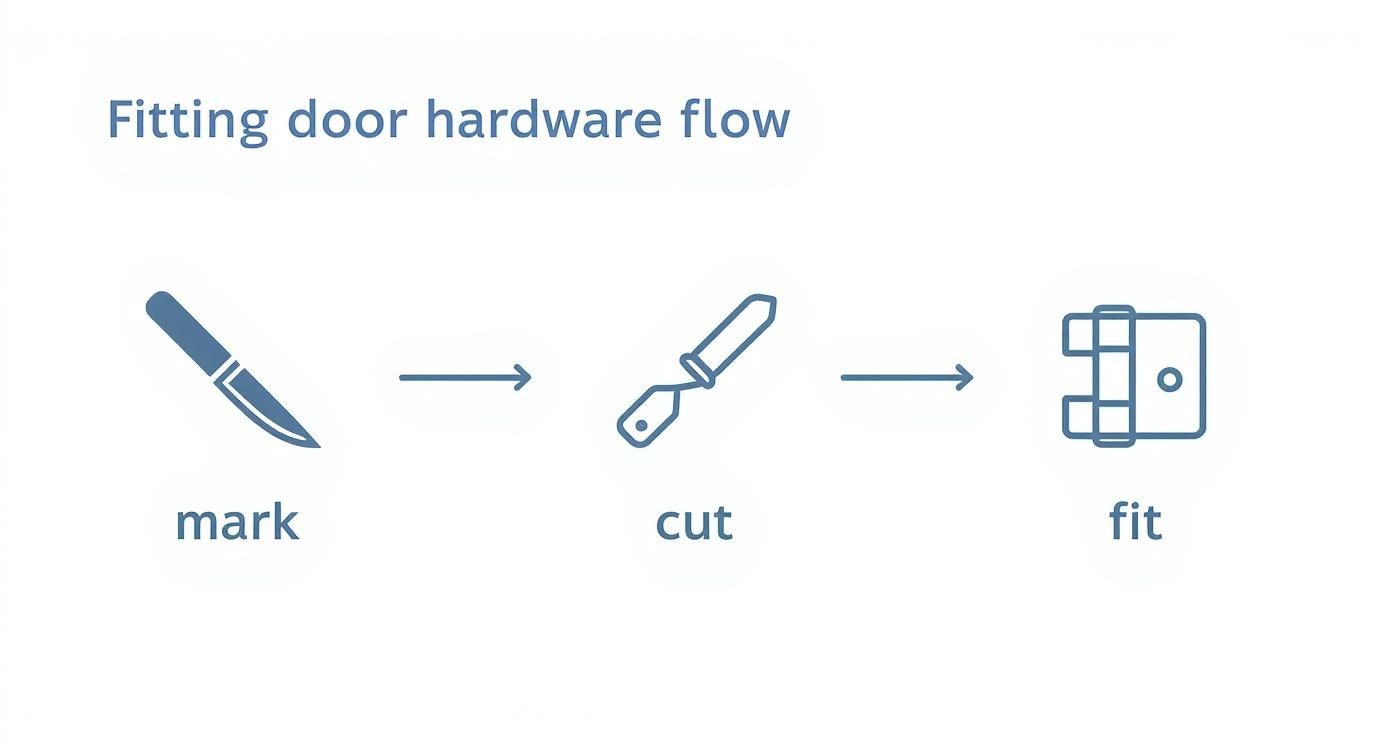
As the infographic shows, you can't rush ahead. Precise marking is the foundation for accurate cutting, which in turn ensures a flawless fit.
Before you even think about cutting, you need to work out where the hinges will go. Their placement isn't just guesswork; it's all about providing balanced support for the door's weight to stop it from sagging over time. For a standard internal door, two hinges are usually enough, but taller or heavier doors will need the extra support of a third.
The standard UK placement is pretty straightforward:
Get your door on its side, resting securely on a pair of trestles. Place your first hinge at the 150mm mark. Now, using a sharp pencil—or even better, a marking knife—trace carefully around it. A knife gives you a much cleaner line by scoring the wood fibres, which makes chiselling out the recess a whole lot neater later on.
With the hinge outline clearly marked, it's time to set the depth. Open the hinge and hold it against the door's edge. The depth of your mortise needs to match the thickness of the hinge flap—no more, no less. Use a marking gauge set to this exact thickness to score a depth line across the door's edge, staying inside your traced outline.
Now for the fun part. Grab your sharpest chisel (one that's a little narrower than the hinge) and a mallet. Start by making a series of shallow vertical taps across the waste wood, about 5mm apart. The key here is not to go any deeper than your scored depth line.
Once you’ve made these relief cuts, flip your chisel so the bevelled edge faces up. Starting from one end, gently pare away the waste wood in thin slivers. Those initial cuts you made will help the wood break away cleanly. Just work your way across the recess until you have a flat, smooth base that’s perfectly level with your depth line.
A classic mistake is trying to hog out too much wood at once. That's how you end up digging in too deep or splitting the wood outside your lines. Patience is your friend here. Take it slow with shallow cuts for a professional finish.
Fitting the door latch follows a very similar process to the hinge mortises, but with a couple of extra steps. First, you'll need to drill a hole through the face of the door for the spindle, then a larger one into the edge for the latch mechanism itself. Most new latches come with a handy paper template to help you mark these spots accurately.
With the holes drilled, slide the latch mechanism in. Place the latch's faceplate over it and trace around it with your marking knife, just like you did for the hinges. Carefully chisel out this shallow recess so the faceplate sits perfectly flush.
Lastly, you need to fit the striker plate (or keep) into the door frame. Gently close the door until the latch bolt touches the frame, and make a mark. This will be your centre point. Hold the striker plate in position, trace around it, and chisel out the recess. You’ll also need to cut a deeper hole for the latch bolt to slide into.
There are all sorts of hinges out there, from simple butt hinges to more specialised types. To make sure you're picking the right one for your job, have a look at our detailed guide on the main types of door hinges. Getting these details right is what ensures your door doesn't just look good, but works perfectly for years to come.
This is the moment of truth, where all your careful prep work comes together. Offering the door up to the frame is the final hurdle, but if you're methodical, it'll settle into place just right. Don't rush this stage—it's a common mistake that can unravel all your hard work in a heartbeat.
With the hinges screwed securely to the door's edge, it’s time to get it into the frame. Don’t even think about trying to lift and hold it in place by yourself; doors are deceptively heavy and awkward. Your best bet is to use packers or shims on the floor to take the weight and set the correct bottom gap you planned for.
A couple of thin wedges are perfect for this. You can gently tap them to raise or lower the door by tiny amounts until it’s sitting at the perfect height, with the hinge leaves lining up perfectly with the mortises you’ve already cut into the frame.
Once the door is perfectly propped up on its packers and the hinges are nestled neatly in their frame mortises, you can start fixing it. Here's a pro tip: begin with just one screw in the top hinge. This single screw will take the door’s full weight, acting as a pivot and letting you check the alignment before you commit to drilling all the holes.
With that first screw in, you can kick the packers out from underneath. Let the door hang freely and give it a gentle swing. How does it feel? Does it look right? If everything seems good, go ahead and add a single screw to the bottom hinge.
Now, check the fit again. This two-screw setup holds the door securely enough for a proper test run without having to drive and potentially remove all the screws if something’s off. Using the right fixings is also crucial; you can learn more about finding the proper screw sizes for door hinges to make sure your door is absolutely solid. Once you’re happy, drive the rest of the screws into both hinges.
It's tempting to blast all the screws in at once, but resist the urge. Using a single screw in the top and bottom hinges first gives you a crucial chance to spot any binding or alignment problems before you've made six or eight permanent holes. This simple habit saves a world of hassle.
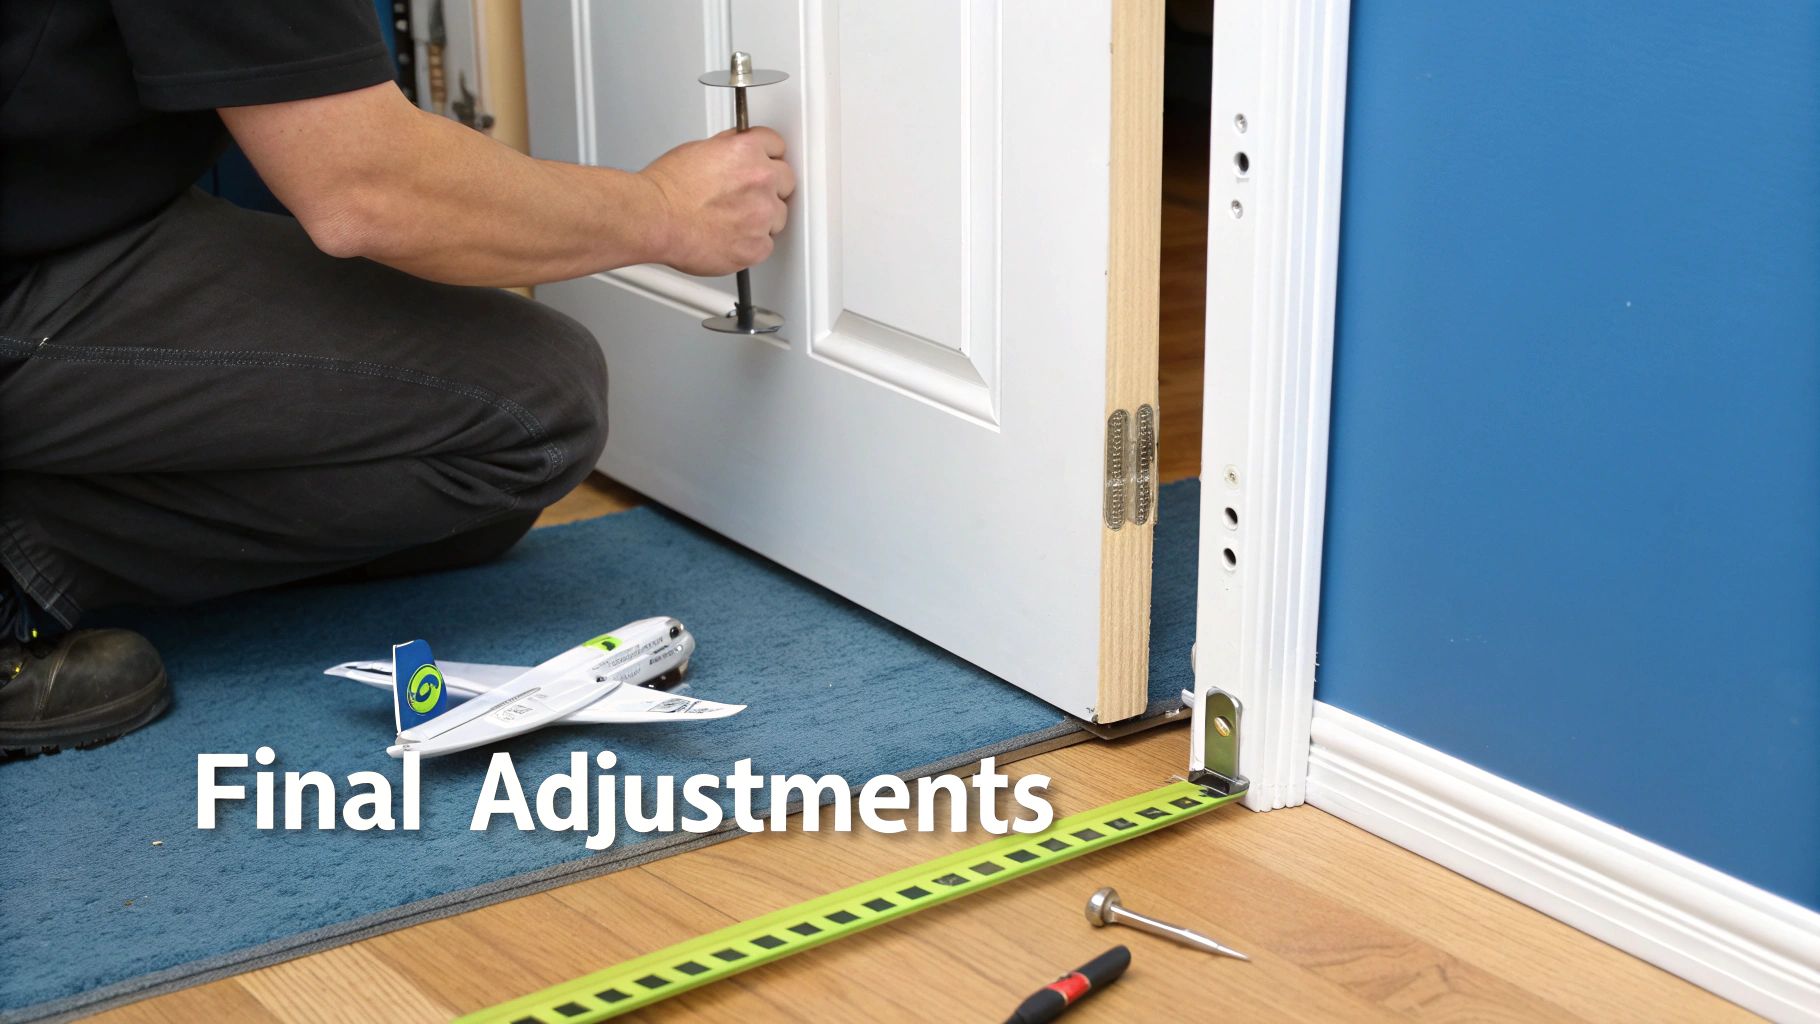
With the door hanging, the job shifts from heavy lifting to the delicate process of fine-tuning. The aim here is to get a consistent reveal—that neat, uniform gap of about 2-3mm running down both sides and across the top. Step back and have a good look. Is the gap even all the way around?
Close the door slowly and watch where it first touches the frame. That’s your trouble spot.
Here are a few common issues and how to sort them out:
Making these adjustments is a game of trial and error. Make one small change, re-hang the door, and check it again. It’s this patient, meticulous approach that separates a professional-quality job from a rushed one and leaves you with a door that doesn't just look right but feels solid for years to come.
Even when you've measured twice and cut once, a newly hung door can have a mind of its own. Don't sweat it. This happens to everyone, and almost every issue you'll run into has a surprisingly simple fix. Think of this as your go-to guide for turning those little frustrations into a job well done.
These small quirks are common, whether you're fitting a door in a new build or doing a replacement. It’s a frequent job across the country; the UK's residential door market is a hefty industry, valued at around £1.26 billion, with an estimated 10 million doors sold each year. This just goes to show how routine hanging a door is, making these troubleshooting skills incredibly useful. You can find more insights on the UK door market on jkdoors.co.uk.
You’ve hung the door, you step back to admire your handiwork, and it slowly swings open (or shut) all by itself. It’s a classic problem, but the cause is almost always the same: the door frame isn't perfectly plumb.
This simply means one of the vertical jambs is leaning slightly, and gravity is doing the rest. To fix it, you just need to adjust the angle of the hinges.
The solution is to pop the offending hinge off the frame and pack a thin piece of card or a sliver of wood behind it. This shims the hinge knuckle out just enough to correct the lean. It might take a couple of goes with different packing thicknesses to get it hanging perfectly still.
A door that sticks or scrapes against the frame is another frequent headache. This "binding" usually happens for one of two reasons: the clearance gap is too tight somewhere, or a hinge mortise isn't quite deep enough.
Close the door slowly and watch like a hawk to see exactly where it makes contact first. If it’s catching on the latch side, the fix is usually to take the door down and plane a tiny sliver of wood off that edge. Remember, it's always better to take off too little than too much!
If it’s binding on the hinge side, the culprit is probably a shallow mortise. This makes the hinge stick out, pushing the door out of whack. Just remove the hinge and carefully chisel the recess a fraction deeper until the hinge plate sits perfectly flush with the jamb.
A common mistake is to grab the plane straight away. Always check your hinge mortises first. Deepening a recess by half a millimetre is a much quicker and cleaner fix than taking material off the entire length of the door.
You close the door, but it doesn't give you that satisfying "click". Instead, it feels springy and bounces back open unless you hold the handle. This is almost always an issue with the striker plate on the door frame.
The latch bolt isn't lining up with the hole in the striker plate; it's hitting the metal edge, which causes that bouncy feeling. All you need to do is adjust the plate's position.
Unscrew the striker plate and use a sharp chisel to enlarge the recess slightly in the direction it needs to move—usually just a millimetre or two up or down. You might also need to use a small file to make the hole in the metal plate itself a little bigger. A few small tweaks are all it takes to get that solid, secure click.
Even the most seasoned joiner runs into these little snags. We’ve put together a quick table to help you diagnose and fix the most frequent issues you might face.
| The Problem | The Likely Cause | The Practical Fix |
|---|---|---|
| Door swings on its own | The door frame isn't perfectly plumb. | Pack a thin piece of card or wood behind the hinge knuckle (top hinge if it swings open, bottom if it swings shut). |
| Door catches on the latch side | The clearance gap is too tight. | Remove the door and plane a very small amount off the latch-side edge until it closes smoothly. |
| Door catches on the hinge side | The hinge mortise in the jamb is too shallow. | Remove the hinge and carefully chisel the mortise a fraction deeper until the hinge sits perfectly flush. |
| Door feels springy and won't latch | The latch bolt is hitting the striker plate, not the hole. | Unscrew the striker plate. Enlarge the recess in the frame with a chisel and, if needed, file the hole in the plate itself. |
| Gaps around the door are uneven | The door isn't hung squarely, or the frame has shifted. | Check hinge alignment. You may need to adjust the depth of one or more hinge mortises to square up the door. |
With a bit of patience, these simple fixes will sort out any minor issues, leaving you with a perfectly hung door that works exactly as it should.
Even with the best guide in hand, a few questions always seem to pop up right in the middle of a job. Hanging a door is certainly no exception. We’ve put together some of the most common queries we hear from seasoned pros and weekend DIYers alike to give you some clear, straightforward answers.
In the UK, the rule of thumb is a 2-3mm clearance around the sides and across the top. An easy way to visualise this is the thickness of a £1 coin. This gap is vital because it gives the door room to breathe, allowing for seasonal expansion and layers of paint without it binding in the frame. A door that’s too tight will stick and drive you mad in the humid summer months, while one that’s too loose will rattle every time a breeze comes through.
The gap at the bottom is a different beast altogether and really depends on your flooring.
Before you make any final cuts, always have a quick look at the door manufacturer’s recommendations. Some fire doors, for instance, have incredibly strict requirements for gaps that you’ll need to follow.
It can be tempting to save a few quid by reusing the old hinges, but honestly, it’s a shortcut we’d advise against. After years of opening and closing, hinges get worn, bent, or clogged with layers of paint. All of this will compromise the alignment and smooth operation of your brand-new door. A worn hinge knuckle, for example, can cause the door to sag, undoing all of your careful work.
For a relatively small outlay, a fresh set of hinges gives you:
Investing in new hinges is a small price to pay for a professional finish that will last.
Absolutely. We always recommend applying your primer and at least the first topcoat before you hang the door. It’s so much easier to get a flawless, even finish when the door is lying flat on a pair of trestles. You can say goodbye to drips and runs.
The most important thing is to seal all six sides of the door—that’s the front, back, top, bottom, and both vertical edges. Any unsealed timber can absorb moisture from the air, which is the number one cause of warping and swelling.
Once the door is hung and you’ve made your final tweaks, you can apply the final topcoat. This will cover up any minor scuffs from the installation and give you a chance to touch up the screw heads for a perfect finish.
Getting this right is key to buying the right product and avoiding a headache later on.
A door slab is exactly what it sounds like: just the door itself. It comes with no frame, no hinges, and no hardware. This is what you’ll need if you're replacing an existing door within its original frame. It gives you complete control, as you’ll be the one marking and cutting the mortises for the hinges and latch.
A pre-hung door, on the other hand, is a complete, ready-to-go unit. The door comes already mounted on its hinges within its own frame. These are the go-to for new builds or major renovations where you’re creating a whole new doorway or replacing the entire frame and door in one go.
For any project, big or small, having the right hardware makes all the difference. At Neasden Hardware, we stock top-quality hinges, latches, screws, and all the ironmongery you need to hang a door with confidence. Explore our full range online at https://neasdenhardware.co.uk.