Order Online
- Straight to your door!
Straight to your door


Changing your front door lock is often much simpler than you might think. For most UK doors, it’s a case of removing a few screws, sliding out the old lock, and slotting the new one into place. You can give your home’s security a serious boost in under an hour with nothing more than a screwdriver and a tape measure.
Taking the initiative to replace your front door lock is one of the smartest, most proactive things you can do for your home's security. Maybe you've just moved in and have no idea who has a spare key. Perhaps a set has gone missing, or the lock is just old, stiff, and worn out. Whatever the reason, it's a rewarding job that most people can handle themselves without calling in a professional.
This guide is here to walk you through it, step by step. We'll cut through the jargon and give you the confidence to get it done right, focusing on the common lock types you’ll find on homes across Britain.
Before we dive in, here’s a quick overview of what to expect.
For those who like to see the big picture first, this table breaks down the essentials of a typical front door lock replacement project in the UK.
| Aspect | Average Time | Typical Cost | Skill Level |
|---|---|---|---|
| Rim Cylinder (Yale) | 15-20 minutes | £15 - £30 | Beginner |
| Euro Cylinder (uPVC) | 10-15 minutes | £20 - £50 | Beginner |
| Mortice Lock | 30-45 minutes | £25 - £60 | Intermediate |
As you can see, it's a quick and affordable job that doesn't require years of experience.
Securing your home brings immediate peace of mind. By learning how to replace a front door lock yourself, you not only save a bit of money but also gain complete control over your property's safety right from the get-go.
From figuring out which lock you have to making the final tweaks, we'll give you all the practical know-how you need. Let’s get started.
Before you start unscrewing anything, taking a moment to prepare is probably the single most important part of the job. Trust me, knowing what lock you need and having the right tools to hand transforms this task from a potential headache into a straightforward, satisfying job.
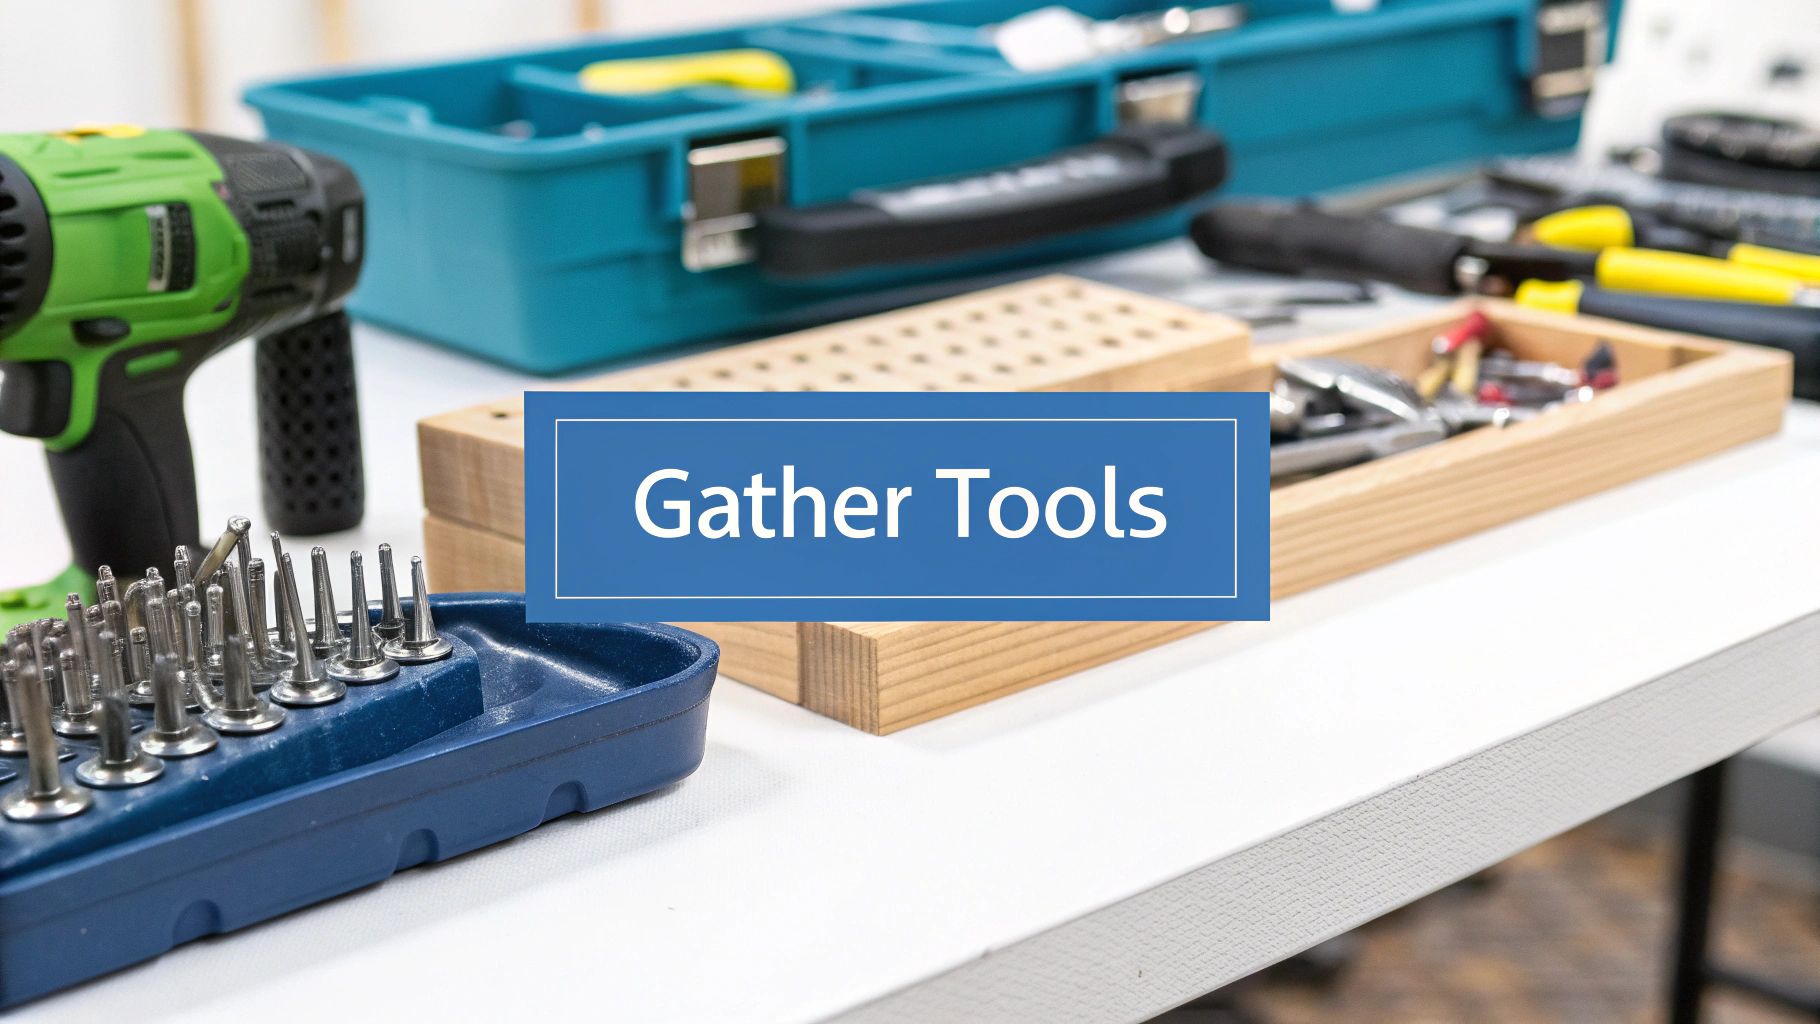
First up, let's talk tools. The good news is you really don't need a professional's toolkit for this. For most lock replacements, a simple set of screwdrivers and a reliable tape measure are all you'll need to get it done. A Phillips head screwdriver is pretty much essential for nearly all modern lock fittings.
Having the right kit is one thing, but choosing the correct replacement lock is what guarantees a smooth installation. This is where your tape measure becomes your best friend.
To avoid a frustrating trip back to the hardware shop, you absolutely must measure your existing lock accurately. There are a few key dimensions you need to note down before you even think about buying anything.
With your measurements written down, you can confidently start browsing the different types of locks and latches available. Your choice will really depend on your door type and the level of security you're after.
For wooden doors, a British Standard 5-lever mortice deadlock is often what insurers recommend. If you have a uPVC or composite door, upgrading to an anti-snap Euro cylinder is one of the best security improvements you can possibly make.
A well-chosen lock is your first and most important line of defence. Taking the time to select a lock that meets British Standards not only secures your home but can also satisfy the requirements of your home insurance policy.
While this DIY approach can save you a good bit of money, it's useful to understand what the professional costs look like. The time and labour for a locksmith in the UK can significantly influence the overall expense. A standard replacement often takes around two hours, with hourly rates typically between £50 and £95.
More complex jobs, like fitting high-security locks or dealing with fussy uPVC mechanisms, can increase both the time and the final bill. In those cases, replacement parts can range anywhere from £35 to over £110.
With your new lock and tools at the ready, it's time to tackle the first hands-on part of the job: getting that old hardware off the door. Don't worry, this is far more straightforward than it sounds. We'll break it down for the most common lock types found on UK doors, so you can move forward with confidence.
First, a quick pro tip: keep your workspace organised. A small magnetic bowl or even just an old jam jar is perfect for keeping track of screws as you remove them. Trust me, losing a crucial screw can turn a quick job into a seriously frustrating one.
The infographic below gives you a general idea of the first step for most locks – carefully unscrewing the existing hardware.
It’s all about a simple, methodical approach. This is a job that rewards patience, not brute force.
If you have a modern uPVC or composite door, you're in luck. Taking out a Euro cylinder is typically the easiest of all, usually held in place by just a single screw.
Open your door and look at the thin metal strip running down the edge. You'll see the lock's faceplate and, somewhere in line with the bottom of the cylinder, one retaining screw. That's the only thing holding the cylinder in place.
Use your Phillips head screwdriver to undo this screw completely and pull it out. Now, here comes the crucial trick – the cylinder won't just slide out on its own.
The secret to removing a Euro cylinder is to slightly turn the key. Pop your key into the lock and turn it about 10-15 degrees, which is roughly to the 1 o'clock or 11 o'clock position. This little turn aligns an internal part called the cam with the lock body, allowing the cylinder to slide out smoothly.
Gently wiggle the key as you pull, and the entire cylinder should come free. If it feels stuck, you've likely not turned the key to quite the right position. Just a bit of trial and error is all it takes.
For traditional wooden doors, you'll most likely be dealing with either a mortice deadlock or a rim cylinder (often known as a Yale lock). The process here involves a few more steps but is still very manageable for a DIYer.
For a Mortice Lock:
For a Rim Cylinder (Yale Lock):
For more complex mortice lock replacements that might require you to alter the recess in the door, a specialised tool like a Trend lock jig can be a lifesaver, ensuring a precise and professional finish.
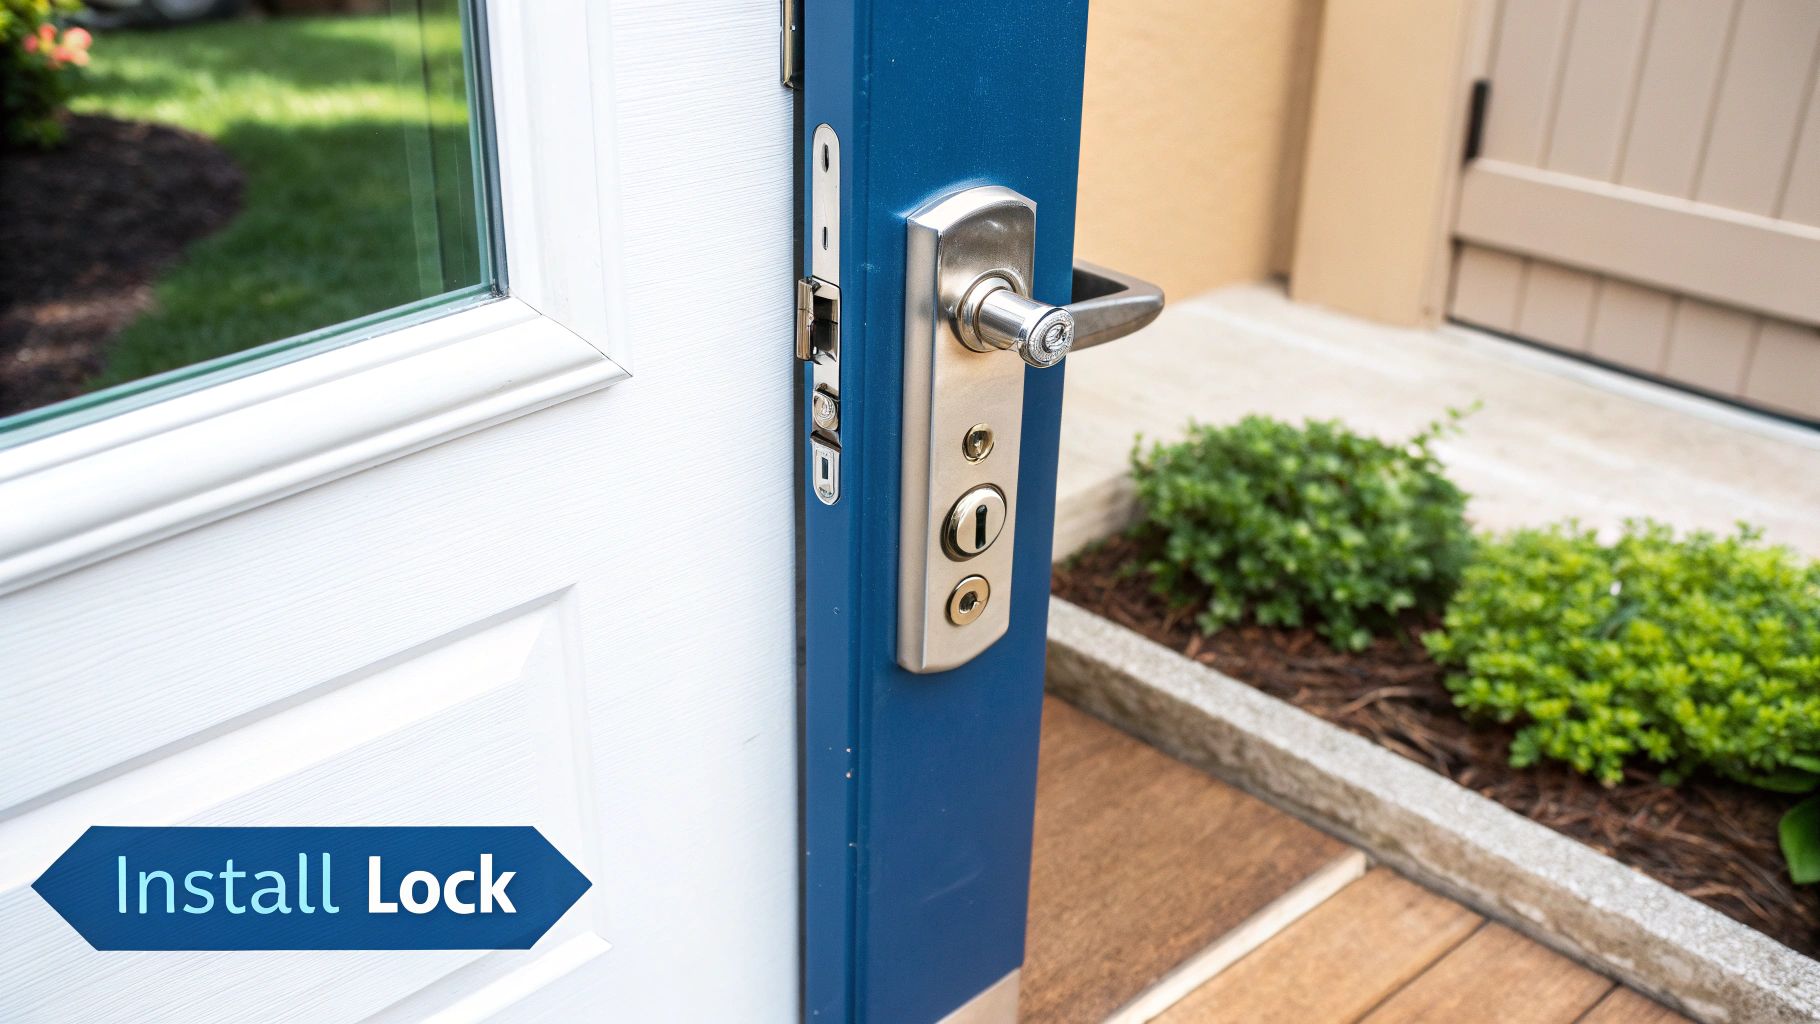
With the old lock now successfully removed, you're ready for the exciting part: fitting the new one.
With the old hardware out of the way, you're now looking at a clean slate. This is where the real skill comes in – fitting your new front door lock with the precision it needs to work smoothly and keep your home secure. It’s essentially the reverse of taking the old one out, but your attention to detail here is what makes the difference between a professional job and a clumsy one.
Whether you're fitting a new Euro cylinder, a mortice lock, or a rim cylinder, the golden rule is the same: alignment is everything. A lock that isn't perfectly seated will feel stiff, grind when you turn the key, and could even fail when you need it most. So, take your time and get this part spot on.
If you have a uPVC or composite door, this is the quickest part of the whole process. It really is as simple as sliding the new cylinder into the hole.
Just like you did during removal, pop the key in and give it a slight turn. This pulls the cam in, allowing the cylinder to slide smoothly into place. The aim is to get it sitting perfectly flush with the handles on both sides. If it sticks out by more than a few millimetres, it becomes an easy target for burglars.
Crucial Tip: The retaining screw needs to be snug, but don’t go overboard. If you tighten it too much, you can actually warp the cylinder housing and cause the key to jam. Screw it in until it feels firm, then give it just a quarter-turn more.
For those with traditional wooden doors, fitting a new mortice lock means carefully sliding the lock body into the pocket cut into the door's edge.
If you’re fitting a rim cylinder (often called a Yale lock), you'll start by mounting the external cylinder and feeding the tail bar through the door. Then, you can secure the main nightlatch mechanism to the inside of the door. As you tighten the screws, keep an eye on the lock to make sure it stays straight and doesn’t pull to one side. For a more in-depth look at specific lock types, our comprehensive guide on how to install door locks offers more detailed steps.
Never, ever call the job done until you’ve given the lock a proper test. This simple check can save you from discovering a problem at the worst possible moment—like when you're rushing out the door.
A lock that's been installed correctly should operate without any friction at all. If it feels stiff, the most common culprit is overtightening, so try slightly loosening the handle or retaining screws. Once it works perfectly, you can step back and admire a job well done.
So, you need to change a lock. The big question is whether to roll up your sleeves and tackle it yourself or call in a professional locksmith. It often boils down to a simple trade-off: saving a bit of cash versus ensuring your home's security is handled by an expert. While there's a certain satisfaction in a job well done yourself, it’s worth weighing up the costs and potential pitfalls before you start.
The most obvious saving with a DIY approach is on labour costs. You’re only paying for the lock itself, which could be anything from £20 for a basic Euro cylinder to £60 or more for a high-security mortice lock. If you’ve got a tight budget and the job seems simple enough, this can be a very tempting option.
But hiring a professional locksmith brings a different set of numbers into play. The final bill will depend on a few things, like the type of lock you need, where you live, and what time you need them.
When you hire a locksmith, you’re not just paying for a new lock. You’re paying for their expertise, their speed, and the peace of mind that comes with a job done right. On average, a UK locksmith will charge between £100 and £150 to replace a front door lock, and that figure usually includes both the part and the labour.
To give you an idea, a straightforward Yale lock replacement might set you back around £100. If you're upgrading to a more secure anti-snap lock for a uPVC door, you could be looking at something closer to £150.
Their hourly rates typically hover around £65 to £75 during standard business hours. Location also matters. A job in Edinburgh might average out at £100, but you could expect to pay upwards of £160 for the same work in London. It’s also important to remember that emergency, out-of-hours call-outs will cost significantly more.
Sometimes a simple task can snowball into something much more complicated. Knowing when to put the screwdriver down and pick up the phone is key to avoiding expensive mistakes or, worse, leaving your home vulnerable.
A professional is the smarter, safer bet in a few scenarios:
Hiring a professional isn't an admission of defeat; it's a smart investment in your home's security. When the job involves more than a simple swap, an expert ensures it's done right the first time, preventing future vulnerabilities.
Ultimately, the choice is yours. For a simple cylinder swap on a standard door, going the DIY route can be a great way to save some money. If you're looking for more detailed guidance on different lock types, you might find our article on how to change locks useful. For anything more complex, however, the cost of a locksmith is a small price to pay for professional workmanship and guaranteed security.
Even after you've successfully fitted your new lock, a few questions might pop up. That's completely normal. To make sure you feel totally confident with your handiwork, we’ve put together some straightforward answers to the most common queries we hear from homeowners across the UK.
There's no hard and fast expiry date on a lock, but it’s a good rule of thumb to think about a replacement every 5-7 years. That's just down to general wear and tear from daily use.
Of course, there are times when you should replace it immediately. If you've just moved into a new property, lost a set of keys, or the lock is getting stiff and difficult to use, it's time for a change. Upgrading is also a smart move if your current lock isn't up to modern security standards, like being anti-snap.
Absolutely. For most homeowners, swapping out the Euro cylinder in a uPVC door is a very manageable DIY job. It usually just involves removing one single retaining screw.
However, if the whole multi-point locking mechanism is playing up, that's a different story. The job becomes far more complicated, and in that situation, it's best to call in a professional locksmith who knows their way around uPVC doors. Trying to fix it yourself could easily lead to more damage.
The UK door market has been booming recently, hitting a value of £2.41 billion in 2023. This is largely driven by home renovations and a growing demand for secure, low-maintenance doors like composite and uPVC. You can read more about these trends in the UK door industry if you're curious.
An anti-snap lock is a special type of Euro cylinder built to defeat a common break-in method called 'lock snapping'. It’s cleverly designed with a built-in weak point that breaks away if an intruder tries to force it. This sacrificial section snaps off but leaves the core mechanism intact, keeping your door securely locked.
Given how common lock snapping is, upgrading to an anti-snap lock is one of the most effective and affordable security boosts you can give your home. It's especially crucial if you have a uPVC or composite front door.
For all your hardware needs, from high-security locks to the perfect finishing touches, trust the experts at Neasden Hardware. Explore our extensive range and get everything you need for your next project delivered right to your door. Visit us online at https://neasdenhardware.co.uk.