Order Online
- Straight to your door!
Straight to your door


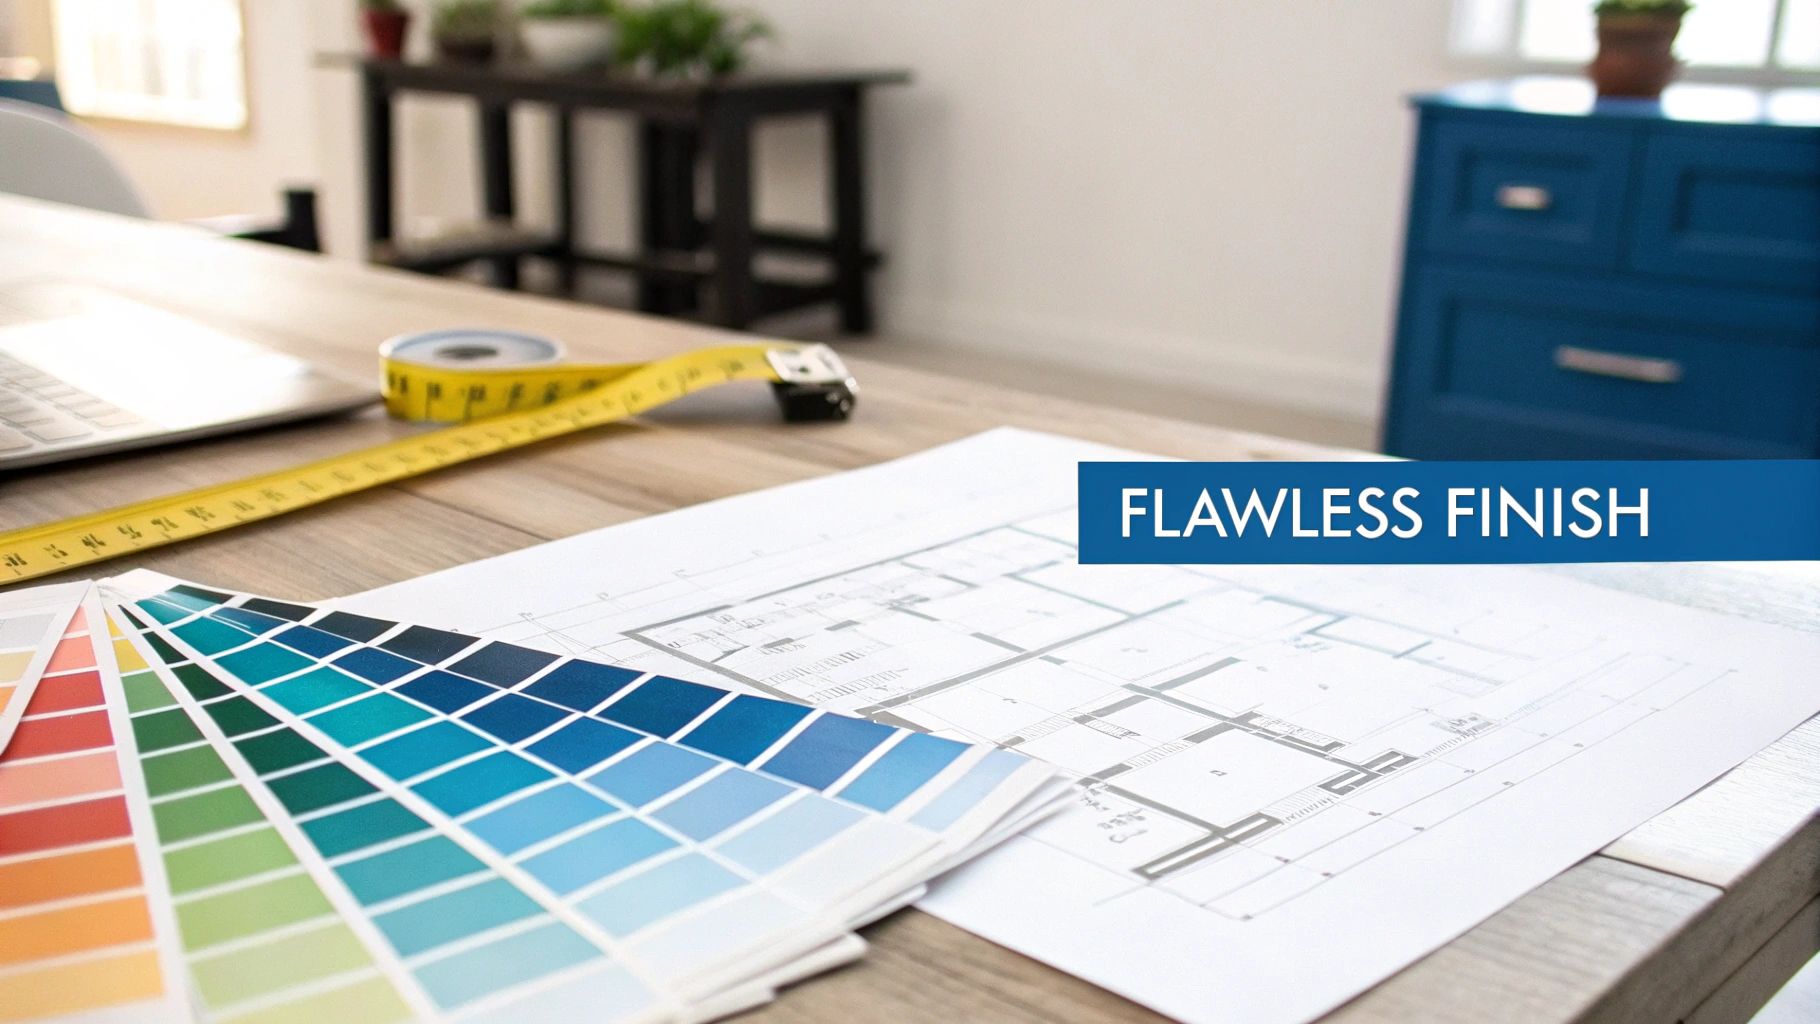
Giving a room a fresh coat of paint is one of the most satisfying DIY jobs you can do. It's a project that delivers a massive transformation for relatively little outlay. But the difference between a slap-dash job and a truly professional-looking finish comes down to one thing: preparation. Get the prep right, and the painting part is actually pretty straightforward.
This guide is your roadmap to getting that flawless finish. We’ll cut through the noise and give you a clear, practical plan to follow, giving you the confidence to get stuck in and achieve a result you can be proud of.
So, you’re ready to transform a room. Brilliant. Before you even think about cracking open a tin of paint, let's talk about the groundwork. I can't stress this enough: the time you spend planning and preparing now will save you a world of headaches later on.
A top-notch paint job is a process, not just a single event. Rushing in with a roller and hoping for the best is a recipe for drips, patchy coverage, and a finish you’ll want to hide. Taking a bit of time to assess your walls, choose the right materials, and protect your belongings will pay off tenfold in the final result.
It’s also a smart move financially. The UK's painting and decorating industry is massive, with a market size of £3.5 billion. But there's a catch – a significant skills shortage means 61% of painting businesses are struggling to find skilled tradespeople. For homeowners, this can translate to higher quotes and longer waiting times. As IBISWorld's industry report shows, tackling the job yourself, and doing it properly, makes a lot of sense.
Think of it like this: the actual painting is only about 20% of the job. The other 80% is all in the prep work. Get that right, and you're already on the home straight.
We've designed this guide to be your go-to resource, walking you through every single step from start to finish. We'll demystify the choices you need to make and give you actionable advice you can actually use.
I’ve said it a thousand times, and I’ll say it again: the secret to a stunning, long-lasting paint job isn't in the brush strokes—it's earned in the prep. This is the stage that separates a passable DIY effort from a truly professional finish. Get this part right, and the actual painting becomes smoother, faster, and far more rewarding.
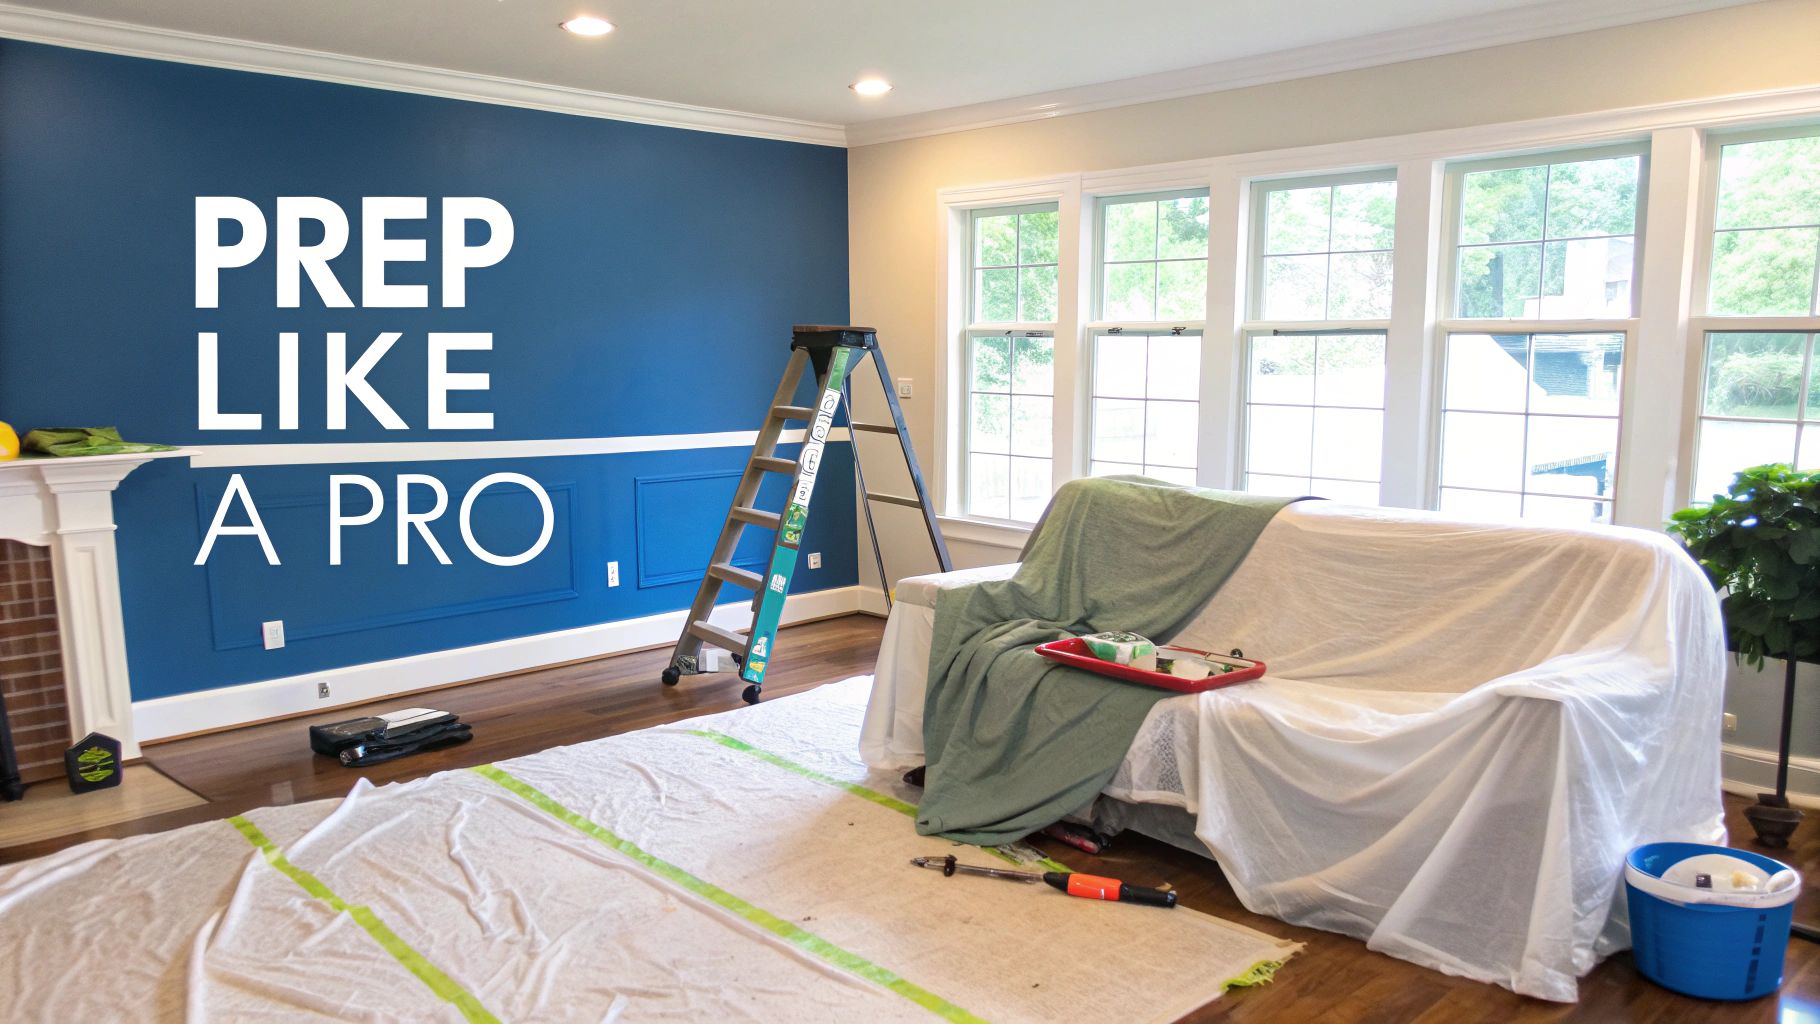
Before you even think about cracking open a tin of paint, the room needs to become a completely blank canvas. If you can, empty it out completely. It's a bit of a pain, but you'll thank yourself later.
For the big stuff that has to stay—sofas, beds, wardrobes—huddle it all into the centre of the room. Then, cover everything thoroughly with dust sheets. The thin plastic ones are okay in a pinch, but I always recommend heavy-duty canvas drop cloths. They don’t rip easily and are much better at soaking up any accidental spills.
Next up, grab a screwdriver and tackle the fixtures. Carefully take off all the light switch plates and socket covers. It’s so tempting to just paint around them, but trust me, it almost always ends in messy edges and paint-splattered plastic. Pop all the fittings and their tiny screws into a labelled plastic bag so nothing goes missing.
The following checklist is my go-to for ensuring nothing gets missed before the first drop of paint is applied.
Follow this checklist to ensure your room is perfectly prepped before you start painting.
| Task | Why It Matters | Insider Tip |
|---|---|---|
| Empty/Cover Furniture | Prevents paint splatters and damage to your belongings. | Use canvas drop cloths instead of plastic—they're less slippery and absorb spills better. |
| Protect Floors | Keeps your carpets or hardwood floors clean and paint-free. | Tape down the edges of your drop cloths to stop them from shifting around. |
| Remove Fixtures | Achieves clean, professional lines around switches and sockets. | Put all screws and plates in a labelled sandwich bag so you don't lose them. |
| Clean the Walls | Removes dust, grease, and grime so the new paint adheres properly. | A quick wipe with a sugar soap solution works wonders, especially in kitchens. |
| Fill Holes & Cracks | Creates a perfectly smooth, flawless surface for painting. | Overfill holes slightly with filler; it will shrink as it dries. You can sand it flush later. |
| Sand Patches | Ensures filled areas are invisible under the new paint. | Use a fine-grit sandpaper (around 220-grit) and feel the patch with your eyes closed to check for smoothness. |
| Mask Edges | Guarantees crisp, sharp paint lines for a professional finish. | Press the tape edge down with a putty knife to create a tight seal and prevent bleeding. |
Once you've worked through this list, you're ready to move on to the finer details of surface prep.
With the room cleared, it's time to focus on the walls themselves. Paint simply won't stick properly to dusty or greasy surfaces. Give your walls a gentle wipe-down with a damp cloth. For tougher grime, especially in kitchens or hallways, a sugar soap solution is your best friend. Just make sure the walls are completely dry before you do anything else.
Now, play detective and inspect every surface for imperfections. Hunt for cracks, dents, and old nail holes that will definitely show through your new paint. For small holes, a quick dab of decorator's filler on a putty knife is all it takes. Press it in, smooth it flush with the wall, and let it dry according to the tin.
For any larger cracks, you might need to rake them out a little with the edge of your scraper to get rid of any loose debris before filling.
Once the filler has fully cured, lightly sand the patched areas with fine-grit sandpaper (around 220-grit is perfect) until they feel completely smooth to the touch. Seriously, run your hand over it. If you can feel it, you’ll see it. Don't forget to wipe away the sanding dust with a clean, damp cloth afterwards. A perfectly smooth, clean surface is non-negotiable for a pro result.
If you’re prepping wooden trim or skirting boards at the same time, our guide on how to prep wood for painting has more specific advice.
Masking is that final, crucial step before you can finally get some colour on the walls. Using a good quality painter's tape is absolutely essential for achieving those razor-sharp lines between walls, ceilings, and woodwork. Don’t cheap out here.
Apply the tape in long, continuous strips along the top of skirting boards and around door and window frames. The most important part? Press down firmly along the edge of the tape with your finger or a flexible filling knife. This creates a tight seal and stops any paint from seeping underneath, which is what causes those fuzzy, amateur-looking lines.
Insider Tip: Don't leave masking tape on for days. For the sharpest lines, it’s best to remove it when the final coat of paint is still slightly damp. Pull it away from the wall slowly, at a 45-degree angle, for a perfectly clean break.
Walking into a DIY shop can feel a bit overwhelming, can't it? You're faced with aisles of brushes, rollers, and tins of paint all promising the perfect finish. It’s easy to either overbuy or grab the wrong gear entirely.
But here’s the thing: selecting the right tools and paint isn’t about spending a fortune. It’s about making smart choices that will genuinely make the job easier and give you a far better result. Think of your toolkit as an investment. While budget options are tempting, a few extra quid on a quality brush or roller sleeve will pay dividends in the long run. A good brush holds more paint and releases it smoothly—a total game-changer when you're cutting in.
You don’t need every gadget on the shelf, just a few key items that will handle 99% of the work. My advice? Focus on quality over quantity, especially for the tools that make direct contact with the paint.
The world of paint has come a long way, with more durable and eco-friendly options than ever before. In fact, the UK paints and coatings market generated over £6.6 billion in revenue in 2023, largely driven by demand for high-performance, water-based coatings. This is great news for us, as it means we have access to advanced, low-odour paints that are better for our homes and the planet.
The most common interior paint is a water-based emulsion, but the finish—or sheen—is what makes the biggest difference to the final look and durability.
The main finishes you’ll come across are:
Finally, don't just guess how much paint you need. A simple calculation will save you a headache later. Just add up the width of all the walls, multiply by the height of the room, and then divide by 12. This gives you a rough estimate of the litres required per coat. I always recommend buying a little extra, just in case.
With all the prep work done and dusted, we finally get to the rewarding bit—watching your vision come to life. This is where good technique turns a well-prepped room into a beautifully finished space. Nailing the application is what separates a DIY job from a professional-looking one, free from drips, streaks, and patchy areas.
It all starts with a process called cutting in. This is the art of using a good-quality brush to paint a neat, crisp line around all the edges a roller can't quite reach. Think ceiling lines, corners, skirting boards, and window frames. Load about a third of your brush with paint, gently tap off the excess on the side of the tin, and use steady, smooth strokes. You're aiming for a clean band about two to three inches wide along all your masked edges.
This visual guide shows the core elements you'll be working with at this stage of the project.
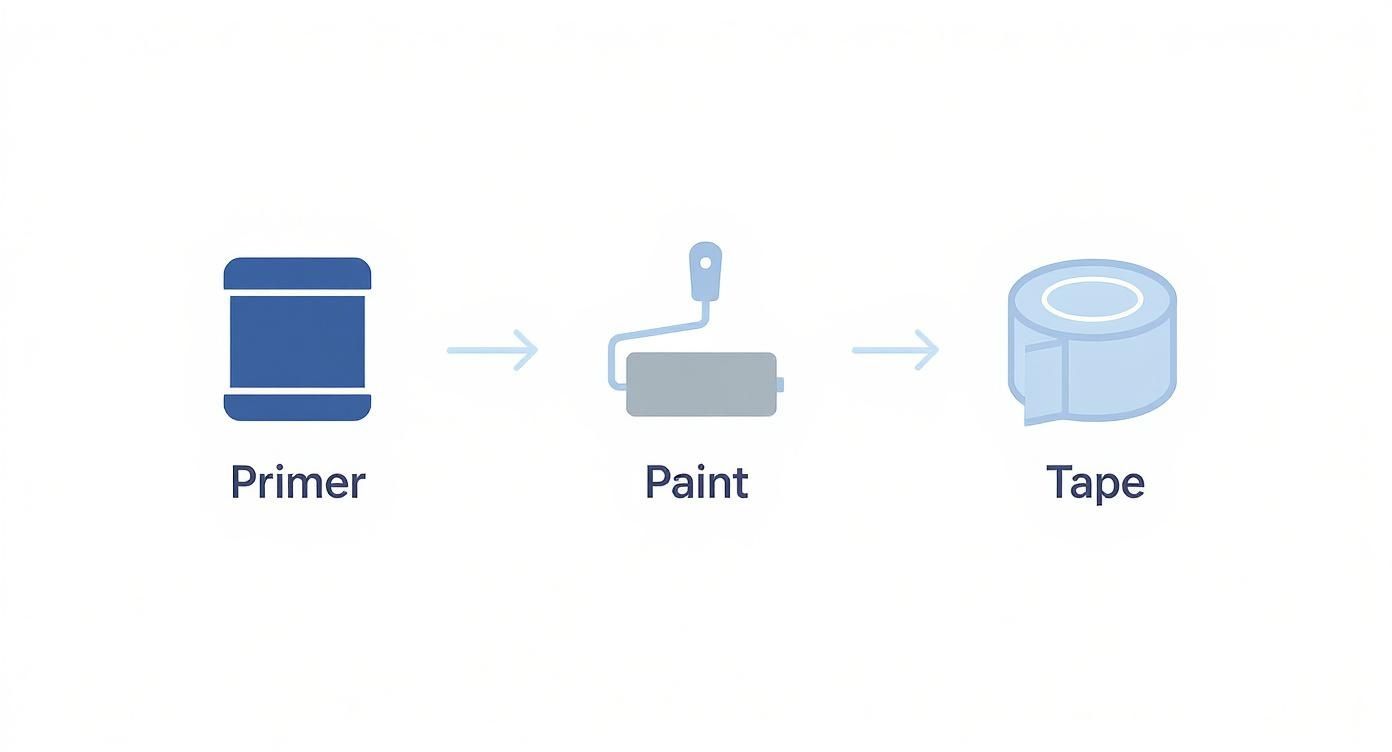
This simple flow—primer, paint, and tape—highlights the fundamental materials that ensure a high-quality finish.
Once you’ve cut in along a wall, it’s time to grab the roller while that brushed paint is still wet. This is non-negotiable for blending the brushed and rolled sections together seamlessly. We call this maintaining a wet edge. If you let the cut-in paint dry before you roll up to it, you’ll be left with a noticeable outline, often called 'picture framing'.
To load your roller, pour a decent amount of paint into the deep end of your tray. Dip the roller, then work it back and forth on the ribbed section to squeeze out the excess and get an even coating. Trust me, an overloaded roller is the number one cause of drips and splatters all over your dust sheets.
Begin rolling the wall in a large 'W' or 'M' shape, covering an area about a metre square. Then, without lifting the roller from the wall, fill in that shape with parallel, slightly overlapping strokes. This technique spreads the paint far more evenly than simple up-and-down lines and helps you avoid those tell-tale roller marks that can ruin a finish.
A common mistake is pushing too hard. Let the roller do the work. Pressing with all your might will just create ridges of paint at the edges of your strokes, leaving you with a streaky, textured finish nobody wants.
Patience is a painter’s best friend, especially when it comes to layering. One coat is almost never enough for a rich, solid colour, particularly if you're making a big change from light to dark, or vice versa. You should always plan for at least two full coats.
The first coat is all about coverage. It might look a bit patchy or uneven, but that's completely normal. Whatever you do, don't be tempted to go back over semi-dry patches to "fix" them—this will just pull the drying paint off the wall and make things worse. Let it dry completely.
Drying times are critical. Always check the instructions on the paint tin, but as a general rule, you’ll need to wait at least four to six hours between coats for a water-based emulsion. This gives the first layer enough time to cure properly, creating a solid base for the second coat to stick to. Rush this step, and you risk a tacky, peeling mess. For more pro tips, you can find a wealth of information in our complete guide to paint and decorating tips.
To really elevate your skills, you can also master DIY interior painting for professional results with more in-depth guides. Applying that second coat using the same cutting-in and rolling method is what will deepen the colour and give you that flawless, consistent finish you’re after.
A great paint job isn't finished just because the last coat is on the wall. The final steps—what you do after the painting is done—are what separate a decent DIY job from one that looks truly professional. Getting this bit right ensures your hard work lasts for years to come.
First up is the satisfying moment you get to peel off the painter's tape. But timing is everything here. If you wait for the paint to fully cure, you risk the dried paint film tearing and lifting off with the tape, ruining those crisp lines you worked so hard for.
For the sharpest, cleanest edges, pull off your painter’s tape while the paint is still slightly damp. Pull it away slowly, at a 45-degree angle to the wall. This gives you a perfect break without any tearing.
With the tape gone, it's time to get your tools clean. This isn't just about being tidy; proper cleaning means your brushes and rollers will be in great shape for the next project, saving you from buying new ones every time. A good quality 2-inch angled brush, for instance, can last for years if you look after it.
For water-based emulsions, the clean-up is pretty straightforward:
Storing leftover paint correctly is just as important. Wipe the rim of the paint tin clean before sealing the lid on tight with a rubber mallet. A great trade tip is to then store the tin upside down in a shed or garage. This creates an airtight seal that stops a skin from forming on top of the paint.
Finally, you need to give your newly painted room a bit of TLC. Even though the paint might feel dry to the touch in a few hours, it hasn't fully cured. This hardening process can take anywhere from one to four weeks, all depending on the type of paint and the room's conditions.
During this curing time, be gentle. Try not to lean furniture right up against the walls, and be careful not to scuff the fresh surface. If you do get a mark on the wall, wait at least two weeks before trying to clean it. When you do, use a soft sponge and a mild, non-abrasive cleaner. Dab at the mark gently—aggressive scrubbing will only damage the new finish. A little patience now will be rewarded with beautiful, durable walls that will look fantastic for years.
Even with the best-laid plans, a painting project can hit a few bumps. Knowing how to sort out common issues is the key to stopping a minor hiccup from becoming a major headache. The good news is, from drips to patchy walls, most problems are simple enough to fix when you know how.
Catching mistakes early on saves a huge amount of time and effort. Just think, the average cost to have a professional paint a standard UK bedroom is around £400, and it's usually a one or two-day job. By learning how to avoid and fix these little errors yourself, you’re not just saving on potential labour costs but also avoiding the need for expensive, time-consuming do-overs. If you’re curious about professional costs, this professional painting cost guide breaks it all down.
Paint drips are probably one of the most common frustrations for any DIY painter. They're usually just a sign that you've overloaded your brush or roller. Thankfully, they're dead easy to sort out if you catch them in time.
If the paint is still wet, just take a clean brush and gently smooth the drip out, blending it back into the surrounding paintwork. The trick is not to fuss with it too much.
If a drip has already dried, don't panic. Gently sand the hardened paint down with some fine-grit sandpaper until it’s perfectly flush with the wall. Give it a quick wipe to get rid of the dust, then apply a light touch-up coat just over that spot.
Don't be surprised if your wall looks a bit streaky or uneven after the first coat – that’s completely normal. If it’s still looking patchy after the second coat, though, it’s usually down to your technique or the tools you’re using.
This kind of issue almost always comes down to a few common culprits:
To fix it, let the wall dry completely. Lightly sand down any obvious ridges, wipe the dust away, and then apply another thin, even coat. Make sure you’re using that 'W' technique we talked about, with a properly loaded roller and a light touch.
Even with the best guide in hand, there are always a few last-minute questions that pop up before the dust sheets come out. Here are the answers to some of the most common queries we get, so you can tackle your project with total confidence.
For a standard-sized room, you should set aside two full days. It might sound like a lot, but you'll thank yourself for it later.
Day one is almost entirely prep work: shifting furniture, giving the walls a proper clean, filling any cracks or holes, and getting all your masking tape perfectly straight. Day two is when the fun starts – the painting itself. This gives you enough time for at least two coats, with proper drying time in between. Honestly, rushing the prep is the number one reason for a shoddy finish, so that first day is the most important one.
In certain situations, primer isn't just a good idea—it's essential. Skipping it is a gamble that rarely pays off. If you’re trying to paint a light colour over a dark one, a primer is completely non-negotiable. Without it, the old shade will haunt you, peeking through no matter how many coats you apply.
It's also crucial for new plasterboard or any areas you've patched up with filler. Primer seals these porous surfaces, stopping the paint from soaking in unevenly and creating a blotchy mess.
You might just about get away without one if you're painting a similar light colour over a well-kept wall, but using a primer is always the safest bet for a durable, professional-looking job. Think of it as the perfect foundation for your topcoats.
To avoid the sheer frustration of drips and splatters ruining your hard work, the golden rule is to always work from the top down. Sticking to a professional order makes the whole process cleaner, quicker, and far less stressful.
Here’s the sequence the pros follow:
Following this simple method means any stray paint will land on a surface you haven't painted yet. It saves you from fiddly touch-ups and is a massive step towards achieving that flawless finish.
For all your decorating needs, from high-quality paints and primers to the best brushes and rollers for the job, explore the full range at Neasden Hardware. Find everything you need to get a professional finish, delivered right to your door. Visit us at https://neasdenhardware.co.uk.